62
ARCHIVING
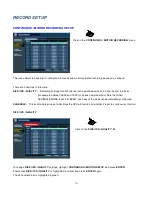
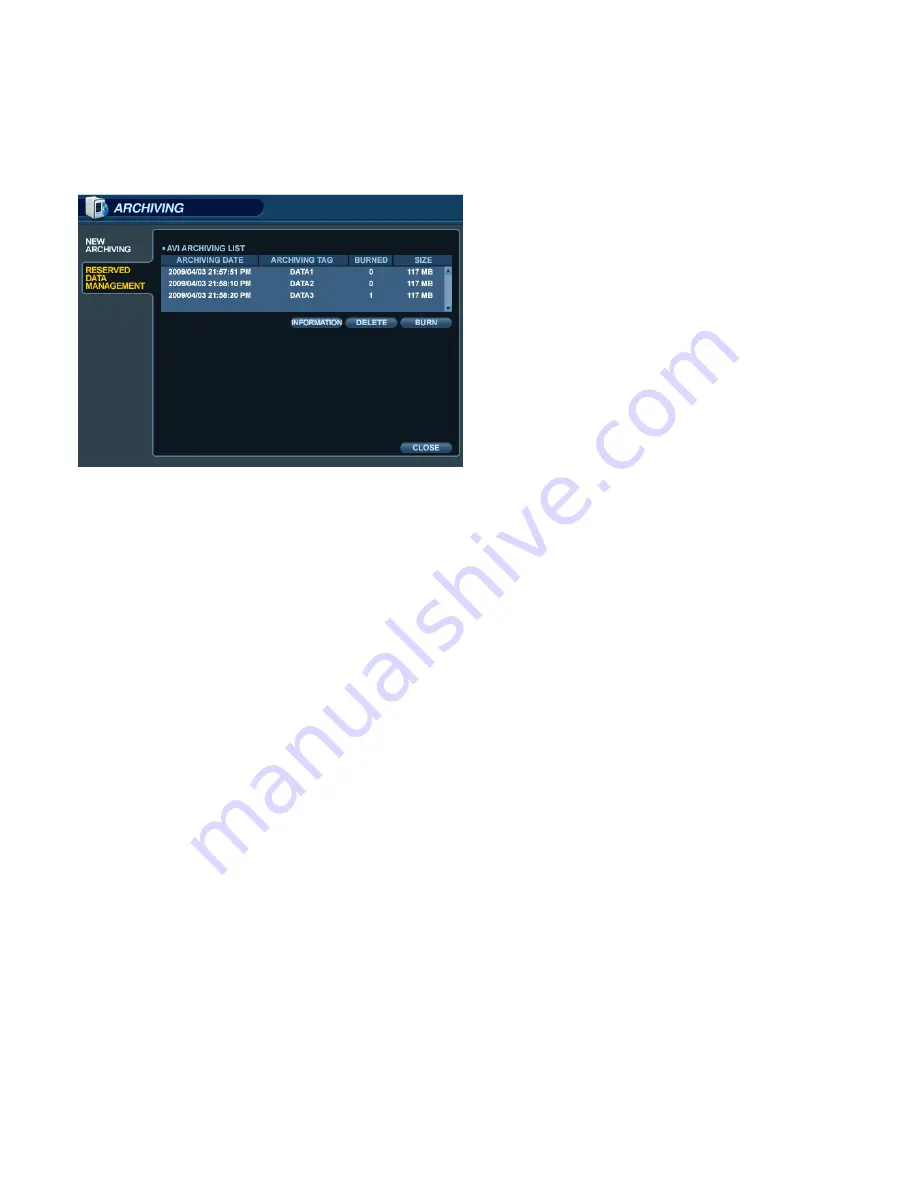
RESERVED DATA MANAGEMENT
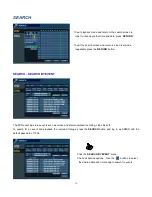
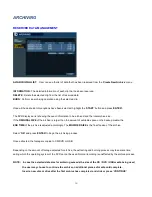
AVI ARCHIVING LIST
: User can see the list of data that has been reserved from the ‘
Create New Archive
’ menu
INFORMATION
: The detailed information of each clip that has been reserved.
DELETE
: Delete the selected clip from the list of reserved data.
BURN
: Perform an archiving operation using the selected clip.
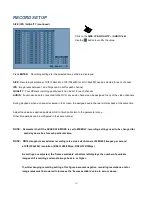
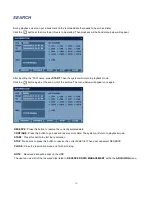
Once all the desired archive options have been selected, highlight the ‘
START
’ button and press ‘
ENTER
’.
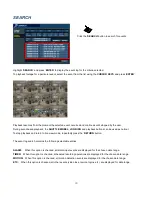
The DVR displays a list showing the exact information to be archived and the total archive size.
If the
ORIGINAL SIZE
of the archive is larger than the amount of available space on the backup media, the
END TIME
of the archive is adjusted accordingly. The
MODIFIED SIZE
is the final file size of the archive.
Select “
OK
” and press ‘
ENTER
’
to begin the archiving process.
Once extracted, the footage is copied to CD/DVD or USB.
Depending on the amount of footage selected for archive, the extracting and burning process may take some time,
during which the operating system of the DVR cannot be used. Normal recording is unaffected by the archive process.
NOTE: In case the selected data size for archiving exceeds the size of the CD / DVD / USB media being used,
the user may choose to continue the archive on additional pieces of media until complete.
Insert a new disc or drive after the first archive has completed, and click or press ‘CONTINUE’.

