Gamatronic Electronic Industries Ltd.
Power+ Technical Guide
35
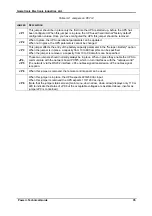
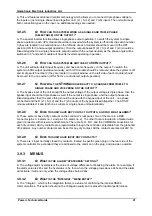
Table
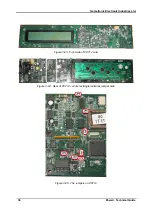
3-2: Jumpers on PC714
J
UMPER
D
ESCRIPTION
JP1
This jumper should be in place only the first time the UPS is started up, before the UPS has
been configured. When this jumper is in place, the UPS used fixed internal "factory default"
configuration values. Once you have configured the UPS this jumper should be removed.
JP2
When in place, the UPS operational parameters can be updated.
When not in place, the UPS parameters cannot be changed.
JP3
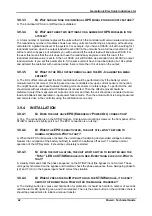
This jumper affects the entry of the battery capacity parameter in the "Setups > Battery" option.
When the jumper is in place, a capacity from 10 to 890 amp/hrs can be specified.
When the jumper is removed, a capacity from 10 to 89 amp/hrs can be specified.
JP4,
JP5
These two jumpers should normally always be in place. When in place they enable the UPS to
communicate with the network board PC575, which in turn interfaces with the "outside world"
(the network) via the RS232 interface. JP4 enables signal transmission, JP5 enables signal
reception.
JP6
When this jumper is removed, the remote control panel can be used.
JP9
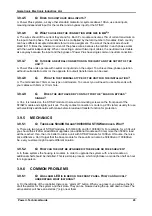
When this jumper is in place, the UPS expects 220/230 Vac input.
When this jumper is removed the UPS expects 110/120 Vac input.
(Note that the jumper status screen [main menu, down arrow, down arrow] displays only 110 or
220 to indicate the status of JP9, but the acceptable voltages are as stated above, insofar as
jumper JP9 is concerned.)
Содержание POWER PLUS
Страница 13: ...Gamatronic Electronic Industries Ltd Power Technical Guide 5 Figure 2 2 Block diagram of a single UPS Module...
Страница 19: ...Gamatronic Electronic Industries Ltd Power Technical Guide 11 Figure 2 8 System controller Block diagram...
Страница 26: ...Gamatronic Electronic Industries Ltd 18 Power Technical Guide Figure 3 4 POWER System Rear View...

