page 3
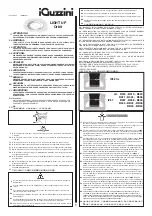
1. Insert parts (F) into side of part (H) and
secure each bracket with screw (E).
Repeat 4x times.
2. Then place part (I) cone into the top of
part (H) and secure it with a screw (G).
Repeat 4x times.
3. Next you need to secure part (J) into
the base of part (D) by twisting the bulb
clockwise.
4. Twist part (K) into the lip of part (D)
clockwise to secure into position.
5. Insert part (B) into part (A) and tighten,
then insert into part (C) and part (D) by
twisting clockwise to secure to the top.
6. Install part (D) on top of parts (F).
7. Then secure each end with the four
screws provided with part (E). Repeat 4x
times.
8. Install the lamp onto your existing 3” post,
and tighten to the post using the 3 screws
provided (Fig. 2)
installation instructions
installation instructions
Fig. 1
Fig. 2
HIGH
OFF
LOW
A
B
D
E
G
E
I
H
(4x)
(4x)
(4x)
J
K
F
C


