en
Installation instructions
42
11.
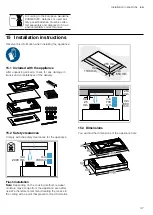
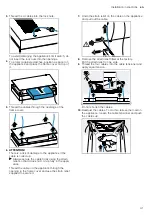
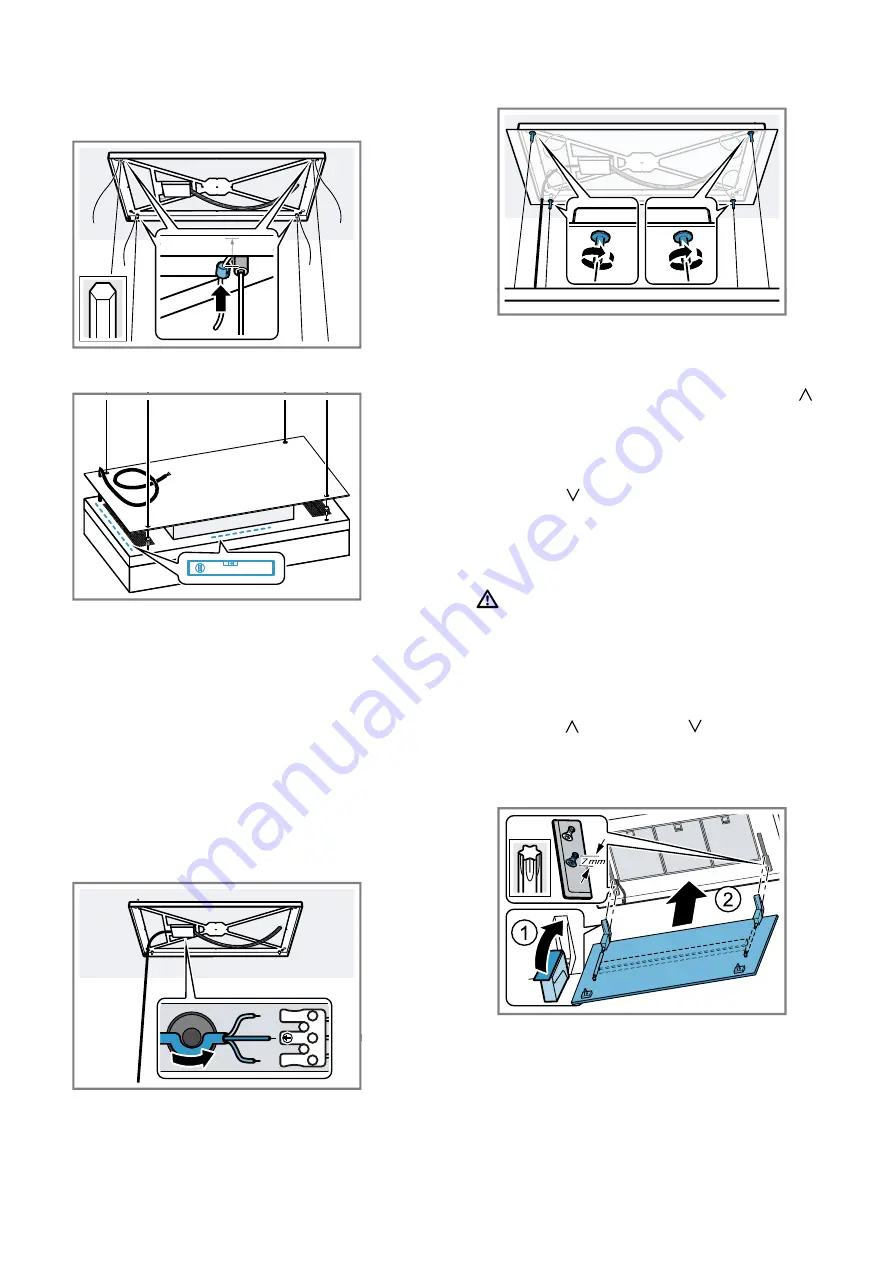
Thread the four enclosed cable clamps and secure
in place approx. 20 mm in front of the cable ten-
sioner.
20 mm
2
Tighten the screws by hand.
12.
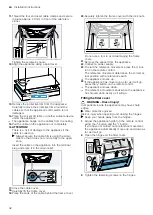
Align the appliance using a spirit level.
13.
Remove the protective film from the appliance.
Carefully remove the protective film around the
cables so that the appliance's limit switch is not
damaged.
14.
Place the scissor lift table or another suitable device
under the appliance.
a
The appliance hangs on the cables from the ceiling.
15.
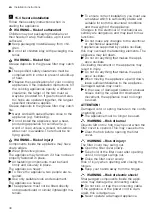
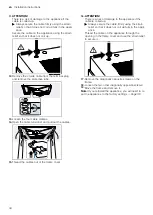
Pull the cable on the appliance out completely.
16. ATTENTION!
There is a risk of damage to the appliance if the
cable is coiled up.
▶
Always secure the cable firmly using the strain
relief so that it does not coil up fully in the appli-
ance.
Insert the cable on the appliance into the terminal
plug and place it in the strain relief.
L
N
17.
Close the cable cover.
18.
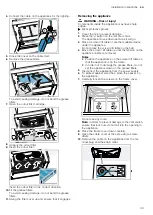
Carefully lift the frame cover.
19.
Place the ends of the cable behind the frame cover.
20.
Securely tighten the frame cover with the lock nuts.
Do not use a tool to avoid damaging the frame
cover.
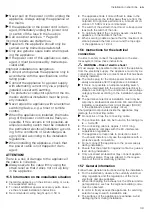
21.
Remove the spacer from the appliance.
22.
Connect a power supply.
23.
To start the reference movement, press the but-
ton on the remote control.
The reference movement determines the correct ac-
tual position with a reference switch.
a
The appliance moves up.
24.
If the appliance has moved up as far as it will go,
press the button on the remote control.
a
The appliance moves down.
a
The reference movement ends when the appliance
has moved down as far as it will go.
Fitting the filter cover
WARNING ‒ Risk of injury!
Components inside the appliance may have sharp
edges.
▶
Wear protective gloves.
Risk of injury when opening and closing the hinges.
▶
Keep your hands away from the hinges.
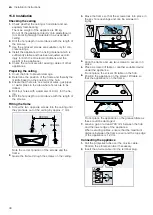
1.
Adjust the appliance height on the remote control
using the button and the button.
If you have not carried out a reference movement,
the appliance automatically moves up and down as
far as it will go.
2.
Open the hinges on the filter cover.
25
3.
Tighten the fastening screws on the hinges.
Содержание AC270101
Страница 111: ......

