background image

Patrol Suite RF Equipment Guide Supplement for PMD


Patrol Suite RF PMD DCN 107  

Securing Your World


2


internal 13.56MHz transmit coil. To activate the PTX: 

1.  Place the PTX face down on the front of the PMD (over the image of the 

Personal Monitoring Device). 

2.  Listen for activation tones from PTX 1.0 or LED flashing from PTX 2.0. 


Internal Antenna Mode

 – In Internal Antenna mode the PMD listens for 

Patrol Suite RF messages using the internal 433MHz antenna. Any 
messages that are received are forwarded to the paired Bluetooth device 
using the Serial Port Profile. The PMD LED indicates the state of the 
Bluetooth link (i.e. the presence of a paired device). 


External Antenna Mode

 – External Antenna mode is exactly the same as 

Internal Antenna mode except that the PMD listens for Patrol Suite RF 
messages using the external antenna. 

OPID functionality is enabled in Wake, Internal Antenna, and External Antenna modes. In these modes, 
the PMD regularly transmits OPID RF messages using the internal 433MHz antenna. An active and 
authorized OPID must be present for the user to access the PHMU Setup Menu


with the PHMU Menu 

Key. 

NOTE: PMD can be charged in any mode (including Off Mode) by connecting the USB power, the battery 
LED will indicate the charging status. 

PMD LED Indicators 

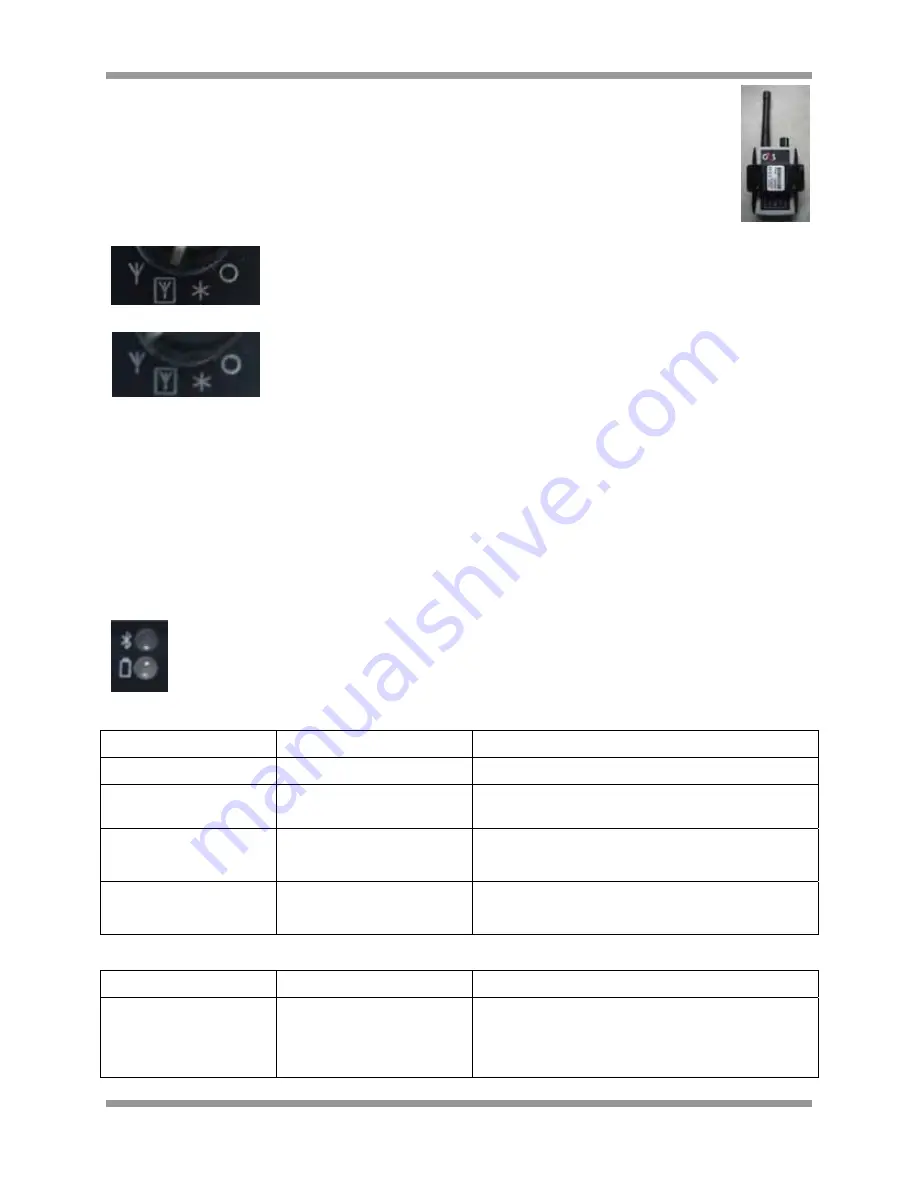
Status information is displayed using dual bi-color (red/green) LEDs.  

The top LED, labeled with a Bluetooth symbol, displays 

PMD status

The bottom LED, identified with a battery symbol, displays 

Battery status

PMD Status

 (Bluetooth Symbol) 

Mode Bluetooth 

PMD 

Indicator 

Off None  Off 

Wake 

None 

Flash Green (Green indicates that a wake-up 
command is being transmitted) 

Internal Antenna 

No Link 

Link 

Blink Red and Orange 

Blink Red and Green 

External Antenna 

No Link 

Link 

Blink Orange 

Blink Green 

Battery Status

 (Battery Symbol) 

USB Battery BAT 

Indicator 

Powered Charging 

Charged 

Fault 

Orange 

Green 

Alternate Green and Orange 

Содержание Patrol Suite PMD

Страница 1: ...tice Services Inc PATROL SUITETM RF Monitoring Equipment Guide Supplement Portable Monitoring Device PMD 2009 G4S Justice Services Inc 2000 RiverEdge Parkway NW Suite GL 100 Atlanta GA 30328 USA 1 800 589 6003 ...

Страница 2: ...of any kind either express or implied including but not limited to the implied warranties of merchantability or fitness for a particular purpose This publication could include technical inaccuracies or typographical errors Changes are periodically made to the information contained herein these changes will be incorporated in new editions of the publication G4S may make improvements and or changes ...

Страница 3: ...onitoring Device PMD 1 Accessories 1 Preparing the PocketPC 1 PMD Operating Modes 1 PMD LED Indicators 2 Pairing the PMD and PocketPC 3 PocketDTX Application 6 Chapter 2 Using the PMD and PocketPC 7 Chapter 3 Range Test with the PMD and PocketPC 9 Chapter 4 Caring for the PMD and PocketPC 11 Chapter 5 Troubleshooting Tips 12 Chapter 6 Regulatory Notices 14 ...

Страница 4: ...sion of Microsoft ActiveSync on the workstation or laptop from Microsoft s web site http www microsoft com downloads details aspx FamilyID 7269173a 28bf 4cac a682 58d3233efb4c displaylang en 2 Ensure that Microsoft NET Compact Framework 2 0 Redistributable is installed on the PocketPC 2003 Windows Mobile device If not it can be downloaded from Microsoft s web site http www microsoft com downloads ...

Страница 5: ...ality is enabled in Wake Internal Antenna and External Antenna modes In these modes the PMD regularly transmits OPID RF messages using the internal 433MHz antenna An active and authorized OPID must be present for the user to access the PHMU Setup Menu with the PHMU Menu Key NOTE PMD can be charged in any mode including Off Mode by connecting the USB power the battery LED will indicate the charging...

Страница 6: ...od Low Off Blink Red Pairing the PMD and PocketPC NOTE Steps may vary depending on the model of PocketPC used 1 Ensure that the PocketPC Windows Mobile device has a Bluetooth interface and that it is enabled a From the Start Menu select Settings b Select Connections and Bluetooth c Confirm Bluetooth Status is On ...

Страница 7: ...or inbound and outbound connections To determine the COM port used by your device for Bluetooth connections select Bluetooth Settings Services Serial Port Service Advanced Note the outbound COM port number You will need to specify this COM port number in the PocketDTX application 3 Explore and detect the DTX Bluetooth module using the Bluetooth Manager on your device Ensure that the PMD is set to ...

Страница 8: ... field e Select the PMD serial number from the list of Bluetooth devices If the serial number is not displayed reconfirm the serial number of the PMD that the device is set to Internal or External Antenna Mode and select Refresh f Enter the passkey typically a sequence of zeros 0000 and Enter g The PocketPC provides an indication of pairing and success If unsuccessful retry ...

Страница 9: ...er Low battery and Restart The list view displays the last 100 PTX transmissions received with the most recent on top Each row represents a separate transmission The columns are PTX serial number Time of transmission Band Open Tamper Battery Low Restart Message Version and PTX Power Range Setting To connect to the DTX Bluetooth module 1 Select the appropriate outbound Bluetooth serial COM port num...

Страница 10: ...he shortcut created under Start Programs It uses the G4S icon 3 Select the appropriate COM port typically Port 6 and Connect 4 If the Bluetooth connection is successful the Connect button changes color from yellow to light blue and the text displayed changes to Disconnect If the Bluetooth connection is unsuccessful attempt another COM port If the PMD detects any PTX sending status messages they wi...

Страница 11: ...ottom Right quadrant Red indicates PTX recently reset Bottom Left quadrant Red indicates PTX Low Battery The Blue Bar indicates Power Level which represents PTX range setting A corresponding numeric value is visible if you scroll the list view in the main body to the right 0 PTX is set to Low range 5 PTX is set to Med range 10 PTX is set to High range or serial number represents another PMD OPID 5...

Страница 12: ...3 From the Start Menu open the G4S PocketDTX exe application 4 Select COM port and Connect Once connected the box will turn gray and read Disconnect 5 Select the PTX serial number to be range tested from the dropdown 6 Select Menu then Range Test 7 Perform the Range Test The PocketPC beeps will correspond to the PTX beeps and the status will display on the PDA lower right corner 8 To complete the ...

Страница 13: ...trol Suite RF PMD DCN 107 Securing Your World 10 9 Select Unfiltered from the drop down menu 10 Select Disconnect once disconnected the box will turn yellow and read Connect 11 Reinsert the Menu Key in the back of the HMU and select the red button to end ...

Страница 14: ... PMD should be turned off when not in use Battery Life is 22 28 hours depending on operational mode Low battery indicator provides approximately 5 hours low battery warning Total time taken to fully charge the batteries from a complete discharge state is approximately 6 5 hours Keep the PMD and PocketPC away from water as it may damage the devices ...

Страница 15: ...h Status is On a From the Start Menu select Settings b Select Connections and Bluetooth 4 Confirm PMD serial number is paired with PocketPC device a From Bluetooth Settings select Bluetooth Manager b Select Menu and Paired Devices c If the PMD serial number is displayed and or incorrect select the serial number Remove and Yes d If the PMD serial number is not displayed or if you have removed the s...

Страница 16: ...om the list of Bluetooth devices If the serial number is not displayed reconfirm the serial number of the PMD that the device is set to Internal or External Antenna Mode and select Refresh g Enter the passkey typically a sequence of zeros 0000 and Enter h The PocketPC provides an indication of pairing and success If unsuccessful retry ...

Страница 17: ... radio frequency energy and if not installed and used in accordance with the instructions may cause harmful interference to radio communications However there is no guarantee that interference will not occur in a particular installation If this equipment does cause harmful interference to radio or television reception which can be determined by turning the equipment off and on the user is encourag...

Отзывы: