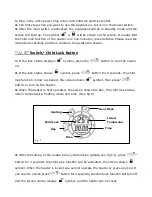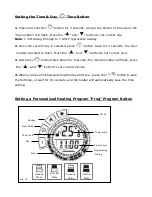
1. Press the “Prog” Button and the
symbol and “Day” icon will light up on the
display. Press “
” and “
”button to set the required day.
2. After setting the Day, press the “Prog” button again, the hour number will flash on
the screen. Press “
” and “
” button to set the time for programming.
3. After setting the time, press the “
” button to select the type of heating mode you
require for that selected time. You can choose one of four modes: Comfort mode
,
Economy mode
, Frost-free mode
and Standby mode.
4. After you have finished setting the program for this time press the "
" button to
save the Settings, or wait for 10 seconds and the heater will automatically save your
setting.
5. Repeat the above 1-4 steps to complete your full 24-hour personalised setting.
6. Repeat the above process for each day of the week.
7. Once you have finished personalising the full week press the “Prog” button for 3
seconds, the “P0” will flash on screen, press the "
" button to save the full program,
or wait for 10 seconds, and the heater will automatically save the setting.
8. To start your program press the “
” button and the timer function starts. The
“
” icon will illuminate on the screen.
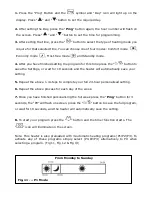
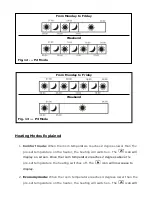
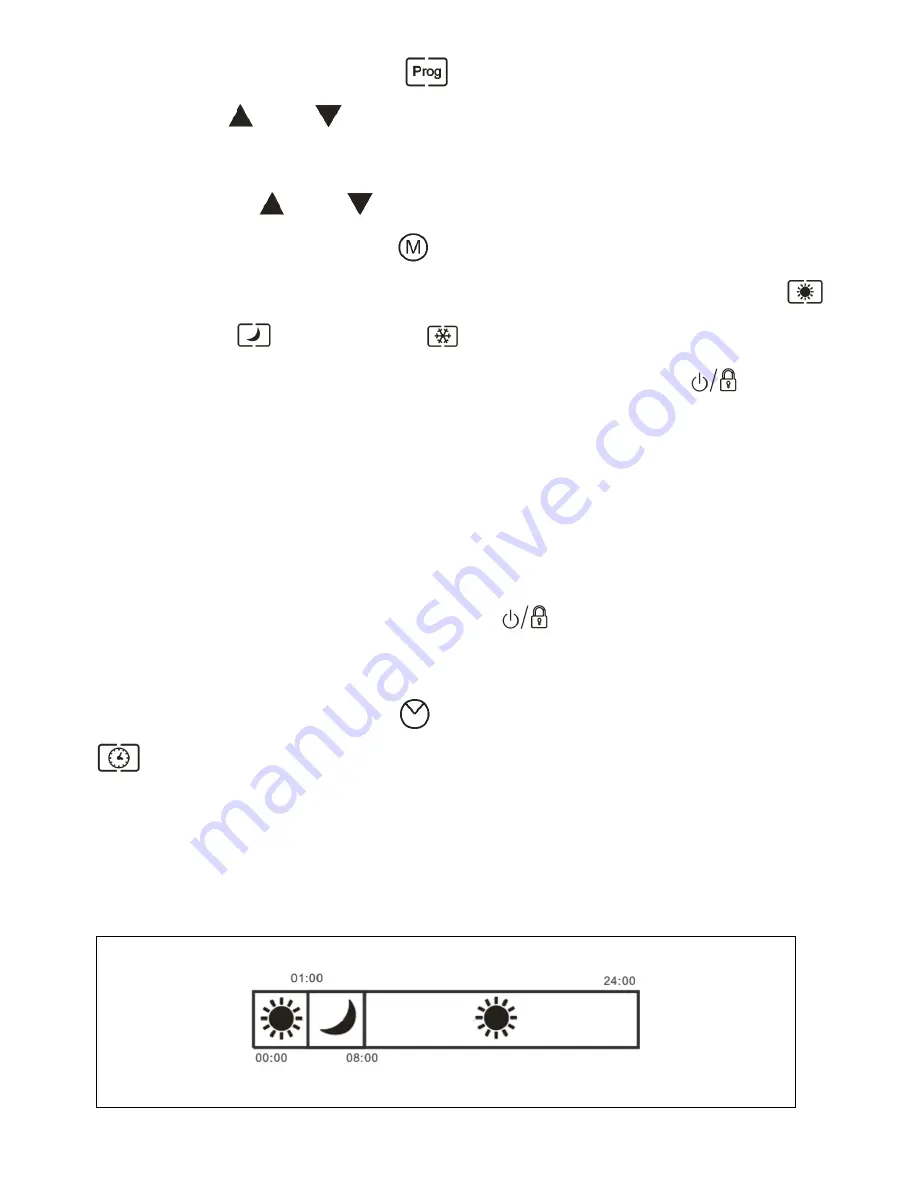
Note: This heater is also preloaded with 3 automatic heating programs (P1/P2/P3). To
activate any of these programs simply select (P1/P2/P3) alternatively to P0 when
selecting a program. (Fig 11, Fig 12 & Fig 13)
From Monday to Sunday
Fig. 11 --- P1 Mode

