


13
14
Adjust the OSD Screen
OSD Menu Operations
L
Picture
Picture
Mode
Standard
Color
Mode Normal
Zoom
Mode Normal
3DNR Weak
DLC On
PICTURE MENU
Press MENU to display the main menu, and press
◄
/
►
to select the Picture Menu.
Highlight the item and press
▼
/
▲
to select corresponding sub-menu.
Picture Mode
:
Dynamic/Standard/Soft/ Personal.
Color mode:This item can adjust the saturation of the color based on your own like.
Zoom mode: Four selectable Zoom Modes, Normal, Zoom, Cinema, Wide .
3DNR:
Used for the noise reduction adjustment to get a better image effects.
DLC:
Dynamic brightness control
Press
MENU
button to display the main menu.
Press
◄ / ►
button to select
PICTURE
in the main menu, it will highlight the first option.
AUDIO MENU
Press MENU to display the main menu, and press
◄
/
►
to select the Sound Menu.
Equalizer Standard: Adjust audio frequency band.
Audio Language: Set the language.
Surround Sound: Surround effect on or off.
Audio Only
:
Audio Only effect on or off.
AVC
:
When set the AVC on, quick volume change will be smoothed.
L
Audio
Equalizer Personal
Audio Language English
Surround Off
Audio Only Off
AVC Off
PICTURE
AUDIO
Press
MENU
button to display the main menu.
Press
◄ / ►
button to select
AUDIO
in the main menu, it will highlight the first option.
Adjust the OSD Screen
OSD Menu Operations
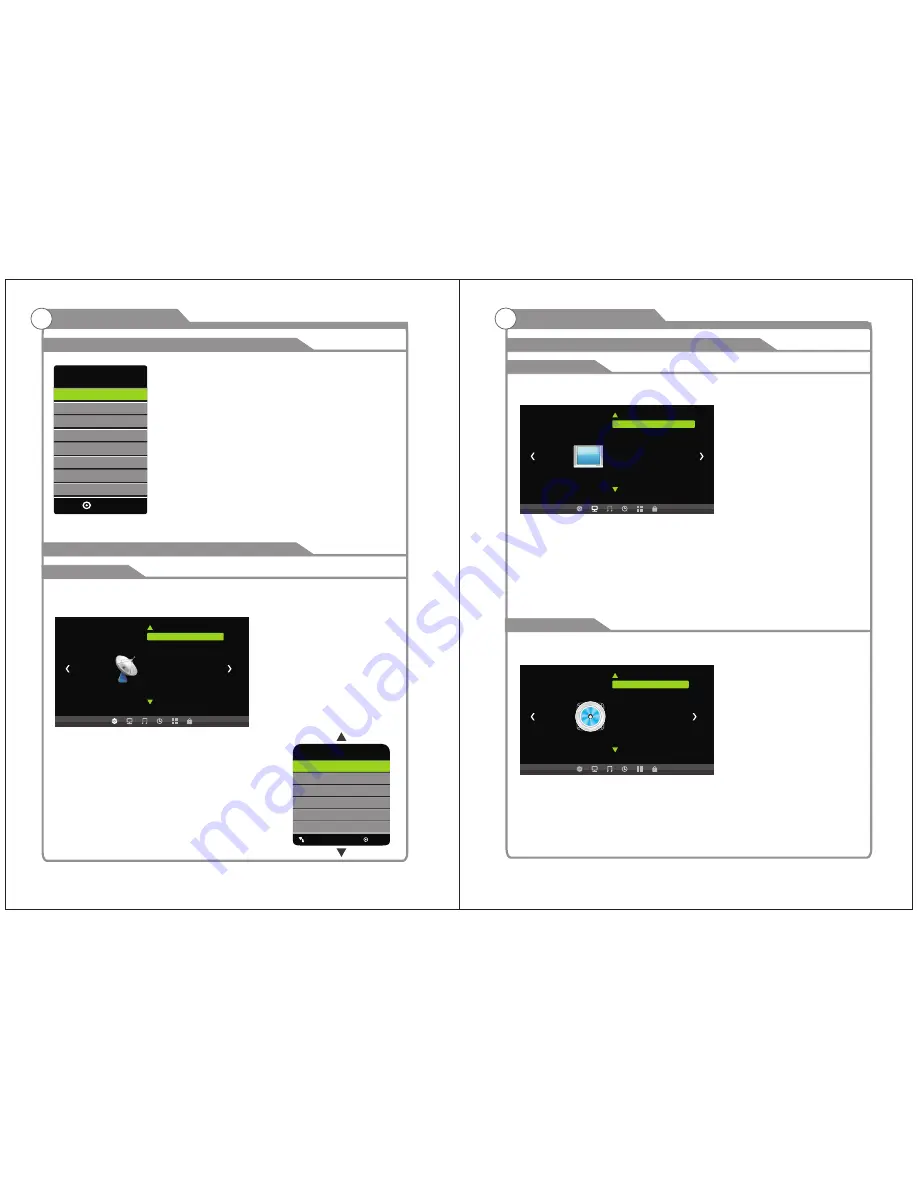
Press
SOURCE
button
to
display
the
input
source
list.
Press
▼/▲
button
to
select
the
input
source
you
want
to
watch.
Press
ENTER
button
to
enter
the
input
source.
INPUT
AV
HDMI
PC
ENTER
TV
BASIC OPERATION
L
Channel
Air/Cable Cable
Auto Scan
Favorite
Show/Hide
Channel No.
Channel Label
DTV Signal Bad
Auto Scan
Digital channel only
Analog channel only
MENU
ENTER
Scan all channels
Press
MENU
button to display the main menu.
Press
◄ / ►
button to select
CHANNEL
in the main menu, it will highlight the first option.
Air/Cable
press ENTER button to select it Cable or Air.
AUTO SCAN
Auto Tuning can find out all effective channel automatically.
Press
▼/▲
to select Auto Tuning, then press ENTER to start
auto searching.
If you want to stop searching, press EXIT.
CHANNEL
Component
Содержание FEHS19E6A
Страница 1: ...LED HDTV 19 Model FEHS19E6A USER S MANUAL ...
Страница 13: ...Picture defects and the reason 19 ...


