


HDS-6/HR-6 HEADPHONE DISTRIBUTION SYSTEM
HR-6 CONTROLS
Now that you have your HDS-6 connected to your
console, and your chain of HR-6 mixing stations is
connected to your HDS-6, the fun begins.
Here’s all you need to know to create a custom
headphone mix with an HR-6:
SUBMIXES
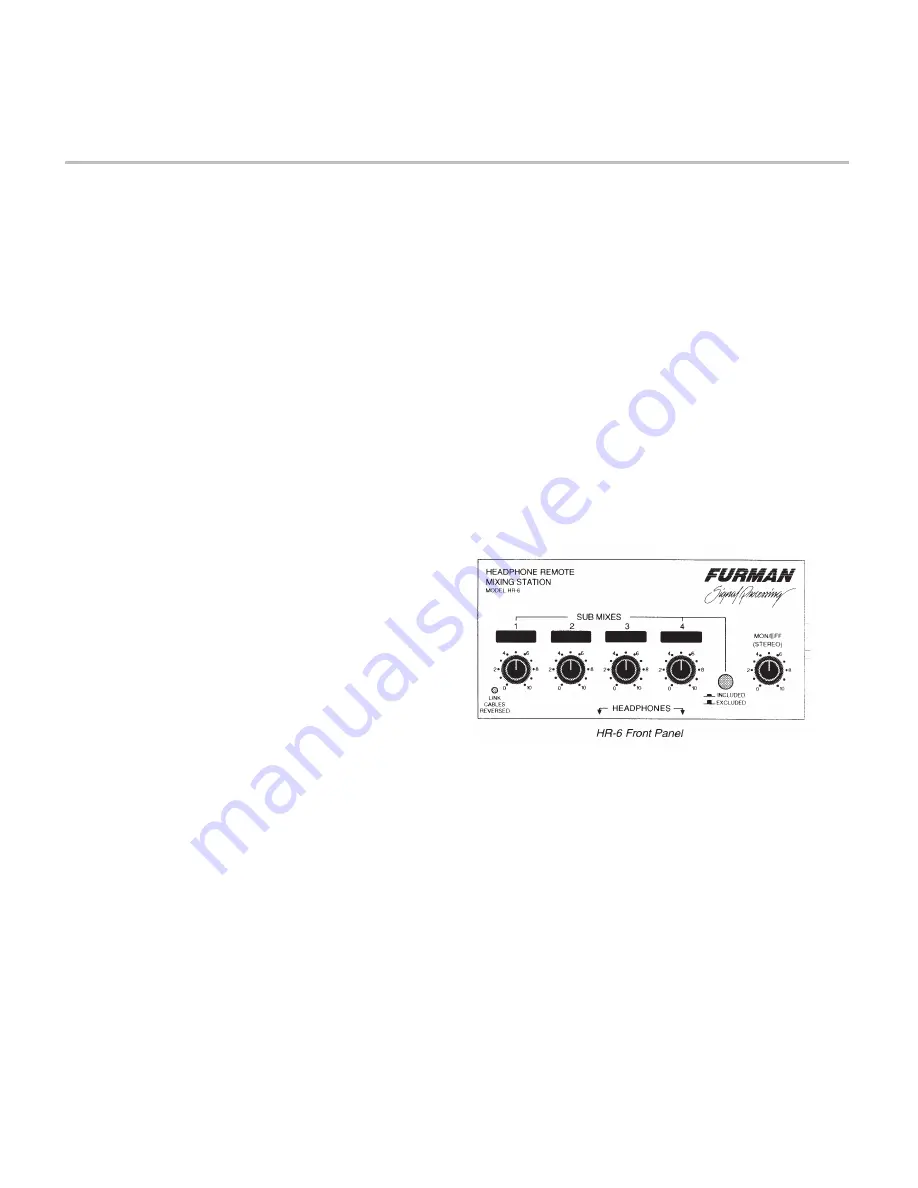
Volume Controls: The front panel of the
HR-6 mixer provides one volume control for each
of the four mono channels arriving at the HR-6 from
your console and HDS-6 Distribution System.
MON/EFF
Volume Control: This single control
simultaneously adjusts the level of the stereo
main mix (or stereo effects returns, or two more
channel strips of busses) arriving at the HR-6
from your console through the HDS-6. Remem-
ber: If you use the HDS-6’s Left-Right inputs to
accommodate two or more console channels or
busses instead of one stereo signal, the volume
levels of both console channels or busses will be
adjusted by this control. These two inputs will not
be individually adjustable for loudness as the four
mono channels are.
SUBMIXES “INCLUDED/EXCLUDED”
Button:
This feature allows each musician to hear (for ex-
ample) only the main mix coming from the control
room. The button mutes the four mono controls,
allowing each HR-6 user to hear stereo source
only without having to turn down the HR-6’s four
mono volume knobs.
HEADPHONE OUTPUTS:
The HR-6 provides two
1/4" stereo headphone jacks. You may plug two
headphones into one HR-6, but unless both are
the same brand and model one headphone is
likely to not be as loud as the other.
Each HR-6 also comes with hardware to clamp
the HR-6 on a mic stand. The HR-6 also provides
erasable white label areas to jot down the signal
source for each of its four mono channels. Use a
grease pencil for easy erasability.
LINK CABLE REVERSED
Indicator: As men-
tioned earlier, you need to connect the “Blue” and
“Gray” Ethernet cable outputs of the HDS-6 to
the corresponding inputs of the first HR-6. These
corresponding inputs must remain consistent with
each subsequent HR-6 mixer. If you accidentally
reverse the color-coded cables, don’t worry. The
LINK CABLE REVERSED indicator on the lower
left corner of the HR-6 will alert you. Simply recon-
nect any cables that are reversed.
5


