


Chapter 5
Wireless Adapter Utility Features
26
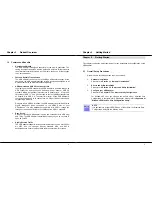
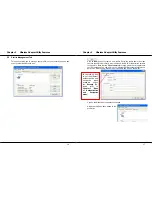
5.2.1 Security Tab
Please refer to
Chapter 7 “Types of Authentication and Encryption
mode”
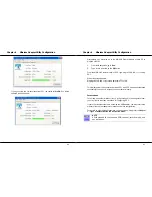
5.2.2 Advanced
Tab
This option allows you to configure the more advanced connection
settings of your wireless client.
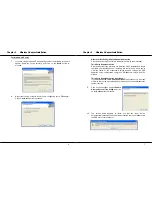
Only applicable to
Infrastructure mode.
You may key in the MAC
address of at most four
access points to which you
would prefer to connect.
Chapter 5
Wireless Adapter Utility Features
27
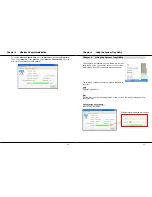
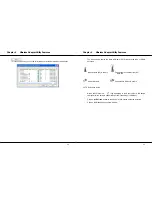
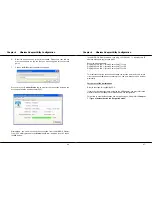
Transmit Power Level
Specifies the wireless transmit power to be used. Reducing the power level
lowers the risk of interference with other nearby wireless devices and conserves
battery power but decreases radio range.
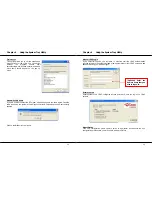
Power Save Mode (Only applicable to Infrastructure mode)
This feature reduces power consumption by the USB adapter to extend the
battery life of your notebook. There are 3 options for this mode:
•
Off
The power management is disabled and the card consumes full power
from the computer.
•
Normal
The driver turns off the power to the adapter for brief periods over briefly
spaced time intervals.
•
Maximum
The driver turns off power to the adapter for longer periods over
more widely spaced time intervals.
The guideline for choosing between the
Normal
and
Maximum
options:
The USB adapter wakes up more often and responds sooner to network
requests in
Normal
mode than in
Maximum
mode; and the
Maximum
mode consumes less power than
Normal
mode.
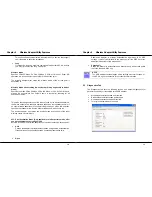
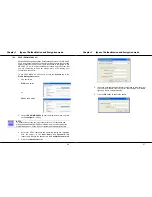
Network Type
Select either Infrastructure if you are connecting to the WLAN using an access
point or Ad-hoc if you are connecting directly to another computer equipped with
a wireless adapter.
802.11b Preamble
The preamble is part of the IEEE 802.11b physical layer specification. It is
mandatory for all 802.11b devices to support the long preamble format, but they
may optionally support the short preamble. This USB adapter supports both the
short and long preambles.
•
Short & Long