background image

18

Channel Settings

You can edit the channel settings.

1

Use 

 / 

 to select 

[CHANNEL]

.

[Auto Tuning]

You can scan the channels in your area automatically.

2

Use 

 / 

 to select 

[Auto Tuning]

, then press 

OK

 to start scanning.

[ATV Manual Tuning]

You can search channels manually in your area.

2

Use 

 / 

 to select 

[ATV Manual Tuning]

, then 

press 

OK

.

3

Use 

 / 

 to select 

[Current CH]

, then use 

 / 

 to select the channel you want.

4

Use 

 / 

 to select 

[Color System]

, then use 


 to select the system you want.

5

Use 

 / 

 to select 

[Sound System]

, then use 

 / 

 to select the system you want.

6

Use 

 / 

 to select 

[Fine Tune]

, then use 

 / 


to adjust the setting.

7

Use 

 / 

 to select 

[AFC]

, then use 

 / 

 to 

select 

[On]

 or 

[Off]

.

8

Use 

 / 

 to select 

[Search]

, then use 

 / 

 to 

search a channel.

[Programme Edit]

You can edit the programme settings.

2

Use 

 / 

 to select 

[Programme Edit]

, then 

press 

OK

 to enter Programme Edit list.

DETAIL SETTINGS

Read this first

Before adjust each setting, press 

MENU

 to display the 

menu.
To exit the menu, press 

EXIT

.

When the scanning is completed, the lowest memorised 
channel will be displayed.

If you press 

MENU

 during the scanning, this operation will 

be stopped and a confirmation display will appear, then you 
can cancel scanning.

If you set to 

[On]

, this unit searches a near channel 

automatically.

Move

Enter

Menu

Exit

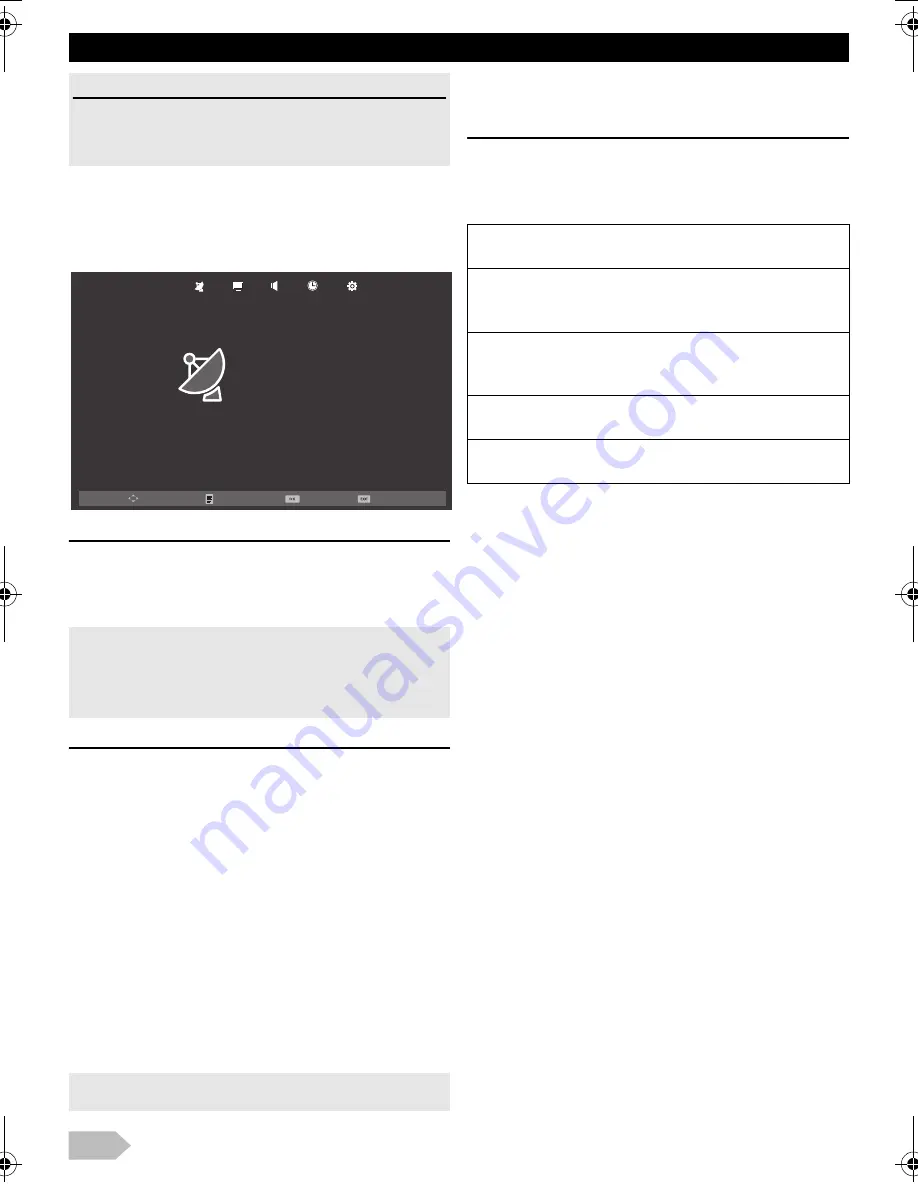
Auto Tuning

ATV Manual Tuning

Programme Edit

CHANNEL

[Delete] (RED) :

Press 

RED

 to delete the current channel.

[Rename] (GREEN) :

Press 

GREEN 

and use 

 / 

 / 

 / 


 to change the 

current channel name.

[Move] (YELLOW) :

Press 

YELLOW

 and use 

 / 


to move the current 

channel.

[Skip] (BLUE) :

Press 

BLUE

 to skip the current channel.

[FAV] (FAV) :

Press 

FAV

 to register the current channel.

OM.book  Page 18  Tuesday, September 10, 2013  4:39 PM

Содержание 24FL503

Страница 1: ...Ltd Toll free telephone 1 800 419 6708 Web site www funai india com Email ID customer care funai india com LCD LED TELEVISION INSTRUCTION MANUAL 39FD713 32FD513 32FD503 32FL513 32FL503 29FL513 29FL50...

Страница 2: ...ECIFICATIONS 25 Dimensions 26 Input Resolution 26 Multimedia Format 27 INDEX SAFETY INFORMATION WARNING To prevent the spread of fire keep candles or other open flames away from this product at all ti...

Страница 3: ...ult leaning pulling standing or climbing on it A falling unit can cause serious injury or even death LIVE PARTS INSIDE DO NOT REMOVE ANY SCREWS Battery Precautions Be sure to follow the correct polari...

Страница 4: ...eir own the producer is not responsible for any damages caused either to the product or to the persons Length of holes distances H V Recommended screw thread type 39FD713 400 mm 300 mm M4 32FD513 32FD...

Страница 5: ...the back of the base as shown 32FD513 32FD503 32FL513 32FL503 29FL513 29FL503 24FL513 24FL503 Screw this television on your furniture tightly using wood screw not supplied in the hole at the back of...

Страница 6: ...6 4 Connections for Antenna and the Power 5 Installing the Batteries You can also connect cable as substitute of antenna 2 x AAA Drycell...

Страница 7: ...n select the language you want using Auto Tuning You have to setup channels to watch TV 1 Press MENU to display the setup menu and use to select CHANNEL in the setup menu 2 Use to select Auto Tuning i...

Страница 8: ...de p 12 14 SLEEP Sleep Timer p 11 15 ASPECT Picture Format p 12 16 Playback function buttons p 13 Teletext function buttons p 11 Skip backward Index Skip forward Expand Rewind Reveal Fast forward Subp...

Страница 9: ...urce only It does not guarantee any adaptor switches or other connecting device for the purpose of multiple sources The usage of such device even if it is capable is at customer risk Data input from U...

Страница 10: ...1 Y PC IN RGB PC HDMI AUDIO IN YPbPr AV IN R L Pr Pb AUDIO VIDEO Y YPbPr AV IN PC IN RGB PC HDMI AUDIO IN HDMI 1 PC IN RGB PC HDMI AUDIO IN VIDEO AV IN Coaxial digital audio output jack HDMI input ja...

Страница 11: ...2 Use to select the channel you want then press OK 3 Press EXIT to exit OPERATIONS Read this first These operations are accessible by remote control Some may also be accessible by controls on the mai...

Страница 12: ...edge of the TV screen Just Scan Displays a proportionally stretched picture 16 9 Displays a 4 3 picture at a 16 9 size This crops out the top and bottom of the picture 4 3 Displays a 4 3 picture at it...

Страница 13: ...ept any liability for damage or loss of stored data A USB flash memory that required its own driver or the device with a special system such as fingerprint recognition are not supported Be sure to kee...

Страница 14: ...or pause the slideshow Press to skip the file backward or forward Press to stop the slideshow OK DISPLAY Press to display the menu Repeat Use and press OK to select the repeat mode Repeat None Repeat...

Страница 15: ...the folder are played USB2 0 1 1 MUSIC Return Delete MUSIC Press to play or pause the playback Press to rewind or fast forward the playback Press to skip backward or forward the current file Press to...

Страница 16: ...peat All in order A B Repeat Use and press OK to select the limited repeat mode Set A Set B or None in order Playlist Use and press OK to select Playlist to show the playlist Info Use and press OK to...

Страница 17: ...y pressing If they are not selected then all playable files in the folder are played If you put audio files into same folder of text files you can play music during the playback Press to play or pause...

Страница 18: ...Programme Edit You can edit the programme settings 2 Use to select Programme Edit then press OK to enter Programme Edit list DETAIL SETTINGS Read this first Before adjust each setting press MENU to di...

Страница 19: ...item using 2 Use to select the item you want Then press OK and the setting display will appear 3 Adjust the setting using H Offset horizontal picture adjustment V Offset vertical picture adjustment C...

Страница 20: ...y for example during commercials or when switching channels 2 Use to select Auto Volume and then select On or Off using SRS TruSurround XT You can set to the sound modes for more spatial or surround s...

Страница 21: ...n select the preferred teletext language 2 Use to select TT Language then press OK 3 Use to select the language you want then press OK Aspect Ratio You can change TV Screen Display mode 2 Use to selec...

Страница 22: ...other exterior surfaces of the unit with a soft cloth Never use a solvent or alcohol Do not spray insecticide liquid near the unit Such chemicals may cause damage and discoloration to the exposed surf...

Страница 23: ...r Check if the correct input source mode is selected by pressing SOURCE p 12 Poor Picture Sound OK Try another channel if that is OK then possibly due to poor channel reception Check whether the conne...

Страница 24: ...ether wire is broken USB Playback Cannot read data in the USB flash memory Check a USB flash memory is connected solidly Make sure the format of your data is playable on this TV Refer to Multimedia Fo...

Страница 25: ...ity Antenna input UHF VHF 75 x 1 Composite video input x 1 YPbPr Component video input x 1 HDMI x 3 USB x 1 PC VGA input x 1 Audio input Audio L R RCA x 1 3 5mm mini jack for PC HDMI DVI x 1 Coaxial d...

Страница 26: ...0 2 mm W 576 9 mm D 139 9 mm H 350 8 mm W 576 9 mm D 53 7 mm Weight Model Number with base without base 39FD713 9 30 kg 8 25 kg 32FD513 6 00 kg 5 68 kg 32FD503 6 00 kg 5 68 kg 32FL513 5 87 kg 5 65 kg...

Страница 27: ...48kHz Bit rate 32k 320kbps Channel Mono Stereo wav LPCM Sample rate 44 1kHz 48kHz aac AAC Sample Rate 16k 48kHz Bit Rate 32k 442kbps Channel Mono Stereo VIDEO only 713 513 series 39FD713 32FD513 32FL5...

Страница 28: ...1 E M N 3 0 4 9 9 C Printed in Thailand A3UT1PT A3UF1PT A3UF0PT A30F1PT A30F0PT A30M1PT A30M0PT A30L1PT A30L0PT 1EMN30499C...

Отзывы: