26
Options Guide
U41604-Z156-1-76
Installing an accessible 5.25-inch drive
Accessible drives
Ê
Remove the EasyClick rails from the dummy cover by removing the four
screws on each side.
I
Note that there are two M3 screws and two UNC screws on each side.
V
CAUTION!
Keep the dummy cover for future use. If you remove the accessible drive
again and do not replace it with a new one, the dummy cover must be
reinstalled to comply with EMC regulations and to satisfy cooling require-
ments and fire protection measures.
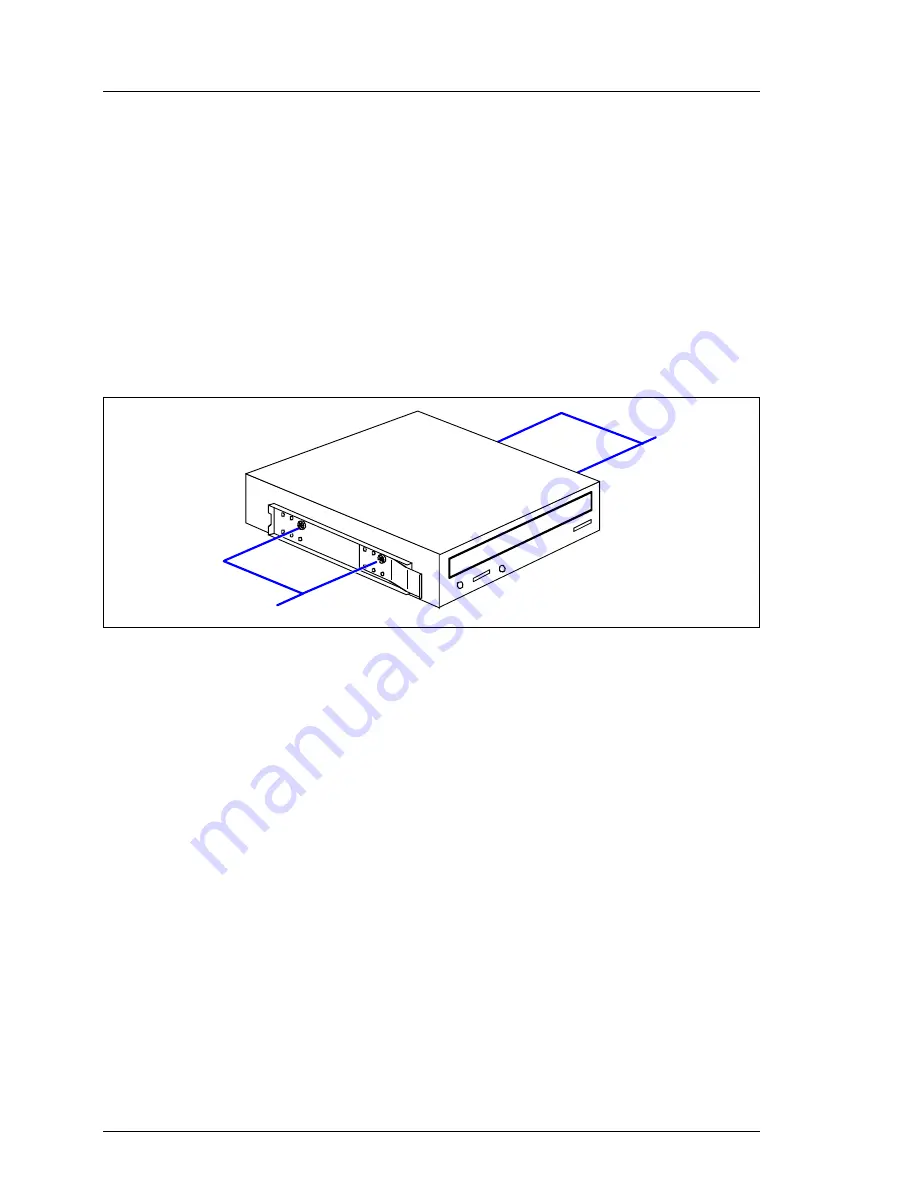
Figure 16: Attaching the EasyClick rails - DVD-ROM burner
Ê
Screw the EasyClick rails onto either side of the new 5.25-inch drive using
two M3x4.5mm screws (1).
Use the first hole in each upper row of holes as shown in the figure.
I
Keep the remaining screws for future use. The different drives are
fastened using different screws. Starting on the next page, you will
find figures which show the attaching of the EasyClick rails for
magnetic tape drives.
Ê
Push the new drive about halfway into the bay.
Ê
Connect the data cable to the accessible drive (see the cabling plans in the
Appendix).
Ê
Connect the power cable to the accessible drive (see the cabling plans in the
Appendix).
Ê
Push the drive fully into the bay until the EasyClick rails latch in place.
1
1


