


E-20
SELECTING OPTIONS IN A MENU
Use the [MODE] button on the display or
and
on the remote control to select a desired input mode.
Press
.
The main menu screen will appear.
Press
or
to switch between sub-menus.
Each time you press or , one of the available menus appears.
The corresponding menu screen will appear.
Press
or
to select an option for adjustment/setup.
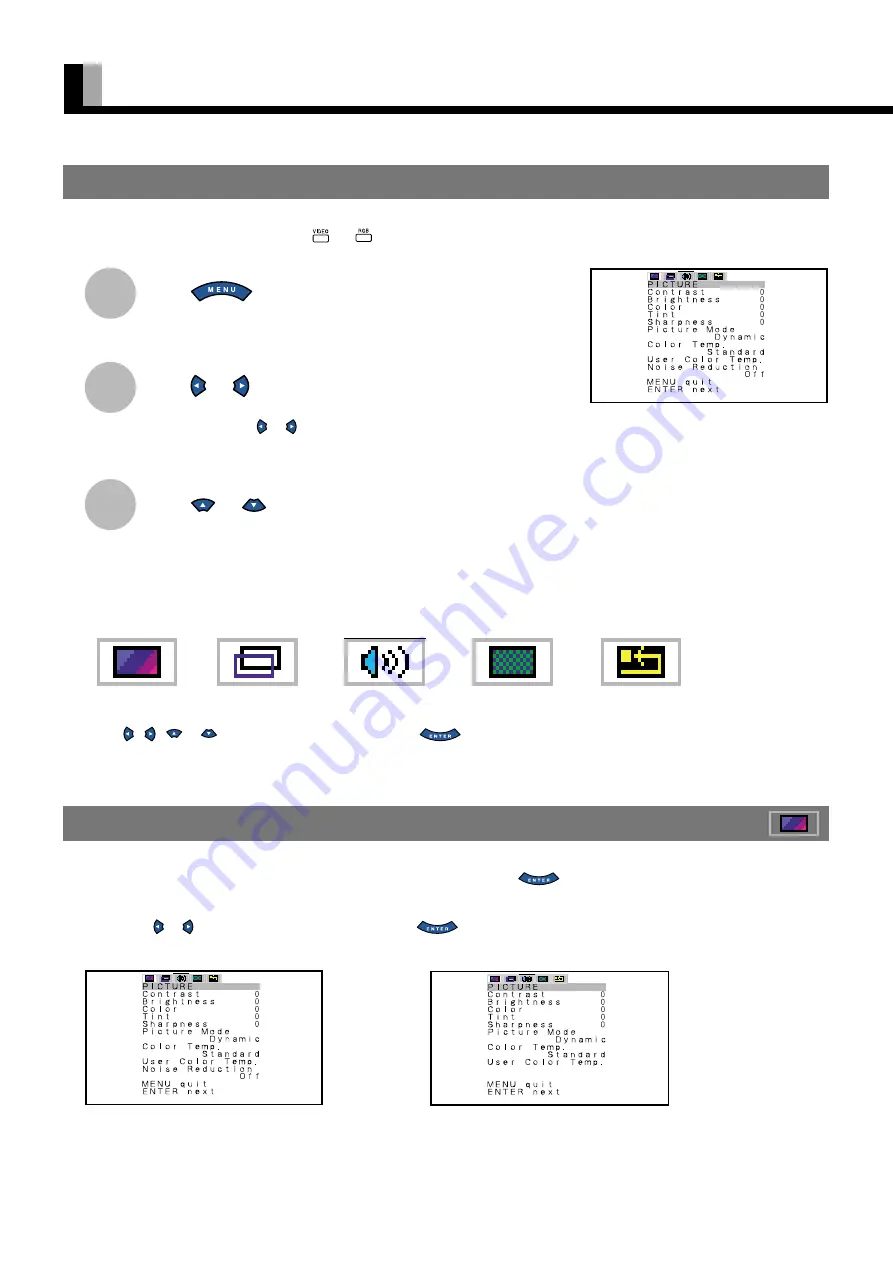
A total of five different menus (PICTURE, POSITION/SIZE, AUDIO, FEATURES, FACTORY DEFAULT) are available.
You can easily distinguish between these menus as shown below.
*Press , ,
or
to make adjustment/setup, and press
to store.
* Do not change input signals when any of the menus are displayed.
* Audio Input menu will not be displayed when "No Audio" is selected. (See P. E-37.)
USING THE PICTURE MENU
When you finish selecting a desired option in the PICTURE menu screen, press
.
At this time, the adjustment/setup screen for that option will appear.
You can use or to change the value for the option. Press
to store. (See P. E-26–E-27.)
Changes you make will be stored only for the selected mode.
HOW TO USE MENUS
1
2
3
Ex.: “PICTURE” selected in the main menu
screen
PICTURE Menu screen (Video Input Mode)
PICTURE Menu screen (RGB Input Mode)
PICTURE
AUDIO
FEATURES
FACTORY DEFAULT
POSITION/SIZE


