


18
L i f e B o o k N S e r i e s N o t e b o o k B I O S
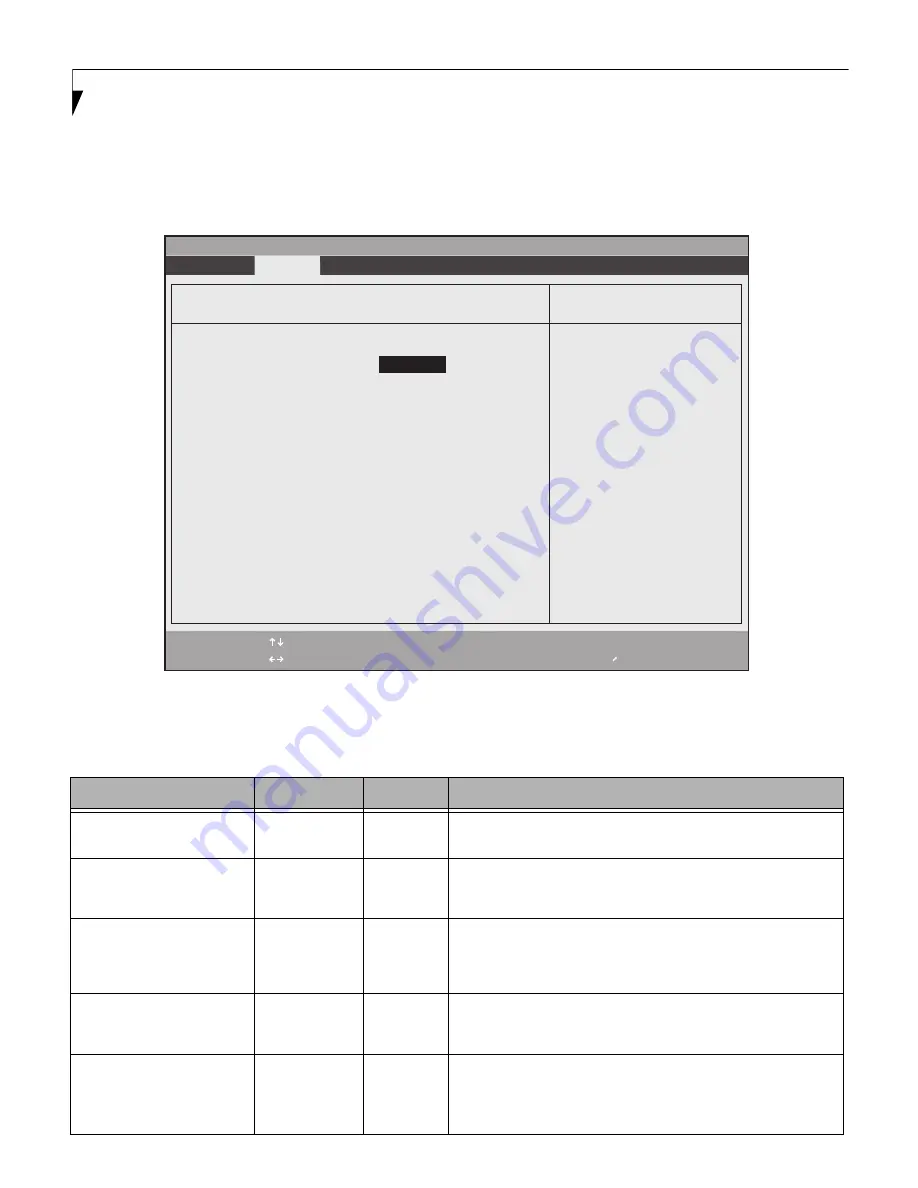
Miscellaneous Configurations Submenu of the Advanced Menu
The Miscellaneous Configurations Submenu provides options for enabling or disabling the power button and the
Wake Up On LAN or USB features, and for setting the volume.
Figure 11. Miscellaneous Configurations Submenu
Table 11: Fields, Options and Defaults for the Miscellaneous Configurations Submenu of the Advanced
Menu
Menu Field
Options
Default
Description
Power Button:
■
Disabled
■
Power Off
[Disabled]
Selecting Disabled disables the power button. Selecting Power Off
allows you to turn off system power with the power button.
Wake up on LAN:
■
Disabled
■
Enabled
[Disabled]
Selecting Enabled allows the system to wake up when the internal
LAN device receives a specific signal while in power-off state.
Selecting Disabled disables this feature.
Force LAN Boot:
■
Disabled
■
Enabled
[Disabled]
This is only active when Wake up on Lan: is enabled. When enabled,
the system will attempt to boot up from the LAN before attempting
to boot from any other device. This occurs regardless of the BIOS
boot priority settings or if Preboot Execution Environment is disabled.
Wake up on USB:
■
Disabled
■
Enabled
[Disabled]
Selecting Enabled allows the system to be awakened from Standby
mode by a USB device on a specific port up. Selecting Disabled
disables this feature.
Volume Setting:
■
Off
■
Minimum
■
Middle
■
Maximum
[Middle]
Allows you to set or disable the system volume level.
Note that once the operating system initializes, the volume settings
will be determined by the OS volume settings.
F1
Help
ESC
Exit
Select Item
Select Menu
-/Space
Enter
F9
Setup Defaults
F10
Save and Exit
Change Values
Select Sub-Menu
▲
Main
Advanced
Security Power Savings Exit
Item Specific Help
PhoenixBIOS Setup Utility
Configures the power
button.
*ACPI OS ignores this
setting.
Miscellaneous Configurations
Power Button:
Wake up on LAN:
Force LAN Boot:
Wake up on USB:
[Disabled]
Volume Setting:
[Middle]
[Disabled]
[Disabled]
[Disabled]


