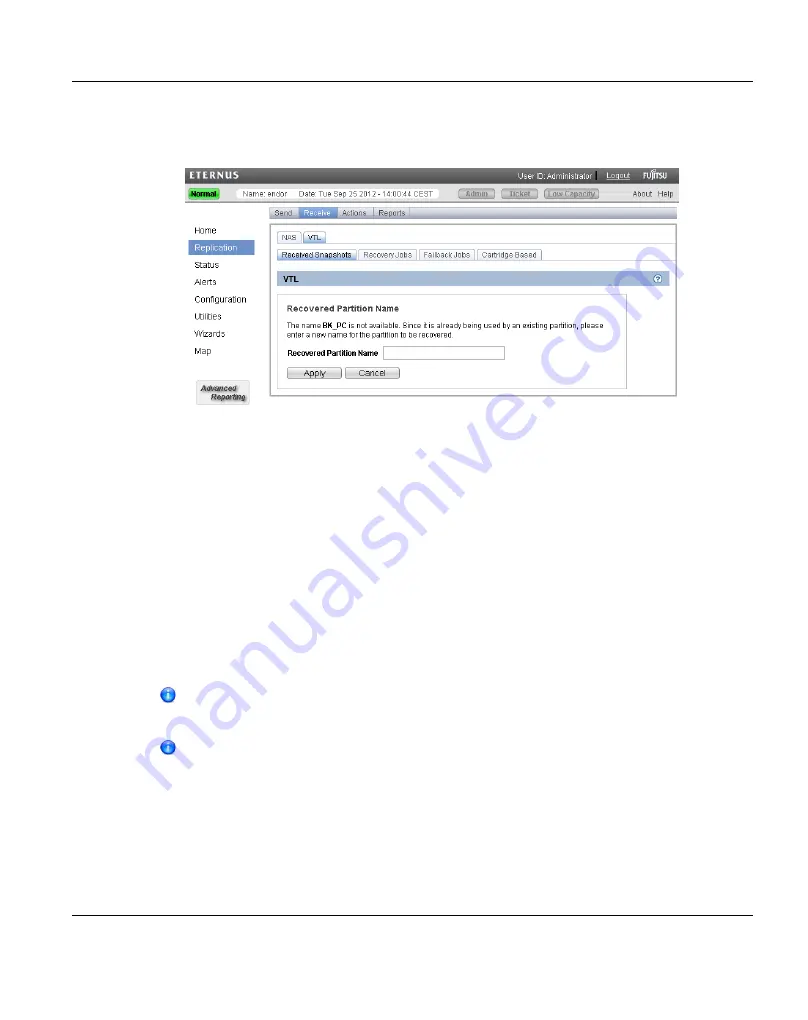
1. On the target system, select a snapshot in the
Snapshots List
and click
Recover
.
"Recovered Partition Name Page"
Figure 249: Recovered Partition Name Page
2. (Optional) In the
Recovered Partition Name
box, type a new name for the recovered
partition. (The default name is the original partition name.)
3. Click
Apply
.
The partition and its cartridges are recovered on the target system. All data stored on the
partition at the time the snapshot was saved is available.
After recovering the partition, you must add tape drives to the partition. The tape drive type
must be identical to the original partition so that the media is compatible. In addition, you
must map the devices before the VTL partition is accessible.
If the partition contains media, you will only be able to select the highest capacity tape drive
for that media type. For example, if the partition contains SDLT600 tape cartridges, you will
only be able to select DLT-S4 tape drives when mapping devices to the recovered partition.
When a VTL partition is recovered on a target system, a new serial number is
created for the partition.
After you recover a partition, if you want to continue backing up data to the
partition, you must remap your backup application to point to the target system
instead of the source system.
Performing a Failback For a Partition
Perform a failback of a VTL partition if a source system that was previously unavailable
becomes available again. When you failback a partition, you select a received snapshot. The
ETERNUS CS800
395
11 Replication
Содержание ETERNUS CS800
Страница 1: ...ETERNUS CS800 V3 2 User Guide English ...
Страница 2: ......
Страница 3: ...English ETERNUS CS800 User Guide V3 2 Edition October 2015 ...
Страница 26: ...26 ...
Страница 42: ...42 ...
Страница 78: ...78 ...
Страница 114: ...6 3 Running the Getting Started Wizard 6 3 3 Network Configuration Figure 80 Network Configuration 114 ETERNUS CS800 ...
Страница 132: ...6 3 Running the Getting Started Wizard Figure 91 Confirm Page 132 ETERNUS CS800 ...
Страница 143: ...Figure 97 Remote Management Pages Map ETERNUS CS800 143 7 Remote Management ...
Страница 144: ...144 ...
Страница 184: ...8 7 AIS Connect Figure 128 AISConnect Wizard Confirm 184 ETERNUS CS800 ...
Страница 198: ...198 ...
Страница 321: ...Figure 206 Network Configuration ETERNUS CS800 321 10 Configuration ...
Страница 335: ...Figure 215 Date Time Page To set the system date and time ETERNUS CS800 335 10 Configuration ...
Страница 339: ...Figure 216 Access Control Settings Page ETERNUS CS800 339 10 Configuration ...
Страница 362: ...362 ...
Страница 432: ...432 ...
Страница 476: ...476 ...
Страница 494: ...494 ...
Страница 600: ...600 ...


