46
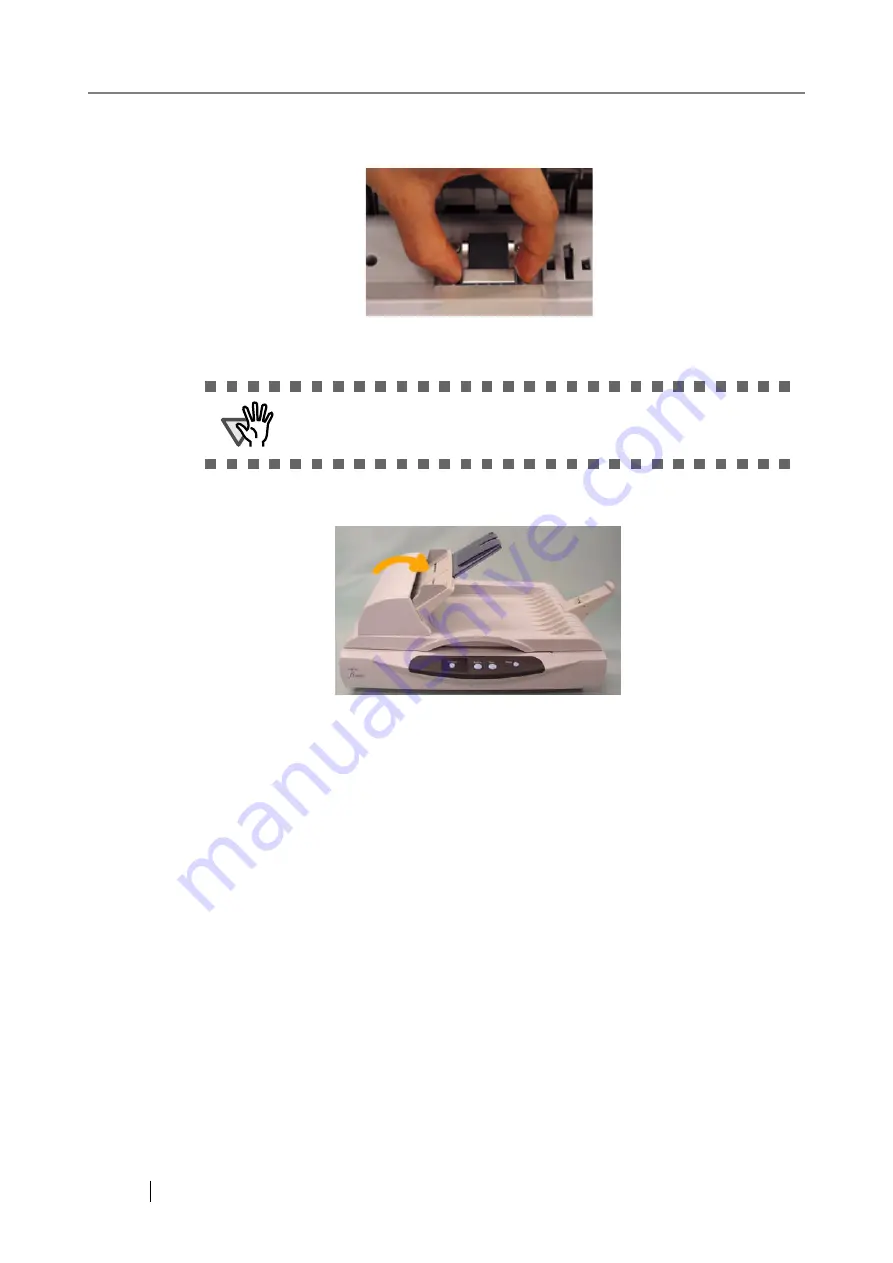
3. Remove the snap-in Pad ASSY by pinching the upper part of the pad clamp as shown
in the following photo.
4. Install new Pad ASSY by the reverse procedure of removing.
5. Press the center of the ADF to close it until it clicks.
6. Reset the pad counter.
1) Check that the scanner is connected to your PC and turn on the scanner.
2) Open the [Scanners and Cameras] from the control panel of your PC.
3) Open the [Properties] of [fi-5015C] from the [Scanners and Cameras].
⇒
The [Properties of fi-5015C] dialog box appears.
ATTENTION
Make sure that the Pad ASSY is firmly attached. When the Pad ASSY is
not correctly attached, document jams or other feeding errors may occur.
Содержание 5015C - fi - Sheetfed Scanner
Страница 1: ...Operator s Guide fi 5015C Image Scanner P3PC 1592 01ENZ0 ...
Страница 2: ......
Страница 14: ...xii ...
Страница 20: ...6 ...
Страница 48: ...34 ...
Страница 70: ...56 ...
Страница 72: ...AP 2 Dimensions Unit millimeters 175 447 17 6 in 6 88 in 175 328 12 9 in 6 88 in ...
Страница 76: ...AP 6 ...


