Fujitsu 280X1024@75Hz Скачать руководство пользователя страница 8


Mode


Resolution


Horizontal(KHz)


Vertical(Hz)


1


640x400


31.469


70.087


2


640x480


31.469


59.940


3


640x480


37.861


72.809


4


640x480


37.500


75.000


5


720x400


31.469


70.087


6


800x600


35.156


56.250


7


800x600


37.879


60.317


8


800x600


48.077


72.188


9


800x600


46.875


75.000


10


1024x768


48.363


60.004


11


1024x768


56.476


70.069


12


1024x768


58.038


71.918


13


1024x768


60.023


75.029


14


1024x768


48.019


60.000


15


1024x768


47.700


60.000


16


1152x864


67.500


75.000


17


1280x800


49.702


74.900


18


1280x800


62.795


60.000


19


1280x960


60.000


60.000


OPERATION 

OPERATION


  System setting menu  


Language: 

use  or  to select desired language. 

Menu display time: 

use  or  to select the desired time for menu display. 

Saving time: 

use  or  to select desired time for display so as to meet your 

requirement. 

Reset: 

reset all the set value to factory setting. 
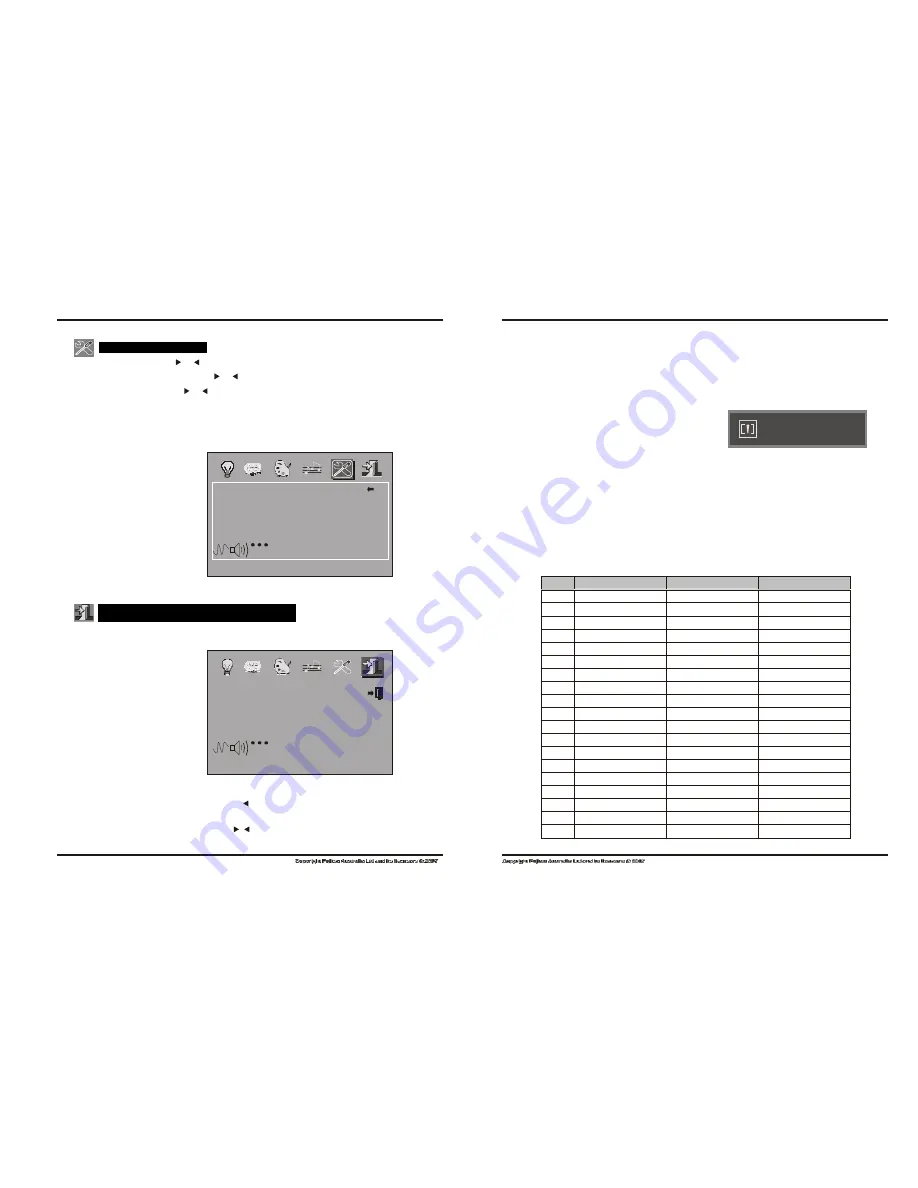
3.3 Safeguard


When the video signal of your computer exceeds the frequency range of monitor 

(refer to product specification), the micro-computer of monitor will turn off the sync 

signal of horizontal and vertical for the purpose of monitor protection, please refer 

to the illustration below. The monitor will enter saving mode after few seconds, 

and the power indicator will light red. Please 

Return: 

back to previous menu. 

set the output frequency of your computer 
within the acceptable range of monitor so that 

the monitor can work normally. 

OUT OF RANGE


Return


Language 

English


OSD Timeout 

60


Power Save 

8


Reset


4 : 3 

OFF


USER 

1280X1024@75Hz


3.4 Setting of display mode


With standard VESA and DDC function, the monitor will scan frequency, output 

power, performance etc and transfer to PC after turning on when you use the 

video card with VESA DDC1/2B function. And it will identify the connection mode 

of display and select the proper resolution. 

The preset mode before leaving factory is as below: 

MENU   

S e l e c t


-  + 

M o v e


Display mode:when setting OFF,it is display mode,whensettingON, 
it will be 4:3 display mode


  Exit and signal resource selection menu  


Select terminal input: 

select input terminal for signal input (option) 

Exit: 

exit OSD menu 


Exit


VGA 


DVI


MENU   

S e l e c t


USER 

1280X1024@75Hz


-  + 

M o v e


Note: Hot Key of volume, brightness, contrast


Without OSD mode, your may press "   " button to call volume adjustment directly, 
when the volume menu is not exit, please press "MENU" to call brightness and 
contrast adjustment, you may use "   /   " to adjust it to optimum. 


page 11 

page 12


Содержание 280X1024@75Hz

Страница 1: ...22 inch Color LCD MONITOR ...

Страница 2: ... 5 2 3 Connection of Audio cable 5 2 4 Power on 6 2 5 Self inspection 6 2 6 Image Adjustment 6 3 Operation 3 1 OSD button 7 3 2 OSD menu and operation menu introduction 9 3 3 Safeguard 12 3 4 Power management system 12 3 5 Setting of display mode 13 4 Technical specification 4 1 22 TFT LCD monitor specification 14 4 2 Pin assignment of signal cable 15 4 1 Visual Inspection 15 5 Trouble Shooting 16...

Страница 3: ...e parts not recommended by the manufacturer otherwise it may cause a hazard 5 When unplugging the power cord of the monitor or adapter please hold the plug with your hand do not pull the cord directly 6 Do not place any object on the power cord Do not trample it either 7 Do not use the device near water sources e g bathtub basin kitchen sink or washing machine Do not place the device on a wet floo...

Страница 4: ...rmance and light weight etc meanwhile with the power saving and no radiation features the latest LCD will bring you comfortable safe and environmental protection brand new visual experience Your purchase and use of this product is highly appreciated 1 2 Features High performance intelligent multi frequency scanning use active matrix Thin film transistor liquid crystal display TFT Micro Computer di...

Страница 5: ...in Section Three 1 VGA signal input connect to computer VGA signal output jack 2 DVI signal input connect to computer DVI signal output jack 3 Power jack connect to adaptor DC output jack 4 Audio input connect to computer sound card audio output jack 2 1 Connection of signal cable Before connecting your monitor and PC with signal cable please turn off your monitor and computer And then insert one ...

Страница 6: ...ue 4 3 2 1 6 5 AUTO MENU 4 3 6 5 1 2 MENU VOL VOL AUTO 3 6 5 2 1 7 8 4 1 Power Switch Digital control light touch switch used for turning on or off monitor power 2 Power Indicator When the monitor is under normal working condition the indicator will light green or blue if the monitor is under saving mode the indicator will light red or off And the indicator will turn off under the power off mode W...

Страница 7: ...djustment it can be adjusted if under shadow mode If you are not satisfied with the color temperature set by manufacturer you may set the color temperature to USER mode it will light red at this time When enter adjust menu please use or to adjust R G B to change the color of image Return back to previous menu Return Brightness 50 Contrast 50 USER 1280X1024 75Hz Return Auto Color Color Red 50 Green...

Страница 8: ...ustration below The monitor will enter saving mode after few seconds and the power indicator will light red Please Return back to previous menu set the output frequency of your computer within the acceptable range of monitor so that the monitor can work normally OUT OF RANGE Return Language English OSD Timeout 60 Power Save 8 Reset 4 3 OFF USER 1280X1024 75Hz 3 4 Setting of display mode With stand...

Страница 9: ...or OSD menu button auto setting OSD Function Contrast brightness auto adjustment image level phase image h position image v position OSD h position OSD v position color temperature RGB language Adaptor AC input 100V 240V 50 60Hz Adaptor DC output 12V 5A Max Power consumption 50W Working environment Temperature Humidity 0 20 80 Storage environment Temperature Humidity 20 20 80 Packing dimension LxW...

Страница 10: ...ment menu and then select Auto Adjust to make the display to adjust automatically to optimum D The image is too light or too dark Enter the OSD brightness adjustment menu and then select the to adjust the brightness and contrast to optimum E The screen is overheated Please keep at least 5cm around the display for ventilation and do not place anything onto the monitor F Dark display after power on ...

Отзывы: