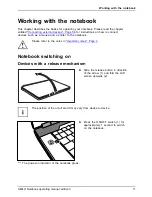

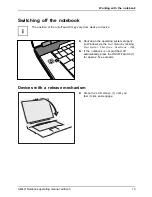

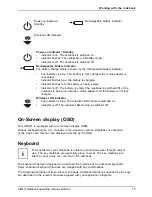


Working with the notebook
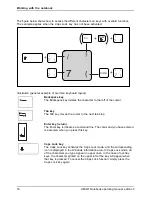
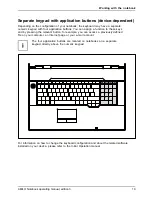
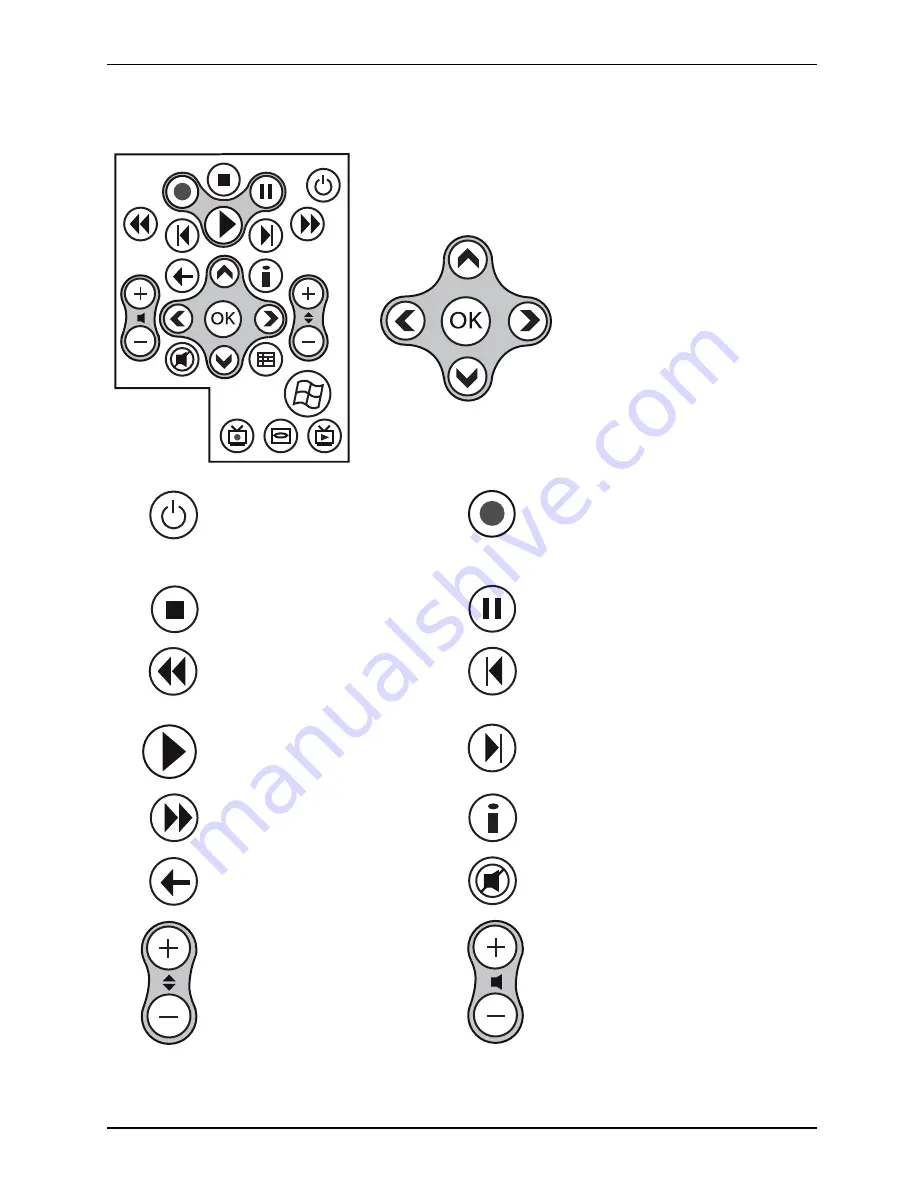
Buttons
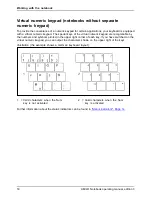
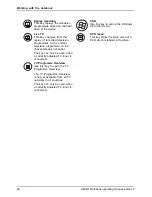
Navigation key
The navigation key scrolls within the menus (up, down, left
and right).
►
The "OK" key activates the selected menu entries.
Energy saving mode On/Off
switch (S3)
Use this key to switch the notebook
to energy saving mode (S3) or to
leave energy saving mode (S3).
Rec
This key records the current
television programme on the hard
disk of your device.
Stop
This key ends the current
playback.
Pause
This key pauses the current
playback.
Rewind
This key rewinds the playback.
Jump back
This key starts playback of the
previous track, picture or previous
fi
lm sequence.
Replay
This key starts the playback.
Jump forward
This key starts playback of the next
track, picture or next
fi
lm sequence.
Fast forward
This key advances the playback.
Information
This key gives you extra information
on multimedia applications.
Back
This key takes you to the previous
menu.
Mute key
This key switches the sound
playback on and off.
Change channel
This key changes the television
channel.
Increase/decrease volume
This key increases or decreases the
volume.
AMILO Notebook operating manual, edition 3
25
Содержание AMILO
Страница 1: ...Consumer Mobile English Operating Manual AMILO Notebook...
Страница 3: ......
Страница 10: ...Contents AMILO Notebook operating manual edition 3...


