4 Scan
108
S
can
4
2
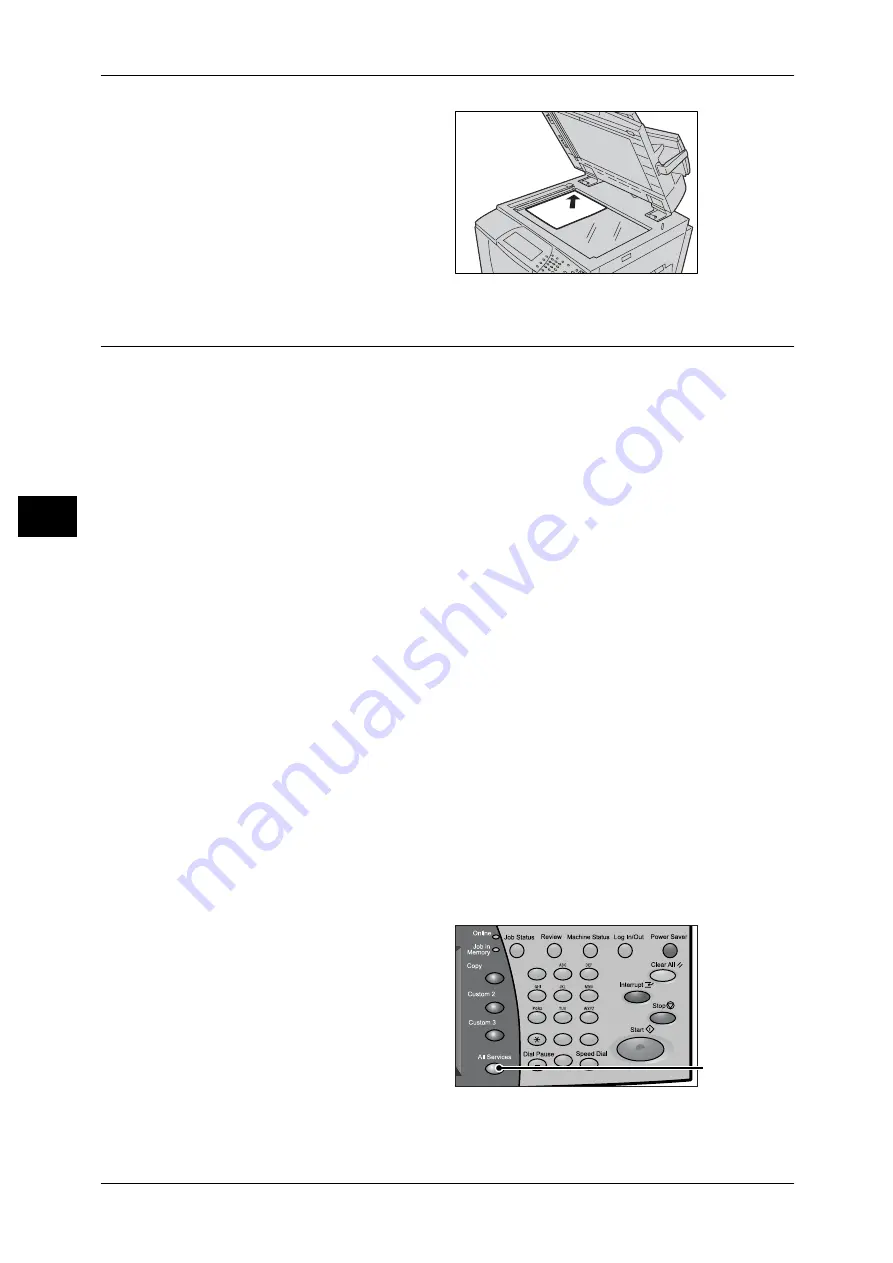
Place the document face down,
and align it against the top left
corner of the document glass.
3
Close the document cover.
Note
• When a standard size
document is placed on the
document glass, the size of
the document is displayed in
the message area.
Step 2 Selecting Features
You can select features on the [General Settings] screen.
From the [All Services] screen, you can select from 3 scan modes: E-mail, Scan to
Mailbox, and Scan to PC.
Scans a document and sends the scanned data as an e-mail attachment.
Scan to Mailbox
Scans a document and saves the scanned data into a mailbox on the machine.
You need to create a mailbox in advance. For information on how to create a mailbox, refer to "6 System
Settings" > "Setup Menu" > "Mailbox" in the Administrator Guide.
Scan to PC
Scans a document and sends the scanned data to a network computer via the FTP or
SMB protocol.
The following shows the reference section for each feature.
Note
• Features displayed may vary depending on the model you are using.
• When using the Auditron mode, a user ID and passcode may be required. Ask your system
administrator for the user ID and passcode.
• To use the scan features, network settings are required. For information on the network
settings, refer to "6 System Settings" > "Network Settings" in the Administrator Guide.
The following describes how to store scanned data into a mailbox.
1
Press the <All Services> button.
1
2
3
4
5
6
7
8
9
0
#
C
<All Services>
button
Содержание DocuCentre-II 6000
Страница 1: ......
Страница 8: ......
Страница 24: ......
Страница 195: ...9 Glossary This chapter contains a list of terms used in this guide z Glossary 194...
Страница 200: ......
Страница 205: ...DocuCentre II 7000 6000 User Guide DE3676E2 1 Edition 1 June 2007 Fuji Xerox Co Ltd Copyright 2007 by Fuji Xerox Co Ltd...
Страница 206: ......


