


74
9.2.13 ControlLogix Example: Read a Block of Function Codes
This example program will show how to continuously read a block of function codes from the inverter
with a single MSG instruction. Only one read request is outstanding at any given time.
1) Create new Tags.
a)
Double click “Controller Tags” in the controller organizer view.
b)
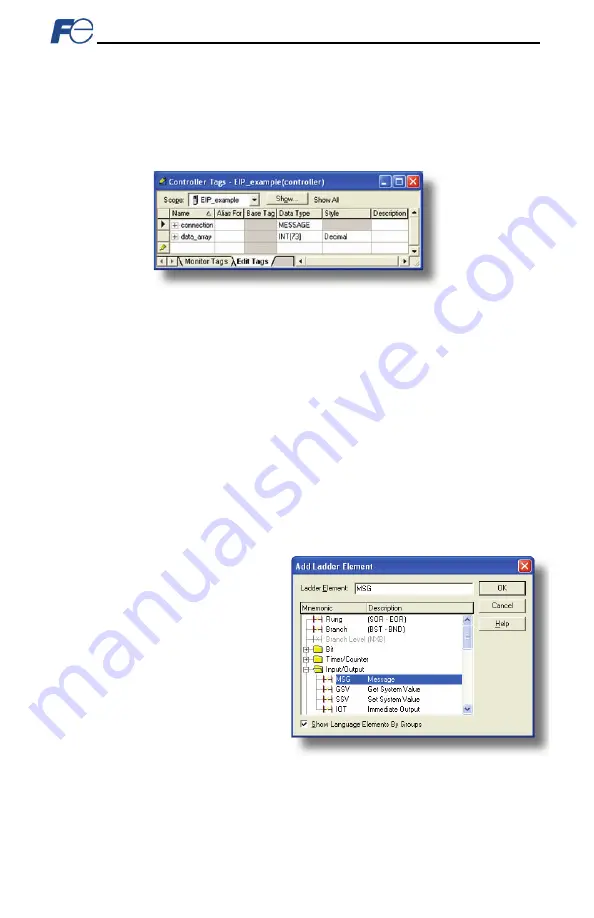
The “Controller Tags” window appears. Refer to Figure 66.
Figure 66: Create New Tags
c)
Select the “Edit Tags” tab at the bottom.
d)
Create a new tag by entering “connection” in the first blank Name field, and change its Data
Type to “MESSAGE”. This tag will contain configuration information for the MSG instruction.
e)
Select the “Monitor Tags” tab. Expand the “connection” tag by clicking on the “+” sign next to
the tag name. Scroll down to the connection.UnconnectedTimeout field and change its value
from the default 30000000 (30s in 1uS increments) to 1000000 (1s). This value determines
how long to wait before timing out and retransmitting a connection request if a connection
failure occurs.
f)
Collapse the “connection” tag again by clicking on the “-“ sign next to the tag name.
g)
Select the “Edit Tags” tab again. Create another new tag by entering “data_array” in the next
blank Name field, and change its Data Type by typing in “INT[73]” in the Data Type field. This
tag is an array of INTs that will be able to hold up to 73 16-bit function codes from the
inverter. Always make sure that the destination tag size is large enough to hold all elements
to be read.
2) Add a MSG instruction to the main program.
a)
Double click “MainRoutine” under
Tasks …MainTask …MainProgram
in the controller organizer view.
b)
Right click on the first ladder logic
rung in the MainRoutine window
and select “Add Ladder Element...”
c)
The “Add Ladder Element” window
appears.
d)
Select the “MSG” instruction in the
Input/Output folder. Refer to Figure
e)
Click OK.
3) Add an XIO element to the main
program.
a)
Right click on the ladder logic rung
containing the MSG instruction in the MainRoutine window and select “Add Ladder
Element...” again.
b)
The “Add Ladder Element” window appears.
c)
Select the “XIO” element in the Bit folder. Refer to Figure 68.
Figure 67: Adding a MSG Instruction
Содержание OPC-PRT
Страница 18: ...17 Figure 5 Installation for 15 kW and Smaller Inverters Interface Card Connector Board Option Case...
Страница 19: ...18 Figure 6 Installation for 18 5 kW to 22 kW Inverters Interface Card Connector Board Option Case...
Страница 86: ...85 Figure 85 Monitoring the Data Being Read from the Inverter...
Страница 116: ...47520 Westinghouse Dr Fremont CA 94539 Tel 510 440 1060 Fax 510 440 1063 http www americas fujielectric com...


