background image

 USER’S MANUAL· MAX  


 - 4 -              

MAX S700 CI+


Version 1.1


© FTEmaximal


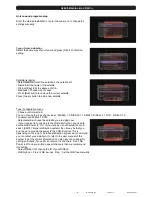
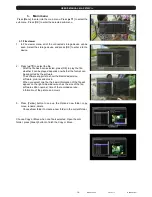
Antenna and program setup 
 

Enter the Guided installation or enter the sub-menu to change the 
settings manually.  


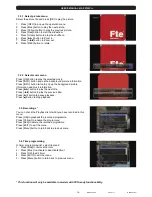
Type of tuner installation 
Select the same way of your tuner and press [OK] to confirm the 
setting. 


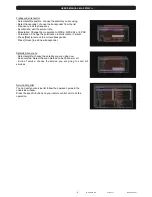
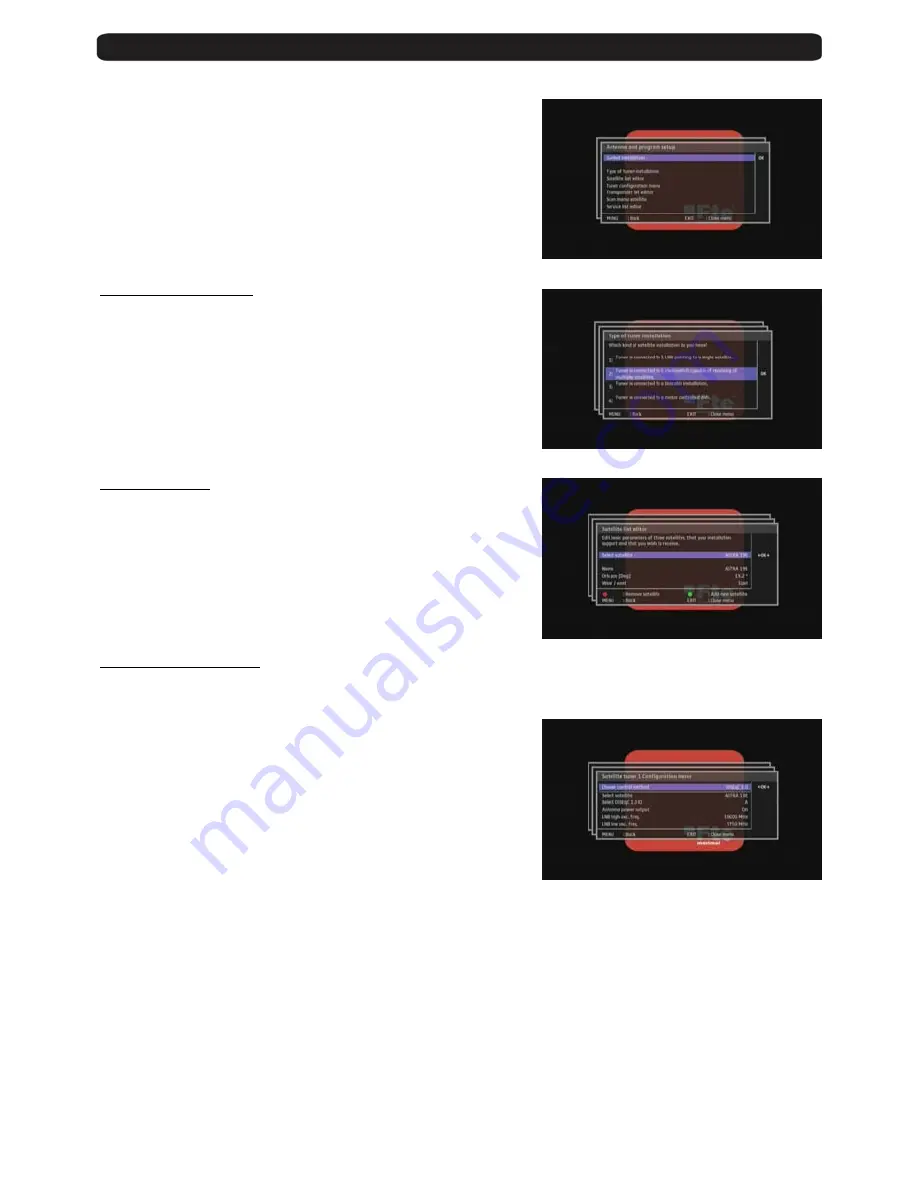
Satellite list editor 
- Select satellite: Select the satellite in the satellite list. 
- Name: Edit the name of the satellite. 
- Orb.pos[Deg]: Edit the degree of Orb. 
- West/east : choose west or east. 
- Press [Red] button to remove the current satellite. 
Press [Green] button to add a new satellite. 


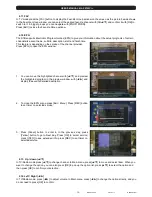
Tuner configuration menu 
- Choose control method:  
You can choose the type of your tuner:  DiSEqC 1.0, DiSEqC 1.1 SMATV, DiSEqC 1.1 DTH , DiSEqC 1.2, 
Toneburst and 22KHz, 14/18V. 
- Select satellite: choose the satellite you are using now. 
- If your receiver is connected to the LNB directly then you need to 
set the LNB Power to “On”. If your receiver is connected to a multi 
switch (SMATV signal distribution system) then it may be that you 
don’t need to provide the power to the LNB. But since this is 
depending on the kind of installed distribution system we recommend 
you to contact your installer or to refer to the user manual of this 
system to get the correct information.You also just can change this 
setting and check if you still can receive the channels. If the LNB 
Power is off and you still can see all channels then we recommend 
this setting. 
- Select DiSEqC ID: choose the ID of your DiSEqC 
- LNB high osc. Freq. / LNB low osc. Freq. : Set the LNB freq manually. 


Содержание MAX S700 CI+

Страница 1: ...MAX S700 CI USER S MANUAL...

Страница 2: ......

Страница 3: ...MAX S700 CI ENGLISH USER S MANUAL...

Страница 4: ......

Страница 5: ...he cabinet to avoid the unit direct exposure to radiation Unit Cleaning After the unit power is turned off you can clean the cabinet panel and remote control with a soft cloth lightly moistened with a...

Страница 6: ...s guide and get more information about receivers please visit the website http receivers ftemaximal com The coaxial cable with satellite signal must be connected to the IF IN connector The TV SCART or...

Страница 7: ...ne audio language If a channel offers the same audio language as the Preferred audio language you set the system will play this audio language as default If the channel does not offer this audio langu...

Страница 8: ...iSEqC 1 1 SMATV DiSEqC 1 1 DTH DiSEqC 1 2 Toneburst and 22KHz 14 18V Select satellite choose the satellite you are using now If your receiver is connected to the LNB directly then you need to set the...

Страница 9: ...Polarization Change the polarization to Horizontal or Vertical Press Red to remove the current transponder Press Green to add new transponder Satellite Scan menu Select satellite choose the satellite...

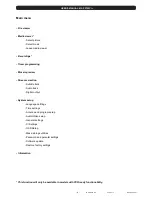
Страница 10: ...preview Stream selection Subtitle track Audio track Digital output System setup Language setttings Time settings Antenna and program setup Audio Video setup General settings CI Settings OSD Setup Mass...

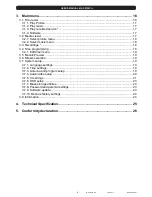
Страница 11: ...trol unit 11 2 1 Standby Mode 11 2 2 Mute 11 2 3 Audio 11 2 4 TV Radio 11 2 5 SUB 11 2 6 TXT 11 2 7 FORMAT 11 2 8 Channel Number 11 2 9 PGUP PGDN 11 2 10 FAV 11 2 11 FAV 12 2 12 EPG 12 2 13 Up down 12...

Страница 12: ...18 3 4 Time programming 18 3 4 1 Edit timer menu 19 3 5 Mosaic Preview 19 3 6 Stream selection 19 3 7 System setup 19 3 7 1 Language settings 19 3 7 2 Time settings 19 3 7 3 Antenna and program setup...

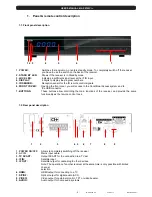
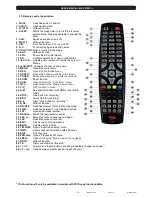
Страница 13: ...ess to the Conditional Access system and to the USB connector 7 BUTTONS These buttons allow controlling the main functions of the receiver and provide the same functionality as the remote control ones...

Страница 14: ...Opens directly the File viewer menu 21 MP3 Opens directly the Media viewer menu 22 PIP OPT function in menu 23 A B Screenshot function with HDD connected to USB 24 STOP Stop button for recording 25 RE...

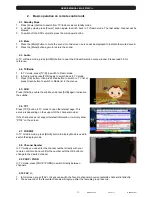
Страница 15: ...s OK button then press Red button to switch to TV list or press Green button to switch to Radio list in the menus 2 5 SUB Press SUB to enable the subtitle and press SUB again to disable the subtitle 2...

Страница 16: ...to open the EPG window 1 You can move the highlighted channel with and preview the highlighted program in the preview window with and display the event s detailed description 2 To close the EPG menu...

Страница 17: ...vice and press OK to change to your selected service 4 Press Blue button to sort the list of files Options 1 123 Sorting in numerical order increasing 2 321 Sorting in numerical order decreasing 3 Nam...

Страница 18: ...Media Viewer mode press INFO button to pop up the information of the picture or music you are playing at the moment 2 21 PVR LIST In TV mode press PVR LIST button to access directly to the Record Lis...

Страница 19: ...o back the program fast and Press to fast forward the program Selection 2x 4x 8x 16 64 speed 2 26 Play Pause II When you play a current or recorded program press II will stop the program press II agai...

Страница 20: ...it can be played depends on whether the format can be supported by the software The software supports to show the Recorded service software pictures and music When you select one file the basic inform...

Страница 21: ...wer menu 6 Press button to play the next picture manually 7 Press button to play the previous picture manually 8 Press Red button to Zoom in 100 200 300 400 500 600 700 800 9 Press Green button to Zoo...

Страница 22: ...op up the background picture information and music information Press button to play the next title Press button to play the previous title Press II button to pause playback Press button to stop playba...

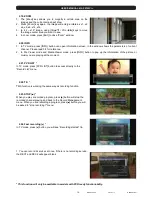
Страница 23: ...n to turn back to previous menu Press EXIT button to exit all the menu 3 5 Mosaic Preview You can check service preview using multi picture mode in this menu The highlighted one is the current channel...

Страница 24: ...80i 720P 480i 576i 4 SDTV standard Options are PAL NTSC SECAM 5 Scart output You can select CVBS YPbPr Y C to choose scart output 6 Screen capture You can select Video only to only capture Video or se...

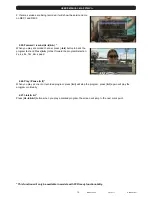
Страница 25: ...odule into the Slot CI matching will start automatically 3 Then the status will appear to be Module Inserted Please press OK to set the configuration of you CI slot 4 Pin Code modification Set the pin...

Страница 26: ...MAX S700 CI Version 1 1 FTEmaximal Then the services and channels that CI card supports are available 6 The language of CI module is available in English and German 7 The module information 8 CI soft...

Страница 27: ...tion 1 Select storage device 2 Your storage device information 3 Format the selected device Only support FAT32 format right moment 4 Rename the selected device 5 Set the PVR jump time as you need Forw...

Страница 28: ...it to abort the restoring 3 8 Information When you select the Information menu you will see a screen like beside The screen displays information about the current channel Including satellite software...

Страница 29: ...gy dispersion DVB S DVB S2 recommendation INPUT SIGNAL Frequency 950MHz 2150MHz Input level 65dBm 25dBm Channel bandwidth 36MHz Input socked F type connector LNB CONTROL Power supply 13 18V 500mA max...

Страница 30: ...rmity declaration CONFORMITY DECLARATION WE FTE MAXIMAL DECLARE THAT THE PRODUCT MAX S700 CI IS IN CONFORMITY WITH FOLLOWING DIRECTIVES Low Voltage Directive 2006 95 EC EMC Directive 2004 108 EC If yo...

Страница 31: ......
Страница 32: ...Tel 00 39 05 22 90 97 01 Fax 00 39 05 22 90 97 48 fte fte it www ftemaximal com PORTUGAL Rua Jos Carlos Ary dos Santos A das Lebres Loures 2670 791 Santo Ant o do Tojal Tel 00 351 219 83 87 00 Fax 00...

Отзывы: