


15
The Setup menu
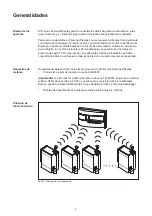
General remarks
The setup menu allows initial settings to be made for operating the personal display. The
inverter’s setup parameters cannot be accessed.
Accessing the
setup menu
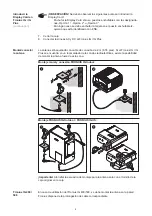
1.
Press Menu key
2.
Use the navigation keys to switch to
„Setup“ display mode
Important!
The setup menu can only be
accessed in „MENU ALL“.
3.
Press Enter key
The Setup menu
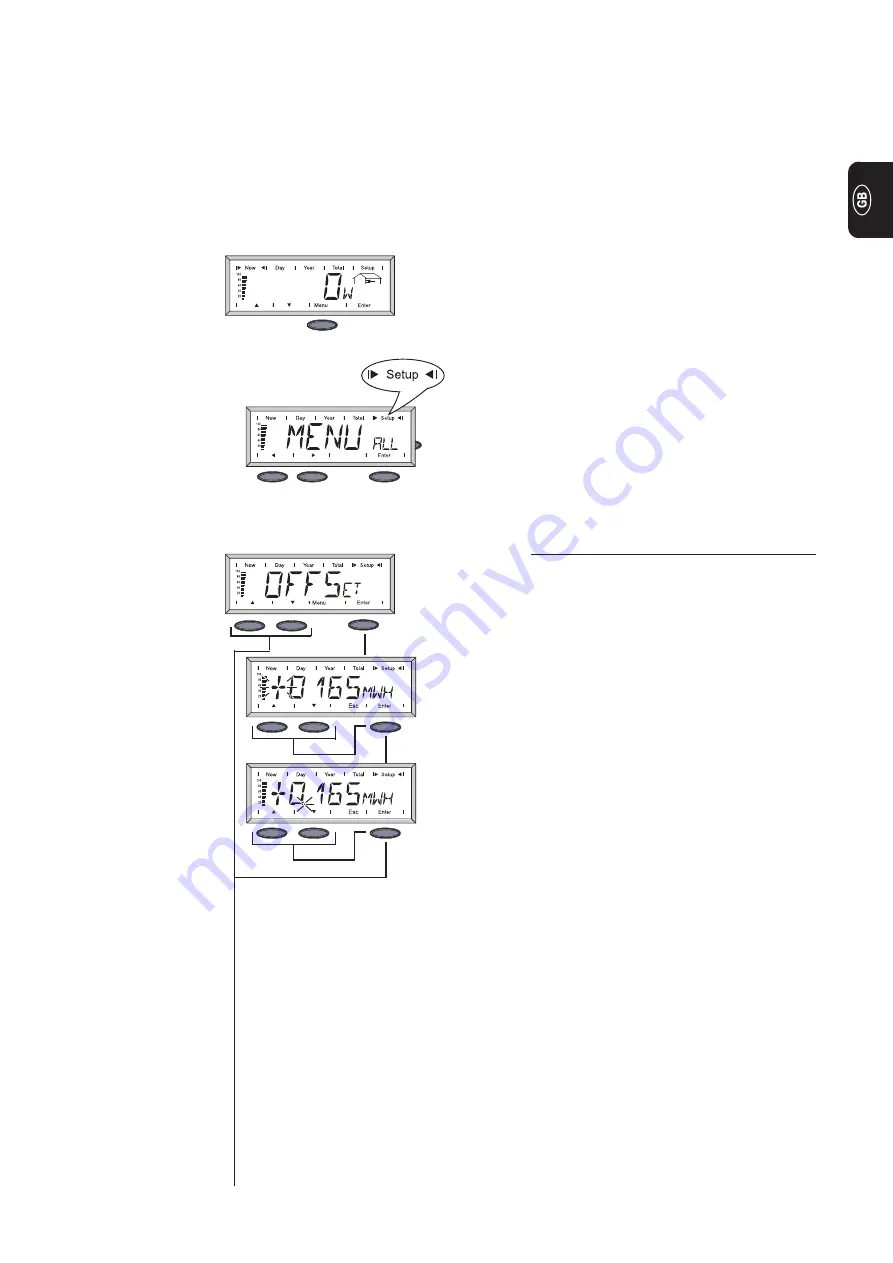
OFFSET
Facility for correcting energy values if any
discrepancies occur between your meter
and the values shown on the personal
display.
The offset value is added to the perfor-
mance data sent by the Fronius IG / IG
Plus in display mode „ALL TOTAL“.
1.
Flashing numbers on the display can
be changed by pressing the navigati-
on arrows.
2.
Confirm setting by pressing the Enter
key and move to the next digit.
3.
Once the last digit in the display has
been confirmed, the display moves on
to setting the decimal point.
4.
Move the decimal point by pressing
the navigation arrows.
Important!
Display is always in MWh.
Range: 0.001 - 9999 MWh
E.g.: 735 kWh = 0.735 MWh
5.
Press Enter key twice to save the
setting.
Содержание IG 400
Страница 2: ......
Страница 4: ...ud_fr_st_et_01382 012008...
Страница 28: ......
Страница 52: ......
Страница 76: ......