For expert advice please speak to a specialist on
Mon-Fri: 8:30am - 6:30pm | Sat & Sun: 11am - 5pm
FREE UK DELIVERY*
for orders over £35
10,000+ DIY Products
at unbeatable prices
Price Promise Guarantee*
we won’t be beaten on price
250,000 Happy Customers
five star customer reviews
BigOnDIY.co.uk is a Love Shopping Direct website
* See website for further details.
Multi AwArd winning CoMpAny...
Family
Business
Awards
DIY
Big brands, small prices
.co.uk
19
Record Schedule
6.2 Recorder Setup
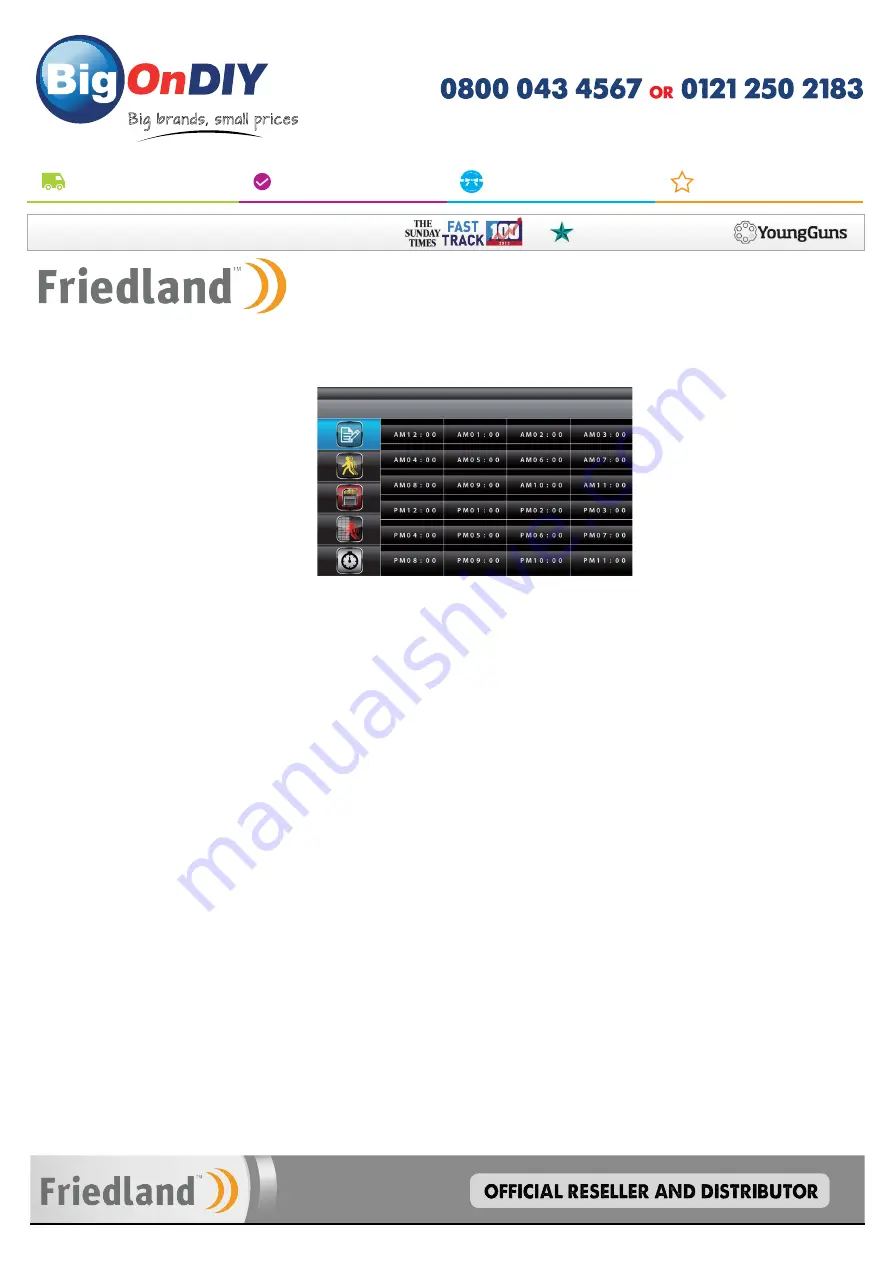
Use▲▼◄► to select and press MENU to enter schedule setup.There are three different
recording options available to chose from. First highlight the time period and press MENU key
to switch between different recording mode.
M: MOTION (REC only when motion detected)
S: SCHEDULE (record between selected times for each day)
C: MANUAL (manual REC)
The system will record video from all 4 channels simultaneously with MOTION, SCHEDULE
and MANUAL record modes. One of the four channels will have audio available.
The time slot boxes in the diagram above each represent hourly slots, e.g., selecting AM10:00
means recording will occur from 10:00am to 11:00am. Also if for example boxes AM10:00
and AM11:00 are set to "S" (Schedule) recording, please note that a continuous 2 hour video
file will not be recorded but separate files depending on the recording time for each file setup,
(p21), i.e., if set to 2 minutes then 60 clips will be recorded in a 2 hour schedule recording slot.
While the system is performing MOTION recording, audio will automatically switch to the
channel triggering by motion.
Recording cannot be stopped until 30 seconds after recording has started. This mandatory
system operation is designed to prolong the overall life of memory card. To stop recording,
press REC/DEL once. To remove the memory card, please power off the system first.
If set to SCHEDULE recording mode, the system will automatically resume recording 60
seconds after recording is stopped manually. If set to MOTION record mode, the system will
resume motion detection function 60 seconds after recording is stopped manually.
Recording must be stopped before entering the system main menu and the system will
resume QUAD mode after idling for two minutes.
NOTE:
Recording will not work if no memory card is inserted into the monitor DVR.


