9
CLEANING
TROUBLESHOOTING
MAINTENANCE
Cleaning inside the Refrigerator
You should clean the Refrigerator internally with a weak solution of
bicarbonate of soda. Then rinse with warm water using a ‘wrung-out’
sponge or cloth. Wipe the Refrigerator dry before replacing the food.
Plug in and switch on the mains supply
.
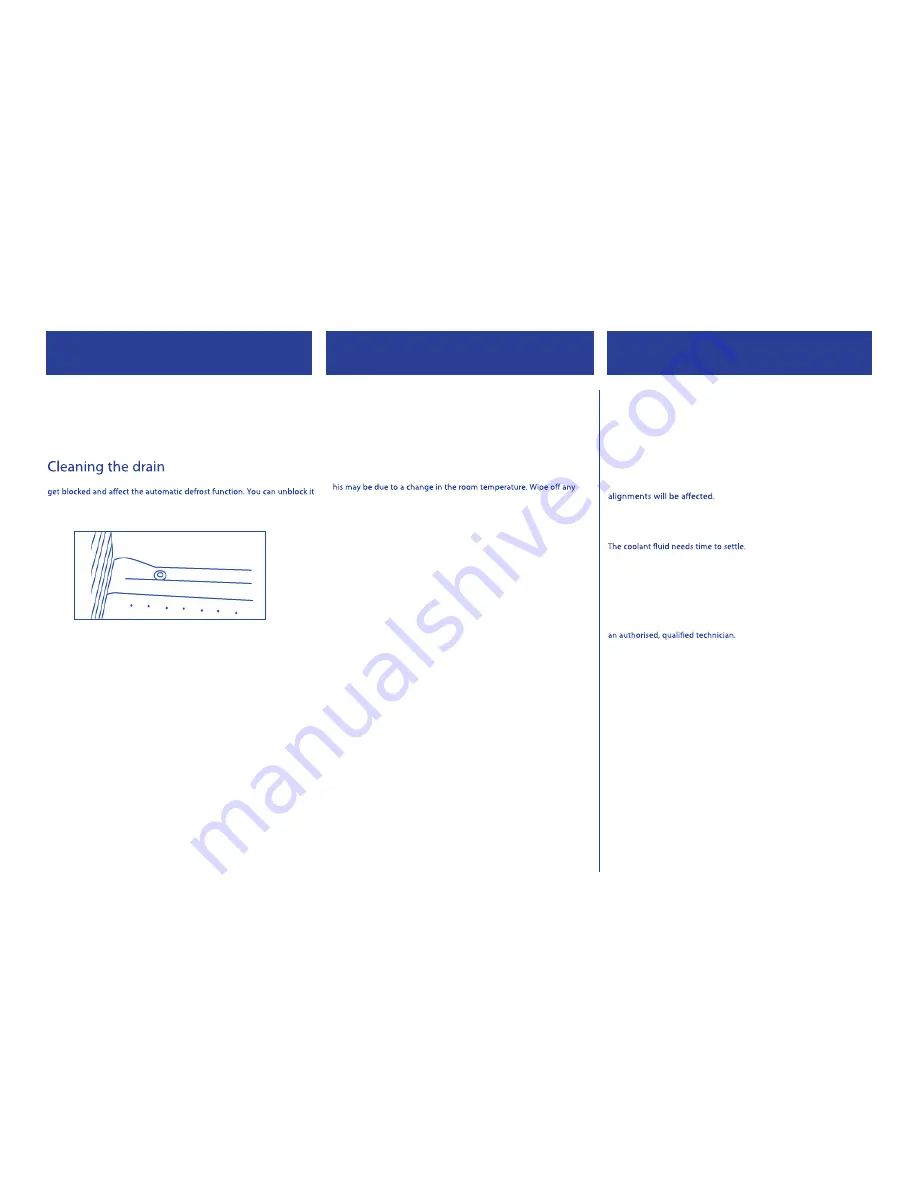
The drainage hole which is located at the back of the compartment can
using a cotton bud, pipe cleaner or drinking straw (don’t suck!).
Use standard furniture polish to clean the Refrigerator exterior.
Make sure that the doors are closed, to prevent polish getting on the
magnetic door seal or inside.
The grille of the condenser at the back of the Refrigerator and the
adjacent components can be vacuumed using a soft brush attachment.
Cleaning tips
•
Defrost and clean when food stocks are low
.
The Refrigerator is not working
Check it is plugged in and switched on. Check that the fuse in the plug
has not blown. Plug in another appliance, such as a lamp, to see if the
socket is working.
Condensation appears on the outside of the
Refrigerator
T
residue of moisture. If the problem continues call the Customer Service
Department.
Noises
You may hear some unusual noises from time to time. See ‘Noises inside
the Refrigerator’ on page 5
.
If you are not able to identify and eliminate the faults according to the
above recommendations, contact the Customer Service Department,
advising of model number of the appliance which is shown on the back
of the rating plate.
Do not attempt to repair your Refrigerator yourself as it might endanger
you and others.
Moving your Refrigerator
Location
Do not locate your Refrigerator near a heat source, eg. cooker, boiler or
radiator. Also avoid direct sunlight
.
Levelling the Refrigerator
Make sure the Refrigerator is level. Use the rotating levelling feet at
the front. If the Refrigerator is not level, the doors and magnetic seal
Do Not Turn on the Refrigerator for 2 Hours
After the Refrigerator is in place it needs to be left for 2 hours.
Installation
Don’t cover or block the vents or grilles of your appliance
.
Servicing
Repairs and maintenance of the appliance should only be performed by
Содержание MUR4996
Страница 1: ...How to use your new Refrigerator Model MUR4996...
Страница 2: ......
Страница 10: ......
Страница 12: ......


