070.655-IOM (FEB 22)
Page 16
SBTP Rotary Screw Compressor
Installation
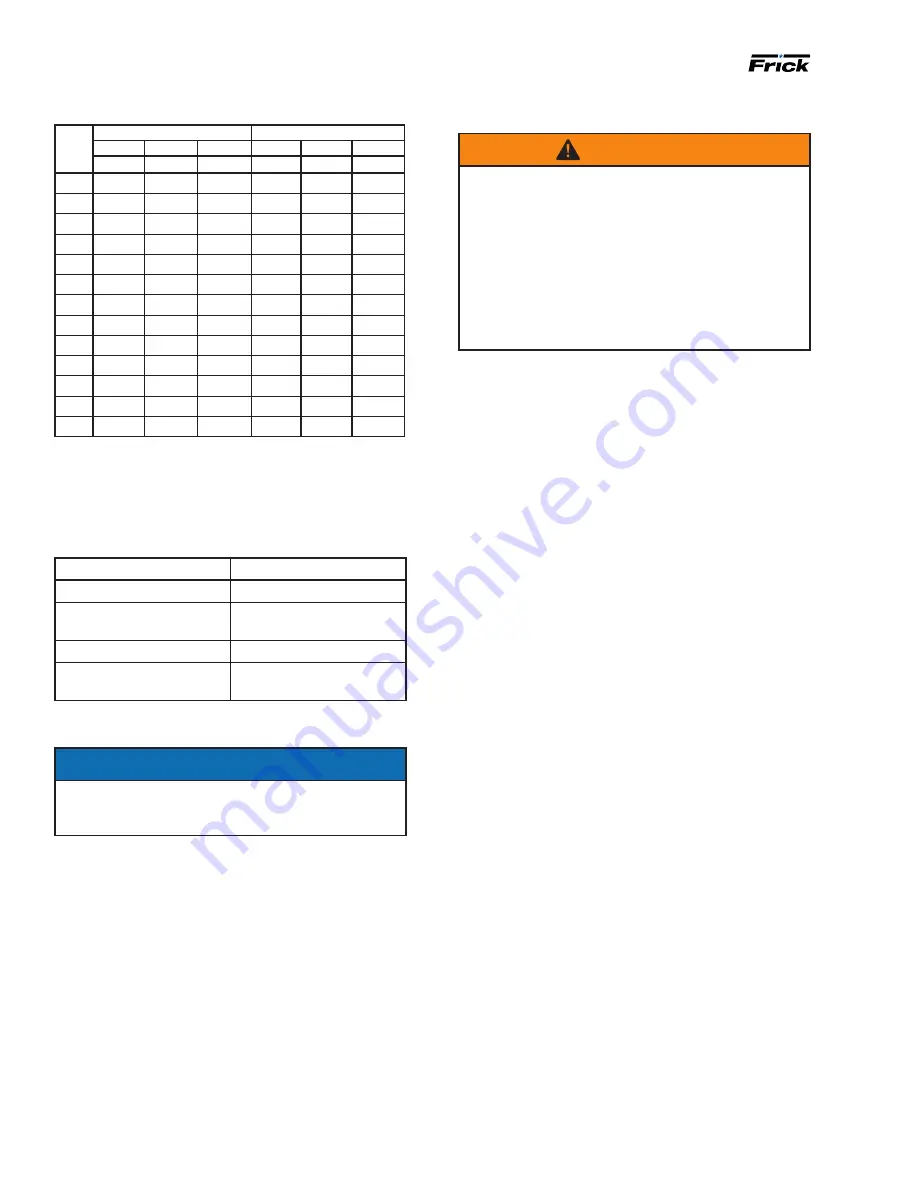
Table 5: Allowable flange loads
Noz.
size
NPS
Moments (ft-lbf)
Load (lbf)
Axial
Vert.
Lat.
Axial
Vert.
Lat.
MR
MC
ML
P
VC
VL
1
25
25
25
50
50
50
1.25
25
25
25
50
50
50
1.5
50
40
40
100
75
75
2
100
70
70
150
125
125
3
250
175
175
225
250
250
4
400
200
200
300
400
400
5
425
400
400
400
450
450
6
1,000
750
750
650
650
650
8
1,500
1,000
1,000
1,500
900
900
10
1,500
1,200
1,200
1,500
1,200
1,200
12
1,800
1,500
1,600
1,500
1,400
1,200
14
2,000
1,800
1,800
1,700
2,000
2,000
16
2,250
2,000
2,000
1,700
2,200
2,000
Customer connections
As a minimum, you must connect the lube oil system
to the following locations in addition to the suction and
discharge:
Table 6: Necessary port connections
Port
Description
SB-2
Inlet bearings
SB-3
Discharge bearings and
shaft seal
SM-1
Main oil injection
SC-13
Manifold block pressure,
on manifold block
Other connections are available for instrumentation and
service as noted on the dimensional outline drawings.
NOTICE
You must connect the electrical connections for the
slide stop and the slide valve transmitters, and the
solenoid valve coils to your control system.
The oil supply system for the compressor must be de-
signed for a total pressure drop of no more than 15 psi
with a new oil filter element. This is critical because an
excessive pressure drop in the oil circuit can prevent the
slide valve and slide stop pistons from operating correctly.
Compressor oil
WARNING
Only Frick approved oil is recommended. No ad-
ditives are approved. Do not mix oils of different
brands, manufacturers, or types. Mixing of oils
can cause excessive oil foaming, nuisance oil level
cutouts, oil pressure loss, gas or oil leakage and
catastrophic compressor failure. CoolWare selects
a specific Frick oil for the refrigerant being used.
Depending on the application, a different oil can be
selected provided it is of the correct viscosity and
is compatible with the refrigerant and compressor
elastomers.
Oil pump
All SBTP compressor applications require an oil pump, and
Frick suggests mounting a strainer upstream to protect it.
Frick supplied pumps are a positive displacement gear or
screw type that must have a safety relief valve to ensure
that the unit does not exceed maximum oil pressure.
Compressor
Note:
Compressor rotation is clockwise when facing the
end of the compressor shaft.
Confirm the motor can rotate the compressor clockwise
before installing the coupling.
Mounting the motor: foot mounted only
1. Thoroughly clean the motor feet and mounting pads of
grease, burrs, and other foreign matter to ensure firm
seating of the motor.
2. Attach the motor to the base using bolts and motor
raising blocks, if required.
3. Weld the four kick bolts, which are not included with
compressor, into place so that they are positioned to
allow movement of the motor feet.
4. After setting the motor, check to see that the shafts
are spaced correctly for the coupling being used. Check
the appropriate dimensional outline drawing for the
minimum clearance required between the shaft ends to
change the shaft seal.
Connecting the compressor to the motor
Frick SBTP compressors are arranged for direct motor drive
and require a flexible drive coupling to connect the compres
-
sor to the motor.
If you are using the Johnson Controls–Frick motor mount,
the mount is machined to ensure that motor to compressor
alignment is in specification. See
for details.
With a foot-mounted motor, it is essential that the coupling
is correctly aligned to ensure the correct bearing and seal
performance:
• Select and install the coupling so that it doesn’t trans-
mit any axial load to the compressor shaft.
• Set up the minimum distance between compressor


