background image

 14 


connected, the status text will display “Connected” and the timer will begin to run. 
Right clicking on the tray icon provides various options and double clicking on it will 
always show the application. Placing your mouse pointer on it will display the current 
connection status. 
Based on your preferences, your browser can be launched automatically upon connection.   
 
Using the “Data” connection: 
By default EasyLinky enables the software for data connections. 
If your connection fails when you try to connect, please try to reconnect. 
 
Dormancy: 
The data session can go to dormant mode if you are not sending or receiving any data 
for an extended period of time. As soon as you resume sending or receiving data, the 
data session will return to an active state automatically. 
 

4. USING EASYLINKY™ 
 

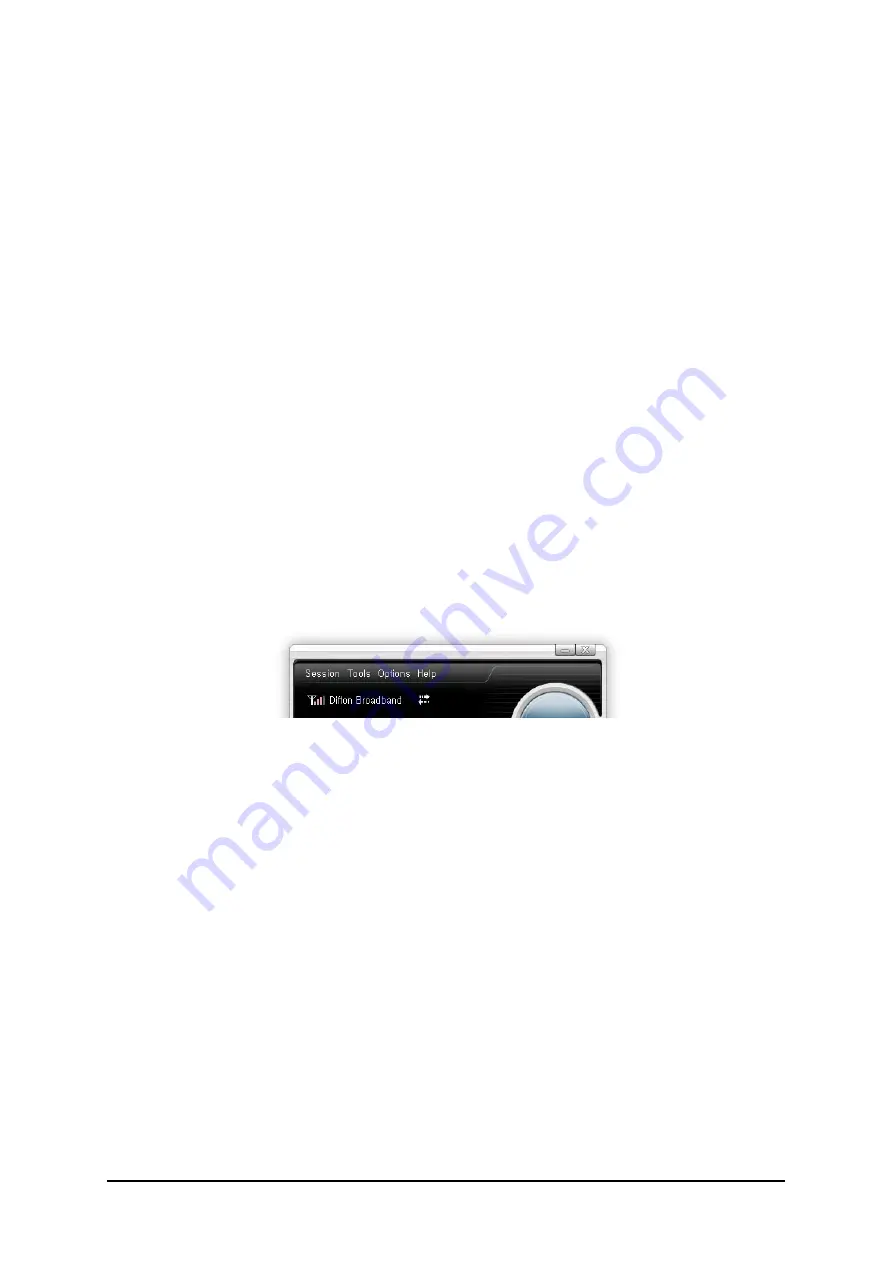
The Session Menu 


z


Connect / Disconnect: Use this button to connect or disconnect the wireless 
networks. 

z


Statistics:  At any time during your connection you can check your current 
connection speed and throughput stats in the Statistics window. To see this window, 
select “Statistics” from the “Session” menu. 

Содержание 3Gstick U210

Страница 1: ...3Gstick U210 User Manual Image Should be changed ...

Страница 2: ...are 5 Setup Program for Windows 6 Setup Program for Mac OS X 9 3 STARTING EASYLINKY 12 Features 12 Getting Started 13 Connecting 13 4 USING EASYLINKY 14 Session 14 Tools 15 Options 16 Help 19 Additional Features 19 5 INSTALLING U210 20 Recommended System Requirements 20 Remove the Modem from your Computer 21 Using the USB Modem Extension USB cable 21 Trouble Shooting 21 CARE AND MAINTENANCE 21 WAR...

Страница 3: ...on process will automatically begin y It is highly recommended that you read the safety precautions described in this manual before using the U210 Documents Included on your Modem Memory y Broadband Usage Conditions Terms Conditions y User Manual Product Overview Welcome and thank you for choosing U210 USB Modem for your wireless internet connection The U210 is a high speed wireless device that en...

Страница 4: ...d Start Guide changed USB Mo e USB port u to mail te network connected w ess is not r s he U210 ut ided by the cient and in gnals nnector T olve cleara ts Type A U and Cellu 6085 chipse twork techn Vista 7 manager so odem t on your c through VP whether yo readily avai tilizes pow e USB interf nnovative d This extens nce issues USB Port int ular 800 M et nologies and App oftware and Image S Image S...

Страница 5: ...nection manager software Before getting started you should become familiar with the documentation that came with your USB Modem 2 INSTALLATION AND SETUP FOR EASYLINKY This section will guide you through the installation and setup process for EasyLinky connection manager software Before getting started you should become familiar with the documentation that came with your USB Modem Installing Softwa...

Страница 6: ...10 modem into your USB port Your computer will recognize U210 modem and start the installation sequence automatically If the program does not launch automatically go to my computer and select the 3Gstick drive and double click start exe program Follow the steps in the next section Setup Program for Windows STEP 1 The Welcome to the EasyLinky Setup Wizard screen appears Click the Next button to con...

Страница 7: ...7 STEP 3 During this step the components of EasyLinky product are being installed onto your computer Installation will occur to the destination folder specified in Step 2 ...

Страница 8: ...complete Click the Close button to leave the EasyLinky setup program and begin using your new software The setup program will automatically create a EasyLinky shortcut on your desktop STEP 5 Please wait while U210 is installed and ready to use ...

Страница 9: ...rive should be automatically mounted Double click U210 CD icon on the Desktop Double click the EasyLinky Setup icon to launch the installer STEP 2 Click Continue button in the welcome window to proceed with the installation STEP 3 The Read Me file appears Click the Continue button ...

Страница 10: ...10 STEP 4 Click Install to begin the standard installation on system volume STEP 5 Finally the Setup Wizard shows confirm window click the OK button to continue ...

Страница 11: ...ter the Name Password used to log into the computer then click OK STEP 6 EasyLinky installation begins STEP 7 Installation is now complete Click Restart button to close the setup wizard Then OS is restarted ...

Страница 12: ...ific Features y Configures your computer to use your USB Modem y Creates a Data Connection for your USB Modem y Copies utility to create wireless copies of your dial up connections if supported by your device y Test function for WWAN device A WWAN capable device is required to use the WWAN features Individual WWAN features are also device dependent as described in the WWAN section above Other Feat...

Страница 13: ...gured connecting to the Internet is as simple as clicking the Connect button Once connected the Connect button will change to Disconnect Simply click this Disconnect button to end your current connection To connect to any other network shown select it and then click the Connect button The Status Bar Information regarding your current network connection can be seen in the status bar along the botto...

Страница 14: ...a connections If your connection fails when you try to connect please try to reconnect Dormancy The data session can go to dormant mode if you are not sending or receiving any data for an extended period of time As soon as you resume sending or receiving data the data session will return to an active state automatically 4 USING EASYLINKY The Session Menu z Connect Disconnect Use this button to con...

Страница 15: ... displayed in the Usage log can be customized using the controls that appear just below the list 9 To view only the connection history of a specific network type check the Selected connection checkbox and select the desired type from the drop down list 9 To view only the connections made during a specific interval check the Date range checkbox and specify the date in the From and To fields 9 To cl...

Страница 16: ... USB Modem z Test Device Retrieve and display detailed information about your WWAN device 1xEV DO 1xRTT CDMA USB Modem such as CM port model MEID MDN etc This information can be valuable when troubleshooting a problem The Options Menu Preferences 1 General Tap z Starting Options ...

Страница 17: ...n Connected This is used to set various WWAN connection settings 9 Open Web Browser If it is checked y EasyLinky will launch the default web browser automatically when the data connection is established successfully 9 Go to URL Use this option to enable web browser go to web site you defined using URL field below 9 URL Website URL for starting page of web browser started automatically upon connect...

Страница 18: ...xternal VPN Application Specify other VPN client application To choose the application from your local disk click button 4 Update settings This feature allows EasyLinky software to check for software updates and it can be updated manually or automatically z Update Option 9 Manually If you choose this option the software will only check for update when you select Update Now button or select Help th...

Страница 19: ...check for the available latest software z About Displays copyright and U210 device information Additional Features In addition to the basic features mentioned in previous sections EasyLinky has the additional features listed below z Status Bar The details of your current connection can be seen in the status bar at the bottom of EasyLinky interface This status bar is always visible when the interfa...

Страница 20: ...nt network connection was initiated can be seen by holding the mouse over z Elapsed Time The amount of time that has elapsed since the current network connection was initiated is tracked on the lower left side of the status bar 5 INSTALLING U210 Recommended System Requirements To successfully install and use the U210 USB device in your PC the following system specifications are required Item Requi...

Страница 21: ...m has been activated 9 Ensure that the USB modem is fully plugged into the USB slot 9 Ensure that the LED light is on otherwise connect and then reconnect the USB modem CARE AND MAINTENANCE Your device is a product of superior design and craftsmanship and should be treated with care The suggestions below will help you protect your warranty coverage a Keep the device dry Precipitation humidity and ...

Страница 22: ...ry or other product not approved or authorized by the company e Defects in appearance cosmetic decorative or structural items such as framing and non operative parts f Product damaged from external causes such as fire flooding dirt sand weather conditions battery leakage blown fuse theft or improper usage of any electrical source The Company disclaims liability for removal or reinstallation of the...

Страница 23: ...tted levels of RF energy for the general population The guidelines are based on standards that were developed by independent scientific organizations through periodic and thorough evaluation of scientific studies The standards include a substantial safety margin designed to assure the safety of all persons regardless of age and health The exposure standard for wireless mobile phones employs a unit...

Страница 24: ... phone kept 0 5 cm from the body To maintain compliance with FCC RF exposure requirements it must have a minimum distance including the antenna of 0 5 cm from the body during normal operation U S A U S FEDERAL COMMUNICATIONS COMMISSION RADIO FREQUENCY INTERFERENCE STATEMENT INFORMATION TO THE USER NOTE This equipment has been tested and found to comply with the limits for a Class B digital device ...

Отзывы: