


4
25
such as adjust the parameters for videos, music and pictures, change the skin of ap
pearance, set the features of hardware and so on.
Favorites:
When you add the videos, music and pictures to the favorites, you can open the files
by this icon.
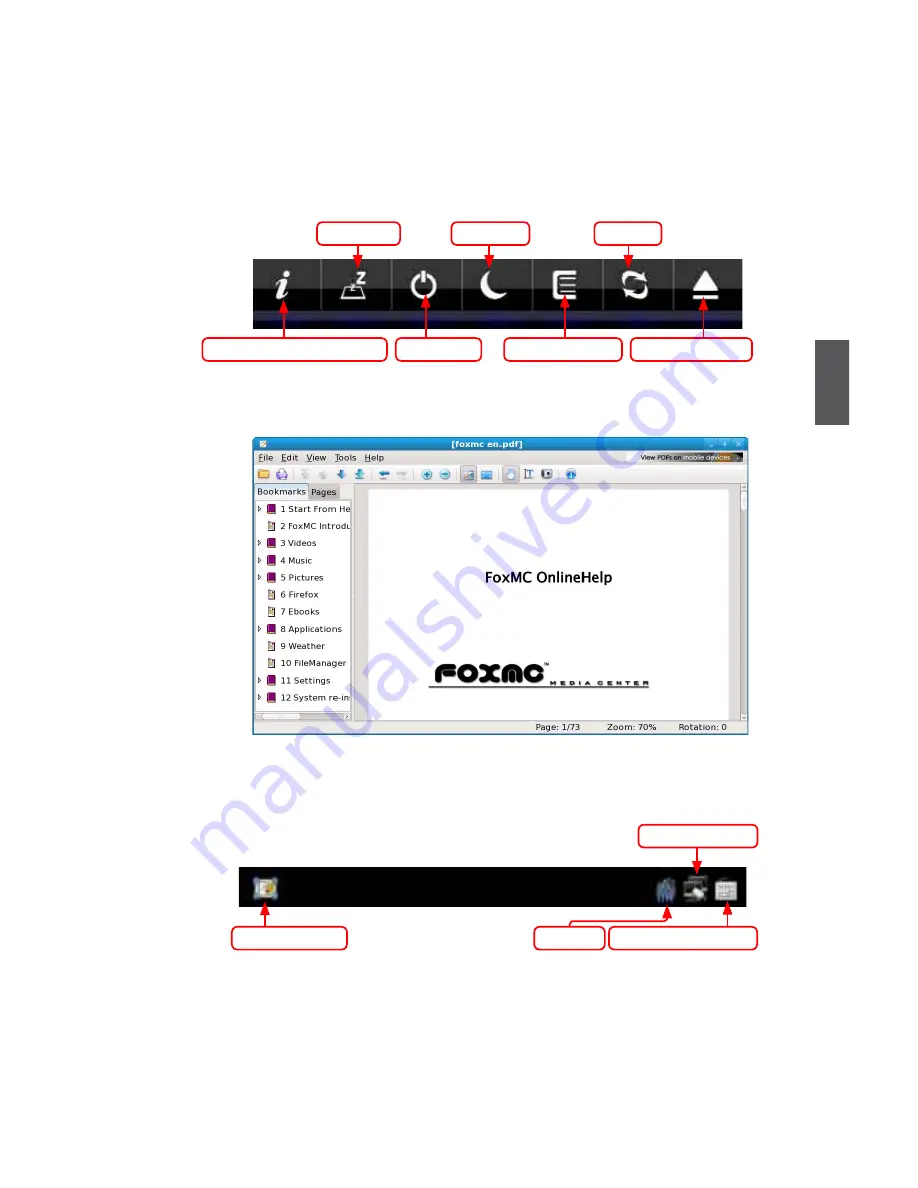
Shutdown:
Open the menu to choose the action to the system. When you click “Shutdown” icon in the
desktop, the shutdown menu will appear as below:
Help:
Click "Help"
to open the online help file. It
provides you with detailed and systemic
introduction about FoxMC.
Panel:
The panel auto hides in the default status. When the mouse moves to the bottom of the
desktop, the panel will appear as below.
Show Desktop
Network Status
SCIM Input Method
Volume
Hibernate
Suspend
Reboot
Show system information
Shutdown
Open favorites
Eject/load drive
Содержание NETBOXNetbox nt525
Страница 1: ...NETBOX User s Manual...


