Foxconn NETBOX nT-A3500 Скачать руководство пользователя страница 14

3

10

Make sure you have these ready :

1. NETDVD. (It is an optional accessory. If there is no NETDVD in this package, you need other 

purchase an external USB DVD-ROM drive.)

2. NETBOX driver CD. (In this package)
3. Windows 7 Install CD. (Other purchase)

Before we continue :

■ 

Your NETBOX power is off.

■   

Connect the NETDVD or USB DVD-ROM drive to one USB port of NETBOX and power it on.

3-1 Install Windows 7

1. Push power on button to turn on your computer, then press <Del> key to enter BIOS Setup.
2. Put the Windows 7 Install CD into the NETDVD or USB DVD-ROM drive.
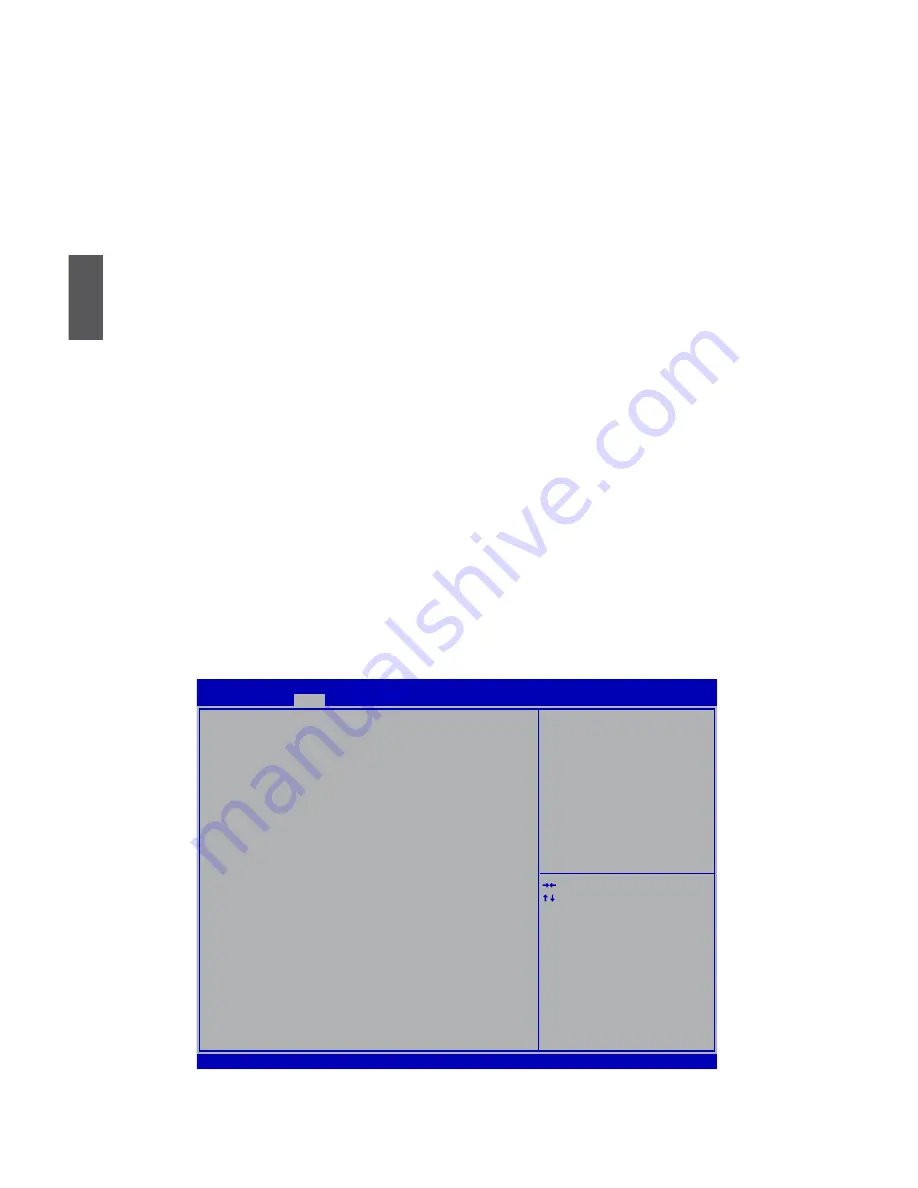
3.  Select and go to the “Boot” menu, set the “Boot Option #1” to DVD drive, press <F4> key to 

save change and exit BIOS.


Version 2.10.1206. Copyright (C) 2010 American Megatrends, Inc.

Aptio Setup Utility  -  Copyright (C) 2010 American Megatrends, Inc.

  Main  Advanced   Boot  Security  Save & Exit

Boot


Boot Configuration 


  Quiet Boot 

[Disabled] 


Fast Boot 

[Disabled]

  Bootup Numlock State 

[On]


  Boot Option Priorities


Boot Option #1 

[USB: Optical DVD RW]

  Boot Option #2 

[TEAC DV-W28SS-R W.OA]

  Hard Drive BBS Priorities
  CD/DVD ROM Drive BBS Priorities

→  ←: Select Screen 
↑  ↓: Select Item
Enter: Select
+/-: Change Opt.
F1: General Help
F2: Previous Values


F3: Optimized Defaults
F4: Save & Exit
ESC: Exit

Enables/Disables Quiet Boot
option
 

Содержание NETBOX nT-A3500

Страница 1: ...NETBOX User s Manual...

Страница 2: ...consequences for the environment and human health which could other wise be caused by inappropriate waste handling of this product For more detailed information about recycling of this product please...

Страница 3: ...onnected before using NET BOX This product should only be used in an environment with ambient tem peratures between 0 C and 40 C To reduce the risk of fire use only No 26 AWG or larger UL listed or CS...

Страница 4: ...acing and connecting the NETBOX Placement of NETBOX On the Desk 5 On the Display Back 5 Connection of NETBOX Connect the Antenna 7 Connect the Monitor 7 Connect the USB Devices 7 Connect the Network C...

Страница 5: ...esktop It features all the desktop capabilities but with a slim body design which enables your to browse the internet in a relax and comfortable way This chapter introduces NETBOX s outlook Top View F...

Страница 6: ...nnects to a microphone or playback devices with optical connectors 3 5mm jack 3 Multi Function Card Reader Support SD SDHC MS MS Pro MMC memory cards 4 USB 3 0 Ports Connect to USB devices Caution Bef...

Страница 7: ...seat and protect NETBOX when it is placed on the tabletop C A U T I O N No Name Description 1 RF Radio Frequency Port Connects to antenna 2 USB 2 0 Ports Connects to USB devices 3 Display Output Port...

Страница 8: ...In this chapter the placement and the connection of some neces sary peripherals will be introduced This chapter includes the following information Placement of NETBOX Connection of NETBOX...

Страница 9: ...ndard The two groups of holes on your dispaly have different space between and they help you easily fasten the bracket onto your display C A U T I O N 2 On the Display Back This is the best space savi...

Страница 10: ...BOX into the bracket with power button locating at the top for easy touch 3 After that you can connect the antenna to your NETBOX Remove the antenna and lift up the NETBOX straightly to take it out C...

Страница 11: ...port of the NETBOX You can fold the antenna and rotate it in dif ferent angle as you want 2 Connect the Monitor Connect a monitor to the NETBOX through DVI connector 3 Connect the USB Devices Connect...

Страница 12: ...Power Cord Connect the power adapter to the power input port of the NETBOX and push the power button to start it The power adapter is dissipating heat during normal use please make sure not to cover...

Страница 13: ...This chapter introduces the Windows installation Install Windows 7 Install Drivers in Windows 7...

Страница 14: ...into the NETDVD or USB DVD ROM drive 3 Select and go to the Boot menu set the Boot Option 1 to DVD drive press F4 key to save change and exit BIOS Version 2 10 1206 Copyright C 2010 American Megatrend...

Страница 15: ...license terms appear choose accept and click Next to continue 7 It will then ask you to select the installation type Click Custom advanced to install a new copy of Windows 8 The setup will the displa...

Страница 16: ...ing a 70GB partition to install Windows Make your modifications and click Apply To ensure that all Windows features work correctly Windows might create additional partitions for system files So you wi...

Страница 17: ...uring the installa tion your computer will restart several times 11 When the installation is complete setup will prepare your computer for it s first use You can then follow the steps to select system...

Страница 18: ...e 2 Waiting for a few seconds the main menu will be displayed on the screen 3 Use these options to install all the drivers for your system You must click AMD Chipset Driver to install it first After t...

Отзывы: