background image

22

23

BIOS SETUP

BIOS SETUP

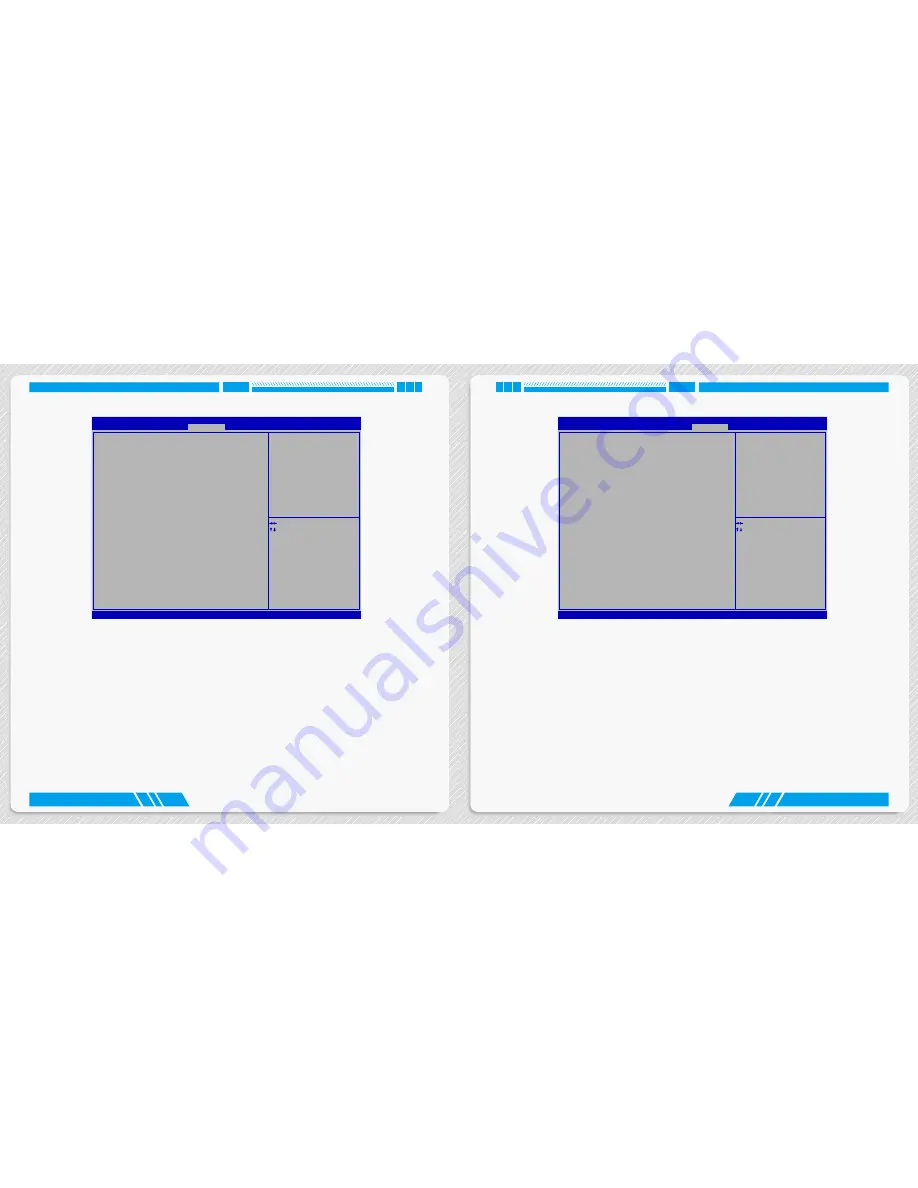
BootOptions


Version 2.14.1219. Copyright (C) 2011 American Megatrends, Inc.

Aptio Setup Utility - Copyright (C) 2011 American Megatrends, Inc.

  Main  Advanced  Power  Security  BootOptions  Save & Exit

  Set Boot Priority

  1st Boot 

[Optical Disk:WDC...]

  2nd Boot  

[Hard Disk]

  3rd Boot 

[Removable]

  4th Boot 

[Network]

▶ Hard Disk Drive BBS Priorities
▶ Optical Disk Drive BBS Priorities
▶ Removable Device BBS Priorities
▶ NETWORK Device BBS Priorities

  Quiet Boot 

[Disabled]


→  ←: Select Screen 
↑  ↓: Select Item
Enter: Select
+/-: Change Opt
F7: Load User-defined Defaults
F8: Save as User-defined
F9: Optimized Defaults
(When Access Level is  
Administrator)
F10: Save & Exit
ESC: Exit

Set Boot Priority. 

BootOptions

► 1st/2nd/3rd/4th Boot
  These items are used to set the system boot order.
► Hard Disk Drives BBS Priorities/Optical Disk Drive BBS Priorities/Removable Device BBS Priorities/ 
  NETWORK Device BBS Priorities 
  Press <Enter> to go to its submenu. Use this items to specify the boot device priority sequence of the  
  detected devices.
► Quiet Boot
  This item is used to enable/disable the quiet boot.
  [Disabled] : Displays the normal POST messages.
  [Enabled] : Displays OEM customer logo instead of POST messages. 

Save & Exit


Version 2.14.1219. Copyright (C) 2011 American Megatrends, Inc.

Aptio Setup Utility - Copyright (C) 2011 American Megatrends, Inc.

  Main  Advanced  Power  Security  BootOptions  Save & Exit

  Save Changes and Exit 


  Discard Changes and Exit
  Save Changes
  Discard Changes
  Load Default Values
  Save as User Default Values
  Load User Default Values


→  ←: Select Screen 
↑  ↓: Select Item
Enter: Select
+/-: Change Opt
F7: Load User-defined Defaults
F8: Save as User-defined
F9: Optimized Defaults
(When Access Level is  
Administrator)
F10: Save & Exit
ESC: Exit

Exit  system  setup  after   saving 
the   changes. 

Save & Exit

► Save Changes and Exit
  If you select this option and press <Enter>, a message will be displayed in the screen. 
  Select [Yes] to save your changes and exit, select [No] or <ESC> to return to the menu.
► Discard Changes and Exit 
  If you select this option and press <Enter>,  a message will be displayed in the screen. 
  Select [Yes] to exit setup utility  without saving your modifications, select [No] or <ESC> to return to  
  the menu.
► Save Changes
  If you select this option and press <Enter>, a message will be displayed in the center of the screen.  
  Select [Yes] to save your changes, select [No] or <ESC> to return to the menu.
► Discard Changes
  If you select this option and press <Enter>, a message will be displayed in the center of the screen.  
  Select [Yes] to discard your modifications, select [No] or <ESC> to return to the menu.
► Load Default Values

Содержание AT-5250

Страница 1: ...NanoPC User s Manual...

Страница 2: ...oid warranty Risk of explosion if battery is replaced by an incorrect type please dispose of used batteries according to the instructions C A U T IO N Safety Notice Trademark All trademarks are the pr...

Страница 3: ...onnect power cord 12 BIOS Setup Enter BIOS Setup 14 Main 15 Advanced 16 Miscellaneous 17 Integrated Peripherals 18 SATA Configuration 19 Power 20 TABLE OF CONTENTS Package Contents NanoPC Seat Base VE...

Страница 4: ...Security 21 BootOptions 22 Save Exit 23 Install OS 4 1 Install Windows 7 26 4 2 Install Drivers 30 Utility Fox WINFLASH 32 1 Local Update 32 2 About Help 34 Front Side View Back Side View Introduction...

Страница 5: ...driver in NanoPC USB Disk before using it 4 Multi Function card reader This memory card reader supports SD SDHC MS MS Pro MMC memory cards used in devices like digital cameras mobile phones Media play...

Страница 6: ...h Definition Multimedia Interface port supports Full HD display devices Connect monitor or TV that uses HDMI connector to this port 4 RJ 45 LAN port Supports 10 100 1000Mb s Ethernet network Connect n...

Страница 7: ...G 2 1 Placement of NanoPC Erected on the desk 1 Place your NanoPC into the groove of the Seat Base Installing to Display 1 Assemble one side of the VESA mount Placement and connecting Placement of Nan...

Страница 8: ...CONNECTING 4 Install the other side of the VESA mount 2 Fasten it onto the display with four screws 3 Fit the NanoPC into the VESA mount in the correct alignment To fasten the VESA mount your display...

Страница 9: ...e two USB 3 0 ports on the front side of your NanoPC you need to install the USB 3 0 driver in NanoPC USB disk before using them Connect network cable Connect one end of a network cable to the RJ 45 L...

Страница 10: ...the NanoPC and then press the power button to start it The power adapter is dissipating heat during normal use please do not cover it and keep it away from your body to prevent injury from heat exposu...

Страница 11: ...ical to maintain optimal system performance Power on the computer when the message Press Del to enter setup Press F11 to enter boot menu appears at the bottom of the screen you can press Del key to en...

Страница 12: ...Version 2 14 1219 Copyright C 2011 American Megatrends Inc Aptio Setup Utility Copyright C 2011 American Megatrends Inc Main Advanced Power Security BootOptions Save Exit Bootup Num Lock off Intel IGD...

Страница 13: ...set to enabled SATA Configuration Version 2 14 1219 Copyright C 2011 American Megatrends Inc Aptio Setup Utility Copyright C 2011 American Megatrends Inc Main Advanced Power Security BootOptions Save...

Страница 14: ...umes after an AC power loss Security Version 2 14 1219 Copyright C 2011 American Megatrends Inc Aptio Setup Utility Copyright C 2011 American Megatrends Inc Main Advanced Power Security BootOptions Sa...

Страница 15: ...xit Version 2 14 1219 Copyright C 2011 American Megatrends Inc Aptio Setup Utility Copyright C 2011 American Megatrends Inc Main Advanced Power Security BootOptions Save Exit Save Changes and Exit Dis...

Страница 16: ...m components But if the optimal performance parameters to be set cannot be sup ported by your hardware devices for example too many expansion cards were installed the system might fail to work Save as...

Страница 17: ...continue then click Install now button to start the setup 7 When the license terms appear choose accept and click Next to continue 8 It will then ask you to select the installation type Click Custom a...

Страница 18: ...hard disk During the installation your computer will restart several times 12 When the installation is complete setup will prepare your computer for it s first use You can then follow the steps to sel...

Страница 19: ...in menu will be displayed on the screen 3 Use these options to install all the drivers for your system You must click Intel Chipset Driver to install it first After that you can click One Click Setup...

Страница 20: ...operation The extension of this backup file is ROM for AMI BIOS Make sure you can remember the file name together with the directory which it is stored prevented that you may need them to recover your...

Страница 21: ...on If this equipment does cause harmful interference to radio or television reception which can be determined by turning the equipment off and on the user is encouraged to try to correct the interfere...

Страница 22: ...to fulfil and also which countries to sell the product Example of a text to tell which directive has been fulfilled Hereby Foxconn declares that this AT 5000 Series is in compliance with the essentia...

Отзывы: