46
5.
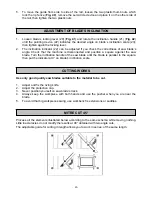
To move the guide from side to side of the rail, loosen the two plastic thumb nuts which
lock the rip fence (
Fig. 40
), remove the semicircle device and place it on the other side of
the rail, then tighten the two plastic nuts.
1.
Loosen blade’s locking lever (20) (
Fig. 41
) and rotate the inclination handle (21) (
Fig. 42
)
until the pointing device (22) indicates the desired angle on blade’s inclination scale (23);
then tighten again the locking lever.
2.
The inclination indicator (22) can be adjusted if you check the correctness of saw blade’s
angle. Check that the machine is disconnected and position a square against the saw
blade. Turn the inclination handle of the saw blade until the blade is parallel to the square,
then put the indicator at 0° on blade’s inclination scale.
Use only good quality saw blades suitable to the material to be cut.
1.
Adjust and fix the riving knife.
2.
Adjust the protective cap.
3.
Never position yourself on saw blade’s track.
4.
Always keep the workpiece with both hands and use the pusher when you are near the
blade.
5.
To avoid that big workpieces swing, use workbench’s extensions or saddles.
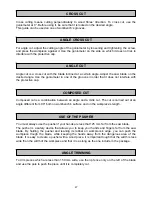
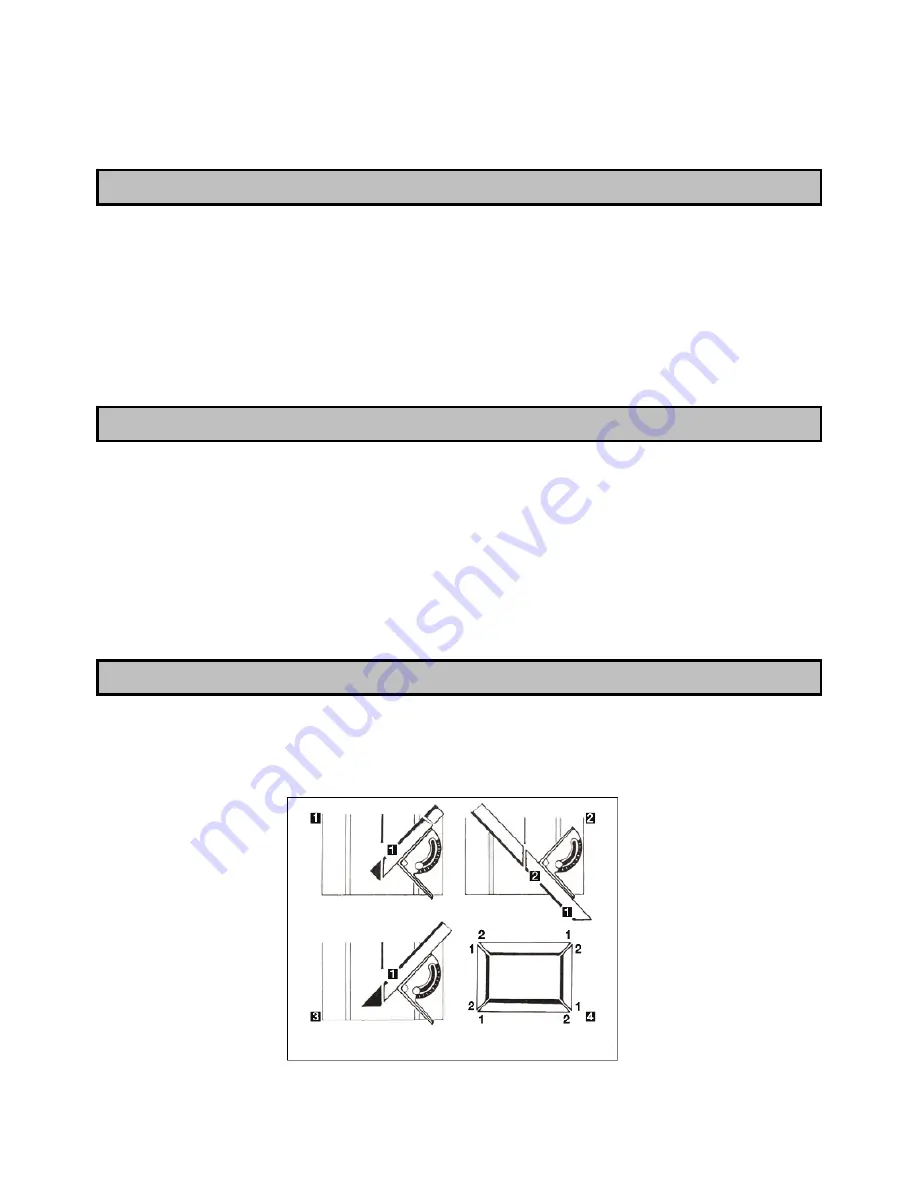
Process all the elements illustrated below according to the same schema while moving nothing.
Little inaccuracies do not modify the results at 90° obtained with two angle cuts.
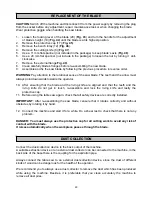
The adjustable guide for cutting in length allows you to work in series, of the same length.
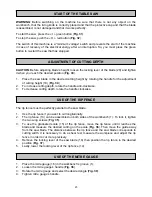
ADJUSTMENT OF BLADE’S INCLINATION
CUTTING WORKS
MITRE CUT 45°
Содержание F36-521
Страница 3: ...3 FIGURE ILLUSTRATIVE ...
Страница 4: ...4 ...
Страница 5: ...5 ...
Страница 17: ...17 La macchina è composta da DESCRIZIONE DEL BANCO SEGA ...
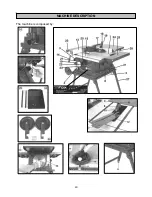
Страница 40: ...40 The machine is composed by MACHINE DESCRIPTION ...
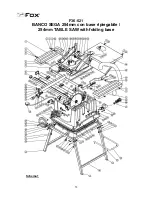
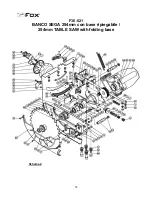
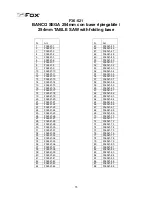
Страница 53: ...53 F36 521 BANCO SEGA 254mm con base ripiegabile 254mm TABLE SAW with folding base Schema 1 ...
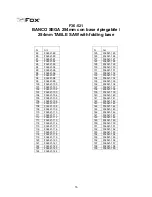
Страница 54: ...54 F36 521 BANCO SEGA 254mm con base ripiegabile 254mm TABLE SAW with folding base Schema 2 ...
Страница 57: ...57 SCHEMA ELETTRICO WIRING DIAGRAM ...

