


Maintaining a NetIron MLX Series Router
December 2008
© 2008 Foundry Networks, Inc.
6-19
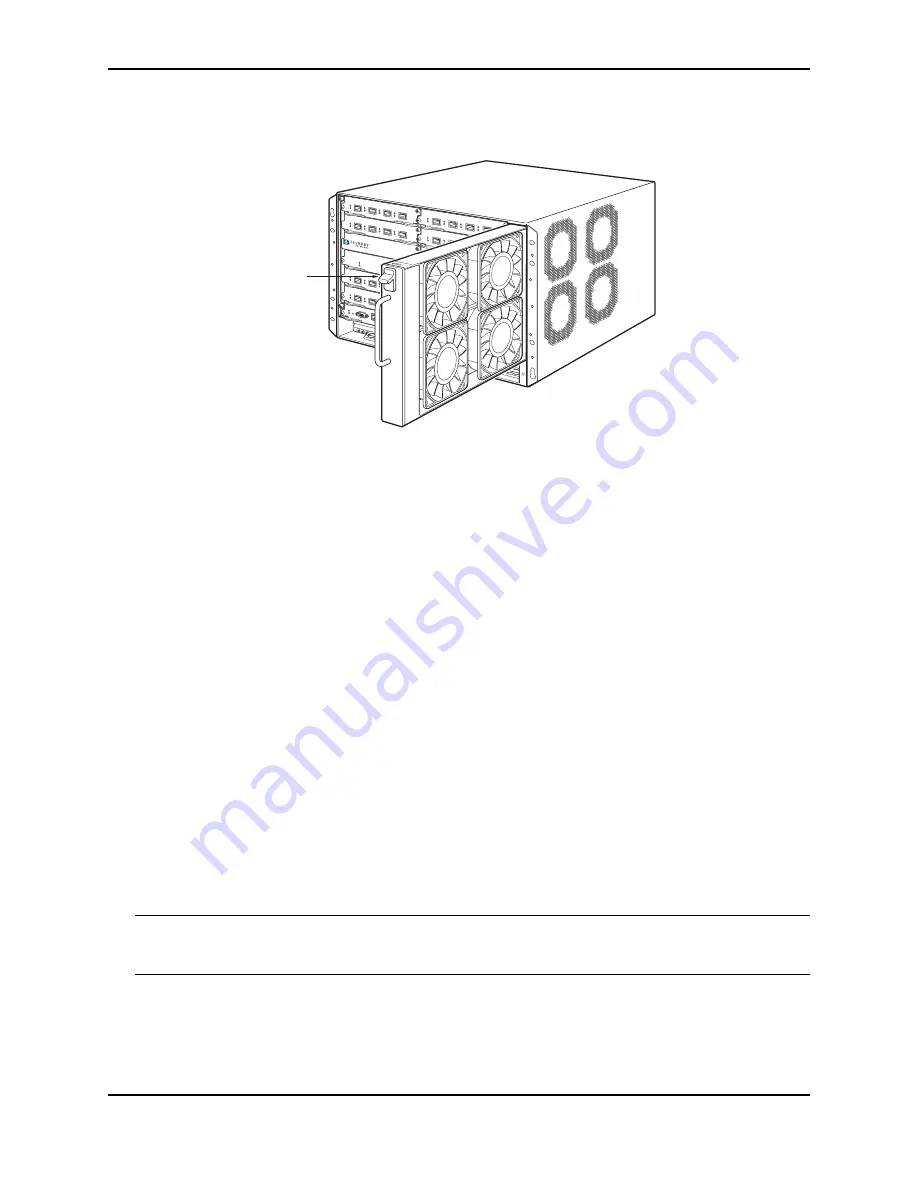
Figure 6.11 Removing a NetIron MLX-8 Fan Tray Assembly
3.
Insert the new fan assembly into the fan slot and push the enclosure in until the face plate is flush with the
chassis. Pushing the enclosure in seats the fan connector with the chassis connector.
4.
Secure the fan to the chassis by tightening the four captive screws.
5.
Access the CLI, and enter the
show chassis
command to verify that the fans are operating normally.
Replacing the Air Filters in a NetIron MLX Series Router
Foundry recommends replacing the air filters in NetIron MLX Series routers quarterly. Replacing the filters
regularly prevents the accumulation of dust on module components.
You can replace the air filters while the NetIron MLX Series chassis is powered and running. To perform this task,
you need the following:
•
A 7/64 hex head screwdriver
•
Replacement air filters, which you can order from Foundry
Procedures for replacing the air filters are described in the following sections:
•
“Replacing the Air Filters in the NetIron MLX-32”
•
“Replacing the Air Filter in the NetIron MLX-16”
•
“Replacing the Air Filter in the NetIron MLX-4 or NetIron MLX-8”
Replacing the Air Filters in the NetIron MLX-32
The two air filters in the NetIron MLX-32 chassis are located between the upper and lower card cages. To replace
the filters, do the following:
NOTE:
The air filter for the NetIron MLX-32 chassis is marked with a directional arrow to indicate proper
alignment for the direction of airflow in the chassis. The upper filter should be inserted with the arrow pointing up,
and the lower filter should be inserted with the arrow pointing down.
1.
From the front of the chassis, remove the air inlet cover by unscrewing the four captive screws with a 7/64 hex
head screwdriver, as shown in Figure 6.12.
Fan Tray Assembly
Latch
Release


