


70
www
www
.foscam.
.foscam.
us
us
Foscam Digital Technologies
Telephone: 1-800-930-0949
70
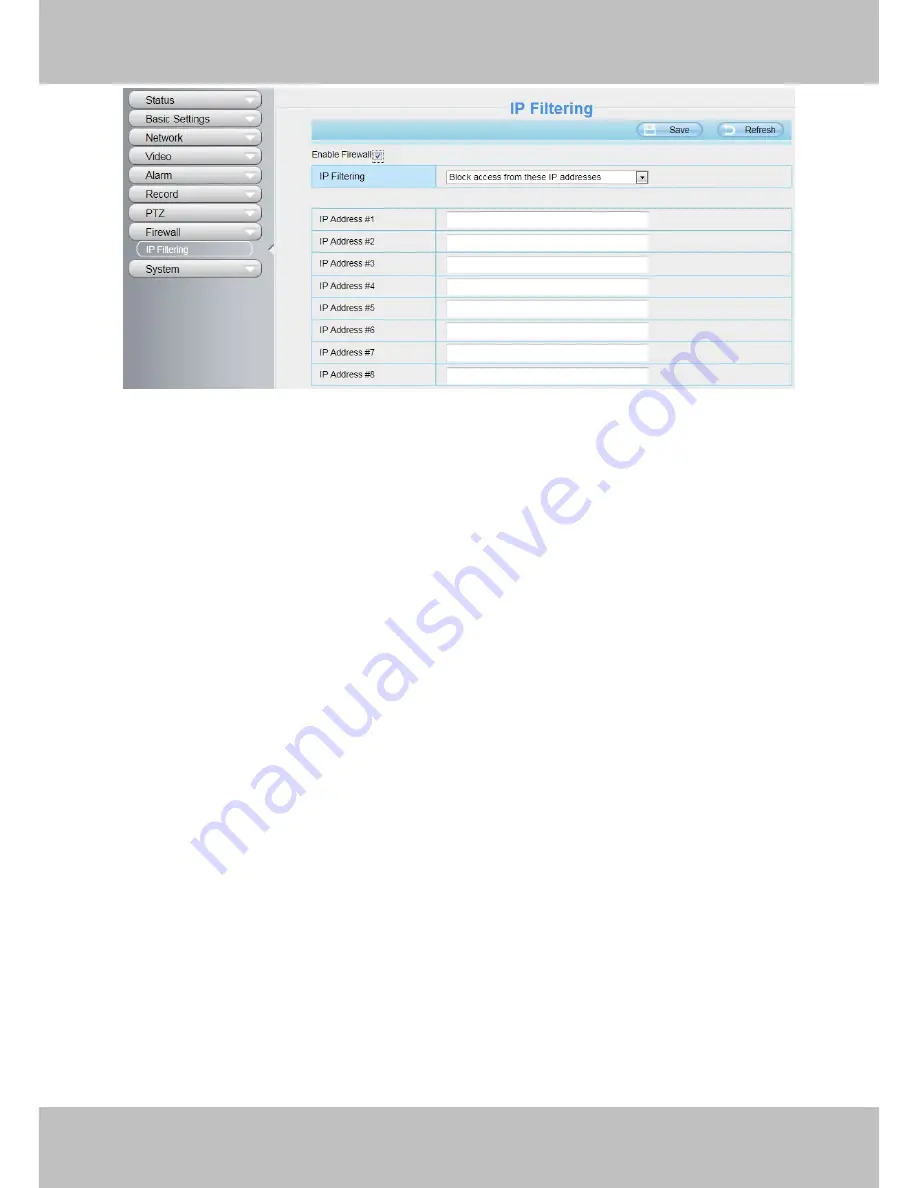
Figure 4.73
Enable firewall, If you select Only allow access from these IP addresses and fill in 8 IP addresses at most, only
those clients whose IP addresses listed in the
Only allow access from these IP addresses
can access the
Network Camera. If you select
Block access from these IP addresses,
only those clients whose IP
addresses are in the IP list cannot access the Network Camera.
Click
Save
to take effect.
4.9 System
In this panel, you can backup/restore your camera settings, upgrade the firmware to the latest version, restore
the camera to default settings and reboot the device.
4.9.1 Back-up& Restore
Click
Back-up
to save all the parameters you have set. These parameters will be stored in a bin file for future
use.
Click Browse and select the parameters file you have stored, then click Submit to restore the restore the
parameters.


