1KW/2KW/3KW
User Manual
2-
year
warranty
*
Off-grid hybrid solar inverter and charger
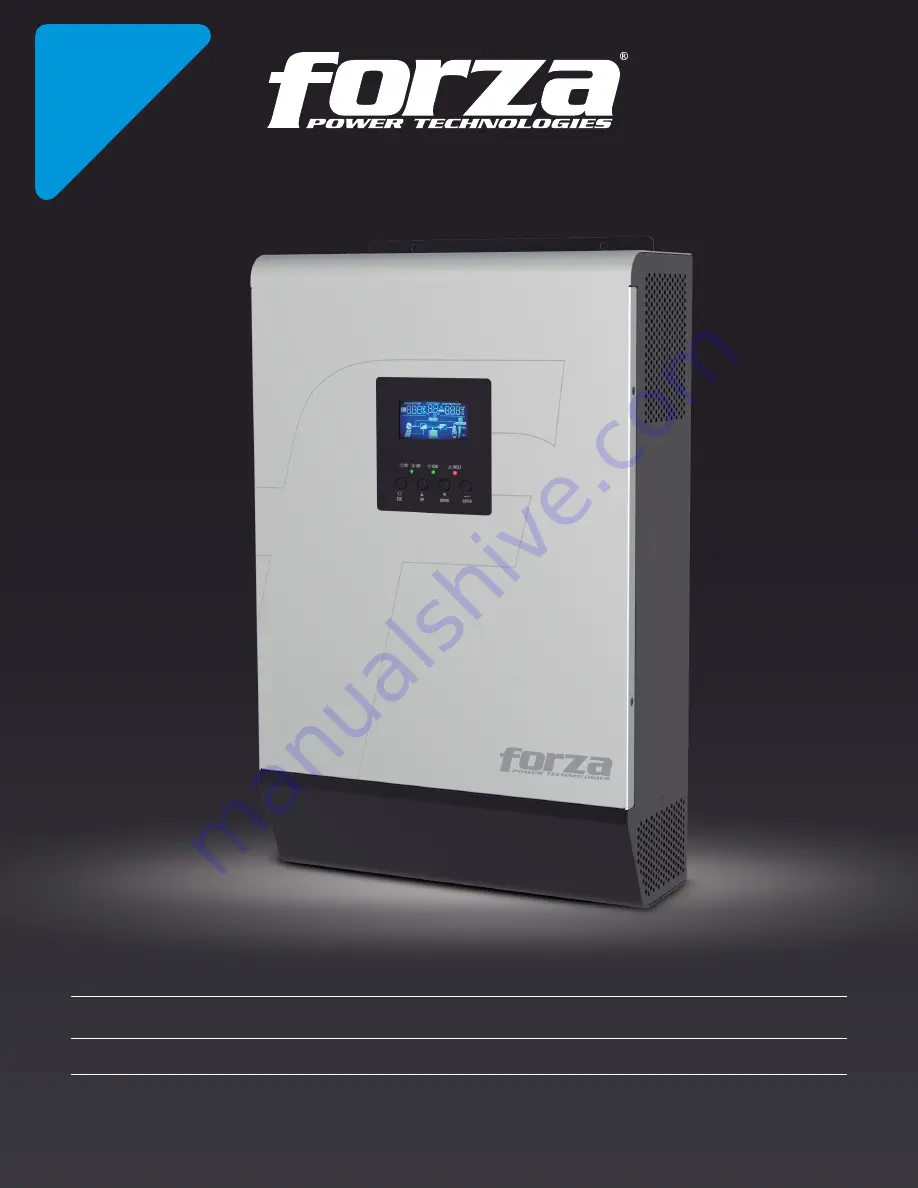
FIO-F11K12P / FIO-F12K24P / FIO-F13K48P
Страница 1: ...1KW 2KW 3KW User Manual 2 y ear w arran ty Off grid hybrid solar inverter and charger FIO F11K12P FIO F12K24P FIO F13K48P...
Страница 2: ...D configuration screen 6 2 Display information 6 3 Battery charging 6 3 1 Battery equalization 7 Parallel operation 7 1 Parallel board installation 7 2 Wiring considerations 7 3 Parallel connections o...
Страница 3: ...the polarity of the battery cables This will destroy the product 14 Ensure that neither the AC nor the DC circuit is allowed to be short circuited Do not connect the system to any AC source if a short...
Страница 4: ...Consult with your system integrator for other possible system architectures depending on your requirements This inverter can power a wide assortment of appliances in home or office environments inclu...
Страница 5: ...ntact terminals Auxiliary dry contacts 15 RS 232 communication port 16 USB communication port 3 Preliminary steps Unpacking and inspection Upon opening the box make sure the following items are includ...
Страница 6: ...nnections are completed Mounting the unit Important Mount the unit on concrete or another non combustible surface only Install the unit at eye level for easy reading of the display panel This product...
Страница 7: ...ded for the system nominal voltage 2 Install all cables and interconnections NOTES Cables and ring terminals should be sized according to the table below For safety and compliance purposes install a D...
Страница 8: ...sitive and negative battery cables Otherwise the product will be damaged Check the polarity of all connections before applying power to the battery Do not place any other object or hardware between th...
Страница 9: ...the inverter and AC source It is needed for AC input overcurrent protection and also as a manual disconnect device during maintenance The recommended specification for the AC breaker is 16A for 1KVA 3...
Страница 10: ...N wires are reversed it may cause a utility short circuit when the inverters are in parallel operation NOTE Appliances such as air conditioners often require at least 3 minutes to restart after a sho...
Страница 11: ...en all connections to the torque values as shown on the table above in this section Table Module voltages Model Gauge Torque 1KW 10 AWG 1 2 1 6 Nm 2KW 8 AWG 1 2 1 6 Nm 3KW 6 AWG 1 2 1 6 Nm Solar charg...
Страница 12: ...e For the detailed software operation refer to the digital user manual from the download section of the product website B Serial RS 232 Port used to allow communication between the inverter and a PC I...
Страница 13: ...er is off and no power is supplied to the output Close Open Power on The output is being powered from an AC source Close Open The output is powered from either battery or PV energy Item 01 set as Util...
Страница 14: ...icators Configuration buttons Description Status Green Solid Loads are powered by an AC source in Line mode Intermittent Loads are powered by battery or in PV mode Green Solid Battery is fully charged...
Страница 15: ...ates AC input voltage and frequency PV voltage charging current and battery voltage Settings warning and fault indications Displays the setting screen mode Shows any warning or fault codes A warning c...
Страница 16: ...bars will be on and the other two bars will flash alternatively 2 167 V cell Bottom three bars will be on and the top bar will flash Float stage maintains batteries in a fully charged state 4 bars wi...
Страница 17: ...wer to the loads only when AC source is not available SUB Solar first Solar energy provides power to the loads as first priority If solar energy is not enough to power all the connected loads the AC s...
Страница 18: ...enable 07 Auto restart when an over temperature shutdown occurs Restart disable default Restart enable 09 Output frequency 50Hz 60Hz default 10 Mode selection Automatic default If selected having uti...
Страница 19: ...el 11 0V 11 3V 11 5V default 11 3V 12 0V 12 3V 12 5V 12 8V 13 0V 13 3V 13 5V 13 8V 14 0V 14 3V For the 2KW model the setting ranges from 22 0V to 28 50V in increments of 0 5V per click The default set...
Страница 20: ...13 5V default 13 8V 14 0V 14 3V 14 5V 14 8V 15 0V 15 3V 15 5V 15 8V 16 0V For the 2KW model the setting ranges from 24 0V to 32 0V in increments of 0 5V per click The default setting is 27 0V Battery...
Страница 21: ...er available to charge battery Solar energy will provide power to the loads first AC power will be used to charge the battery when solar energy is not available SLb Solar energy for load first UdC Uti...
Страница 22: ...be able to operate in bypass mode as long as AC power is available regardless of whether it has been switched on or not 25 Record fault code Record enable Record disable default 26 Bulk charging volta...
Страница 23: ...parallel on a single phase system select PAL in item 28 It requires a minimum of 3 or a maximum of 9 inverters to support the three phase mode At least one inverter is needed in each phase or up to fo...
Страница 24: ...The setting value remains fixed regardless of the percentage of connected loads 32 Bulk charging time Constant voltage CV stage Automatic default If selected the inverter will determine the charging...
Страница 25: ...120min default The maximum time permitted for equalization The duration ranges from 5 min to 900 min at increments of 5 min per click 37 Equalization interval 30 days default The days between automati...
Страница 26: ...main CPU Version and second CPU Version Selection parameter LCD display Input voltage Output voltage The AC marker appear on the left The INPUT and OUTPUT markers appear in upper field This is the de...
Страница 27: ...to display the battery voltage Output frequency 60Hz Load percentage of inverter capacity The upper right field displays a marker The upper left field continues to display the battery voltage Load pe...
Страница 28: ...e load size exceeds 1kW 1KW the right field and marker will change to kW as shown below DC discharge current The upper right field displays the BATT marker instead of OUTPUT It also displays an A mark...
Страница 29: ...AC sources The bypass circuit feeds the loads permanently Charging from utility and PV power Charging from an AC source Charging from PV power No charging Bypass mode In this mode the unit can support...
Страница 30: ...source No charging Fault mode Errors or failures can be caused by internal issues or other external factors Utility power is transferred to bypass No charging AC bypass No charging Line mode In this...
Страница 31: ...nfiguration screen Then equalization can be either started manually or on an automatic interval basis The available options are 1 To program automatic equalization setpoints access in item 37 2 To car...
Страница 32: ...power supported for the 1KW model is the 9KW 9KVA for the 2KW model is 18KW 18KVA and for the 3KW model is 27KW 27KVA 2 A maximum of nine units work together to support three phase equipment Each pha...
Страница 33: ...screws attaching the communication board to the inverter as shown below 3 Remove the screws and detach the cable connectors 2 pin and 14 pin from the communication board Slide out the board as shown...
Страница 34: ...in their original position to the parallel board 6 Fasten the parallel board using the two screws removed earlier 7 Screw the communication board back into the inverter 8 Re assemble the bottom cover...
Страница 35: ...bles above divide the AWG value by X whereby X represents the number of inverters working in parallel Follow the same principle for AC input and output connections WARNING All output Neutral wires of...
Страница 36: ...of the breaker must be greater than or equal to the maximum current of each phase of the inverter 7 3 Parallel connections on a single phase system Two inverters in parallel Power connection WARNING M...
Страница 37: ...35 Communication connection Communication connection Three inverters in parallel Power connection Four inverters in parallel Power connection...
Страница 38: ...36 Communication connection Communication connection Five inverters in parallel Power connection Six inverters in parallel Power connection...
Страница 39: ...37 Communication connection Seven inverters in parallel Seven to nine inverters in parallel Power connection Eight inverters in parallel Nine inverters in parallel...
Страница 40: ...s on a three phase system Three inverters in each phase Power connection Three inverters in one phase three inverters in the second phase and two inverters for the third phase Communication connection...
Страница 41: ...ee inverters in one phase two inverters in second phase and two inverters for the third phase Power connection Communication connection Two inverters in each phase Power connection Communication conne...
Страница 42: ...se and one inverter for the other two phases Power connection Communication connection Three inverters in one phase two inverters in the second phase and one inverter for the third phase Power connect...
Страница 43: ...n one phase and only one inverter for the remaining two phases Power connection Communication connection Two inverters in two phases and only one inverter for the remaining phase Power connection Comm...
Страница 44: ...ases Power connection Communication connection One inverter in each phase Power connection WARNING Do NOT use the share current cable to connect units which are different phases Doing so can cause dam...
Страница 45: ...PXL to define each inverter L2 phase It requires a minimum of 3 or a maximum of 9 inverters to support the three phase mode At least one inverter is needed in each phase or up to four inverters in one...
Страница 46: ...rters back on The following screens will be displayed NOTE master and slave units are randomly defined LCD display of master unit LCD display of slave unit Step 4 Switch on the circuit breaker s of th...
Страница 47: ...hase unit LCD display on L2 phase unit LCD display on L3 phase unit Step 4 Switch on the circuit breaker s of the AC input source Once all 3 phases are activated and all inverters detect the phases co...
Страница 48: ...52 Bus voltage is too low 53 Inverter soft start failed 55 Over DC voltage in AC output 56 Battery connection is open 57 Current sensor failed 58 Output voltage is too low 60 Power feedback protectio...
Страница 49: ...rter 2 Check if L N cables are not connected inversely in all inverters 3 For parallel systems in single phase make sure the share current cables are connected between all inverters For three phase sy...
Страница 50: ...on and restart the inverters 2 Make sure that all phases of the utility start up with the same voltage and frequency on each phase If there are breakers installed between the AC input and inverters ma...
Страница 51: ...riority is set to Solar first Change the output source priority is setting to Utility first When the unit is turned on internal relay is switched on and off repeatedly LCD display and LEDs are flashin...
Страница 52: ...4 900 291 668 1200 196 497 1500 159 402 1800 123 301 2100 105 253 2400 91 219 2600 71 174 Fault code 50 PFC overcurrent or surge Restart the unit if the error happens again please return to repair cen...
Страница 53: ...0ms Inverter Bypass 4ms INVERTER MODEL 1KW 2KW 3KW Rated output power 1KVA 1KW 2KVA 2KW 3KVA 3KW Output voltage waveform Pure sine wave Output voltage regulation 120VAC 5 Output frequency 60Hz or 50H...
Страница 54: ...5VDC 33VDC 66VDC Charging algorithm 3 step with equalization Charging curve Solar charging mode MPPT type INVERTER MODEL 1KW 2KW 3KW Rated power 1000W 2000W 4000W Maximum charging current 80A Solar ch...
Страница 55: ...uency 60Hz 50Hz autosensing Low loss frequency 56 46 1Hz Low loss return frequency 57 46 5 1Hz High loss frequency 64 54 1Hz High loss return frequency 63 53 1Hz INVERTER MODEL 1KW 2KW 3KW SCC type MP...
Страница 56: ......