


1
Introduction
Thank you for purchasing the S03 Security System from
Fortress Security Store! We’ll highlight some of the fea-
tures of your new system here. You can browse through the
Table of Contents at the beginning of this user manual to
quickly find answers to any questions you may have about
your system.
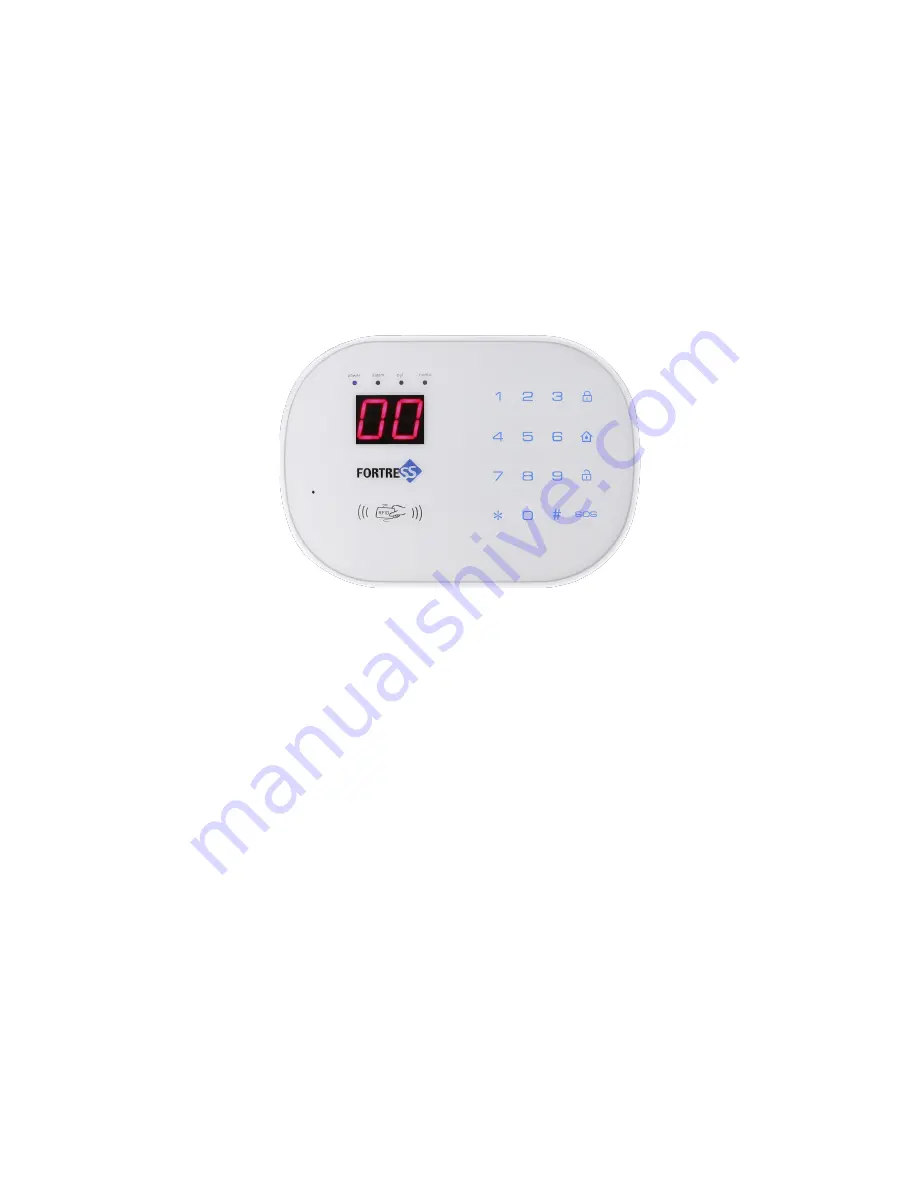
The S03 main panel
The S03 Security System is a self-monitored, self-installed
burglar alarm system for homes and small businesses.
• Up to 100 wireless accessories (150 ft. range)
• Calls up to 6 phone numbers that you specify
(Land Line required)
• Plays a custom message that you record
• 32 customizable zones
• RFID technology for keyless entry
• Optional delays for entry & exit
• Optional door chime feature
• Support for existing wired sensors
• Pre-programmed accessories
To get started with your new security system, continue
reading in the next sections: The Main Panel and First-
Time Setup.
Содержание S03
Страница 1: ...S03 Security System Version 3 Mar 2018 ...
Страница 2: ......
Страница 5: ......
Страница 43: ...Space for Notes This space intentionally left blank ...
Страница 44: ...This space intentionally left blank ...
Страница 45: ...This space intentionally left blank ...
Страница 46: ......


