background image

Appliance Setup

the future.

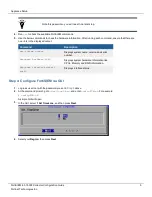
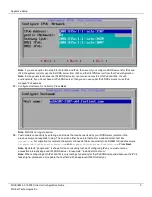
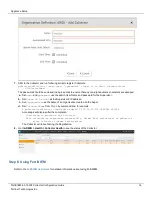
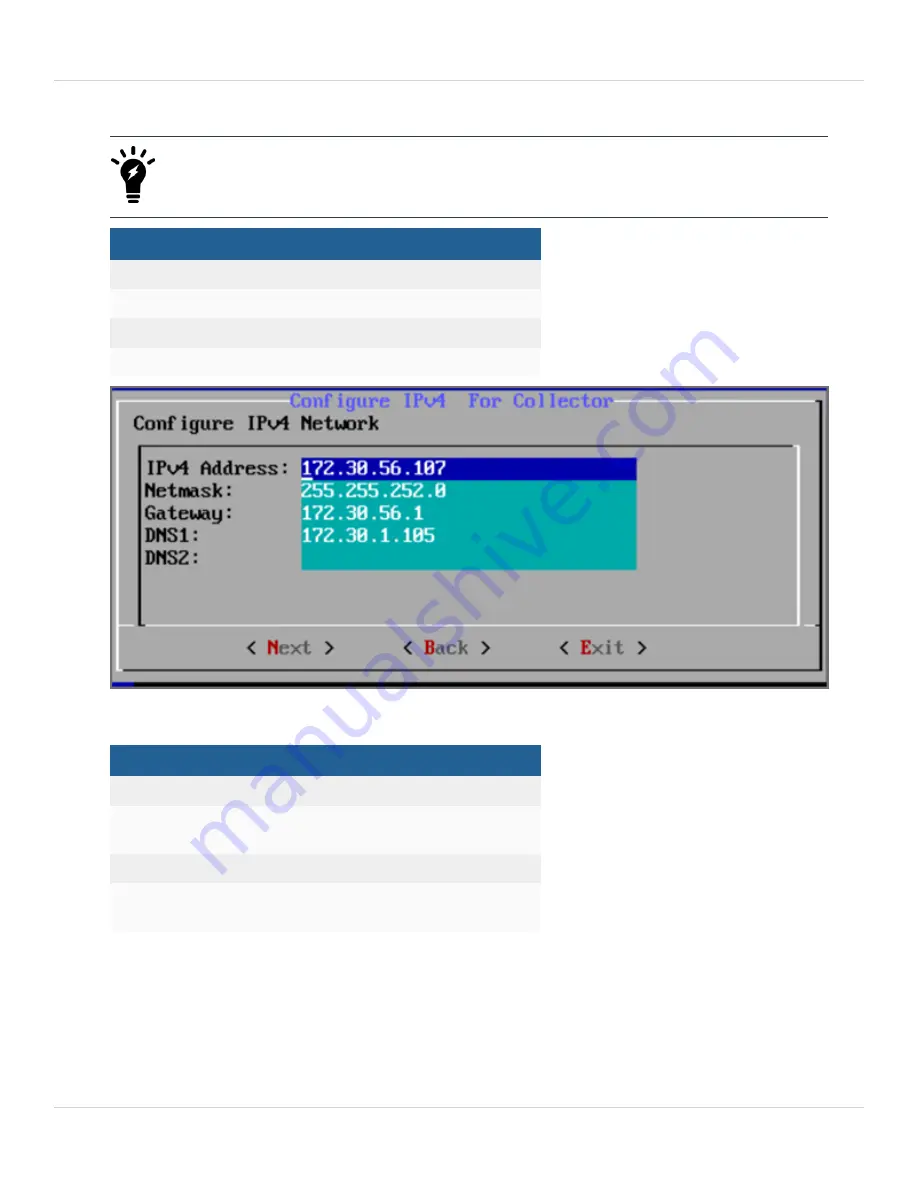
Note the IP Address—you will need it in a later step.

Option

Description

IPv4 Address

The Collector's IPv4 address

NetMask

The Collector's subnet

Gateway

Network gateway address

DNS1, DNS2

Addresses of the DNS servers

12.

If you chose

1

in step 9, then you will need to skip to step 13. If you chose

2

or

3

in step 9, then you will configure the

IPv6 network by entering the following fields, then press

Next

.

Option

Description

IPv6 Address

The Collector's IPv6 address

prefix
(Netmask)

The Collector's IPv6 prefix

Gateway ipv6

IPv6 Network gateway address

DNS1 IPv6,
DNS2 IPv6

Addresses of the IPv6 DNS server 1 and DNS
server2

FortiSIEM 6.3.1 500F Collector Configuration Guide

8

Fortinet Technologies Inc.

Содержание FSM-500F

Страница 1: ...500F Collector Configuration Guide FortiSIEM 6 3 1...

Страница 2: ...ps support fortinet com FORTINET TRAINING CERTIFICATION PROGRAM https www fortinet com training certification NSE INSTITUTE https training fortinet com FORTIGUARD CENTER https www fortiguard com END U...

Страница 3: ...FortiSIEM 14 Factory Reset 15 Step 1 Uninstall FortiSIEM application 15 Step 2 Reinstall FortiSIEM application 15 Upgrading FortiSIEM Collector 15 Appliance Re image 15 Step 1 Create Bootable Linux I...

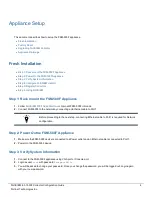
Страница 4: ...ct FSM 500F to the network by connecting an Ethernet cable to Port1 Before proceeding to the next step connecting Ethernet cable to Port1 is required for Network configuration Step 2 Power On the FSM...

Страница 5: ...er diagnose hardware info Displays system hardware information like CPUs Memory and RAID information diagnose interface detail port0 Displays interface status Step 4 Configure FortiSIEM via GUI 1 Log...

Страница 6: ...up 5 Select your Country and press Next 6 Select the Country and City for your timezone and press Next 7 Select 1 Collector Press Next FortiSIEM 6 3 1 500F Collector Configuration Guide 6 Fortinet Tec...

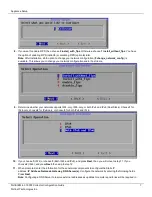
Страница 7: ...IPv6 Dual Stack Choose 1 for IPv4 only choose 2 for IPv6 only or choose 3 for both IPv4 and IPv6 10 If you choose 1 IPv4 or choose 3 Both IPv4 and IPv6 and press Next then you will move to step 11 If...

Страница 8: ...n step 9 then you will need to skip to step 13 If you chose 2 or 3 in step 9 then you will configure the IPv6 network by entering the following fields then press Next Option Description IPv6 Address T...

Страница 9: ...n be resolved by your DNS Server entered in the previous step and responds to ping The host can either be an internal host or a public domain host like google com For migration to complete the system...

Страница 10: ...llowing table Option Description r The FortiSIEM component being configured z The time zone being configured i IPv4 formatted address m Address of the subnet mask g Address of the gateway server used...

Страница 11: ...nt Workers Note Rather than using IP addresses a DNS name is recommended The reasoning is should the IP addressing change it becomes a matter of updating the DNS rather than modifying the Event Worker...

Страница 12: ...If a Supervisor node is only used then enter the IP of the Supervisor node Multiple IP addresses can be entered on separate lines In this case the Collectors will load balance the upload of events to...

Страница 13: ...Email 5 Under Collectors click New 6 Enter the Collector Name Guaranteed EPS Start Time and End Time The last two values could be set as Unlimited Guaranteed EPS is the EPS that the Collector will al...

Страница 14: ...ion created on the Super d Set CollectorName from Step 6 by command line for example phProvisionCollector add admin Admin 11 172 30 53 130 ORG1289 CO1289 A message will display after the completion Co...

Страница 15: ...RAID Information is NOT applicable to FSM 500F model 4 To install FortiSIEM Collector run execute factoryreset Note This script takes 5 minutes to complete FortiSIEM Collector installation Follow the...

Страница 16: ...2A for staging via USB Follow Step 2B for staging via an NFS server Step 2A USB Staging 1 Connect an 8 GB USB Drive to the system desktop or laptop 2 Open Windows Explorer right click Drive click Form...

Страница 17: ...he USB drive 7 Save the options and quit set up Step 5 Re image the 500F If you followed Step 2A USB Staging continue with Step 5A here If you followed Step 2B NFS Staging follow Step 5B here Step 5A...

Страница 18: ...ot disk 29 5GB sudo fdisk l Note This drive will be referred to as dev sdb in the following steps 5 Enter into root while in the terminal by using the following command sudo s 6 Mount the NFS share to...

Страница 19: ...d Fortinet disclaims all warranties whether express or implied except to the extent Fortinet enters a binding written contract signed by Fortinet s General Counsel with a purchaser that expressly warr...

Отзывы: