


12
13
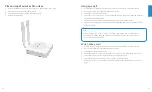
IP Configuration
3
After you have connected the FortiExtender network interfaces, the device automatically
attempts to obtain an IP address from a DHCP server. If you do not use DHCP, you can
configure a static IP address.
To configure a static IP address:
1. Use an Ethernet cable to connect one of the LAN ports in the back of the
FortiExtender to the Ethernet port of your computer.
2. Set the computer Ethernet port to DHCP mode, and connect it to port1, port2, or port3.
3. Open your web browser and point to the default FortiExtender web GUI address:
http://192.168.200.99
4. In both the username and password fields, type
admin
and press the Enter key on your
keyboard.
5. Go to Networking>Interface, where you’ll see all the system interfaces.
6. Select a desired interface, set it to “static” mode, configure the static IP addresse, and click
Save.
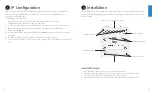
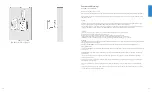
Installation
4
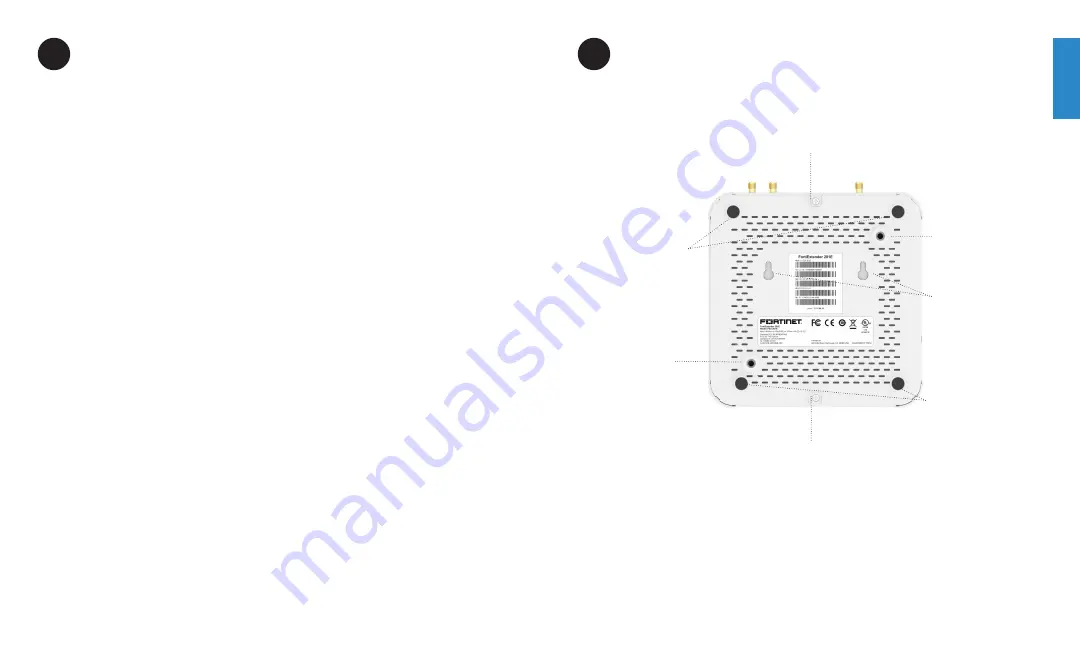
The FortiExtender device is designed for placement near a window (desk or wall mount) to
achieve the best 3G/4G signal strength. Refer to the diagram below for proper placement
and mounting.
Modem 1 cover tab with screw
Wall mount hole
Wall hanging slots
Wall mount hole
Rubber feet slots
Rubber feet slots
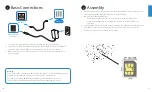
Install SIM card(s)
1. Unscrew the modem cover screw on the bottom of the unit.
2. Push the screw tab outwards, and unlock the cover from one end to remove it.
3. Insert your MicroSIM (3FF) SIM card(s) into the SIM socket(s).
4. Replace the modem cover, and fasten it onto the unit housing with the screw.
Содержание FEX-201E
Страница 1: ...QuickStart Guide FortiExtender 201E 211E...