P| 12
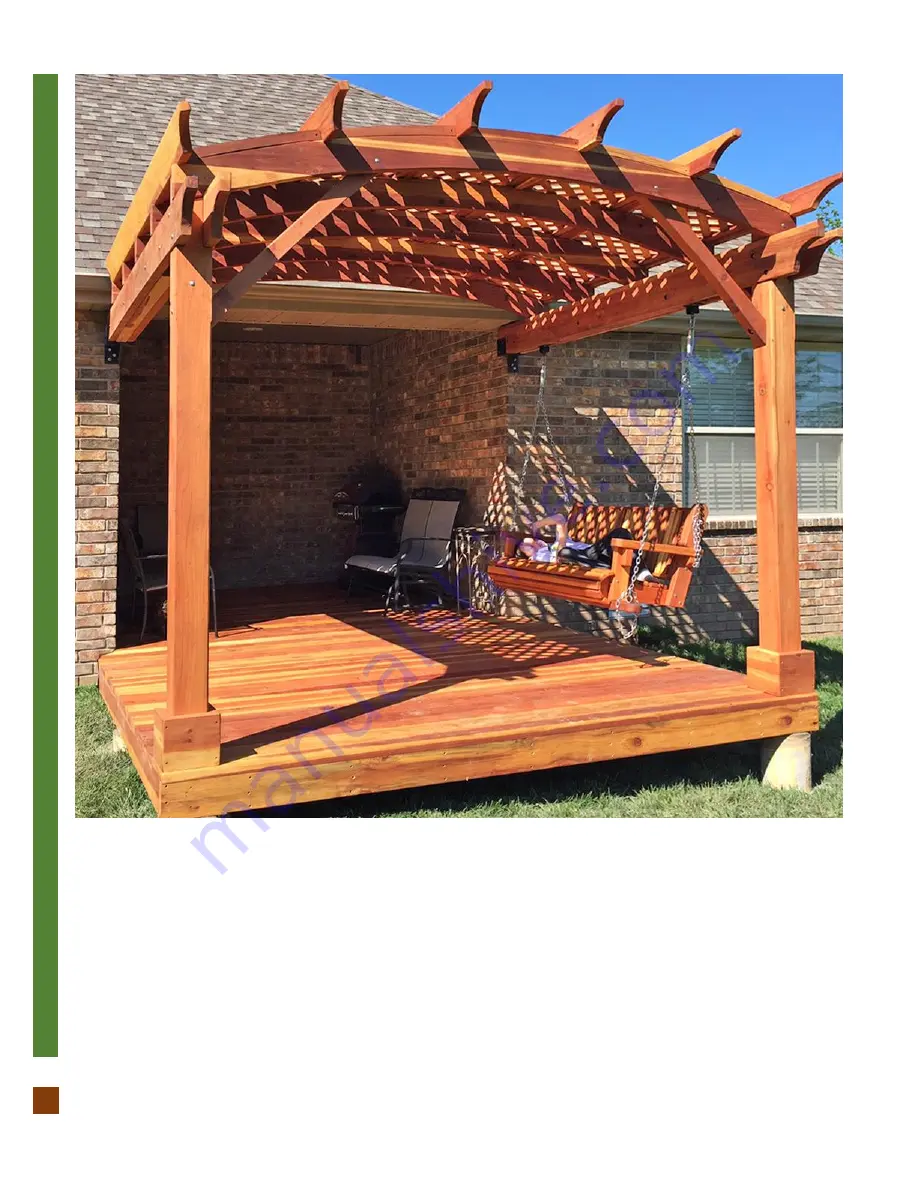
ATTACHED ARCHED PERGOLA KITS
WITH WALL MOUNTED ANCHORS.
www.ForeverRedwood.com
This completes the Pergola assembly. Hope you enjoy your set for many decades. If you ever have a problem or a question,
don't hesitate to call us (866 332 2403) or email us. We are here to support you.


