EN
- 6 -
INSTRUCTIONS FOR USE
PLAYBACK
1. Choose the speed according to the record that you are going to play (33 or 45 RPM) using the selector
on the front panel. If the record is a single (45 RPM), use the adapter supplied.
2. Switch the turntable on.
3. Remove the needle protector.
4. Lift the arm lever and place the arm over the record.
5. Place the needle at the beginning of the record and lower the arm lever; the arm will lower gently and
playback will start. If you want to pause playback, lift the arm lever. Lower it again to restart playback.
6. Press the REJECT button when you want to stop playback. The arm will go back to its original position
automatically.
7. After stopping playback, switch the turntable off using the on/off switch.
RECORDING
To record vinyl records directly in MP3 format in the corresponding port, follow the steps below:
1.- Connect a USB storage device with FAT32 format or an SD memory card. At this moment, the LED
recording indicator will start to flash.
After a few seconds, it will stop flashing and will stay alight. At this moment the turntable is prepared to
start recording.
2.- Start playing the vinyl record.
3.- Press the RECORD button to start recording. The LED indicator will start flashing slowly.
4.- If you want to divide the recording into different files, press the SPLIT button as many times as the amount
of different files you want to record. This function is specially suitable for dividing the whole record into
individual songs.
5.- Press the RECORD button to stop the recording whenever you want. The LED recording indicator will flash
quickly for a few seconds and will then stay alight.
Note
: do not remove the USB storage device or the SD memory card until the LED recording indicator stops
flashing as otherwise you could damage the recorded files.
Note
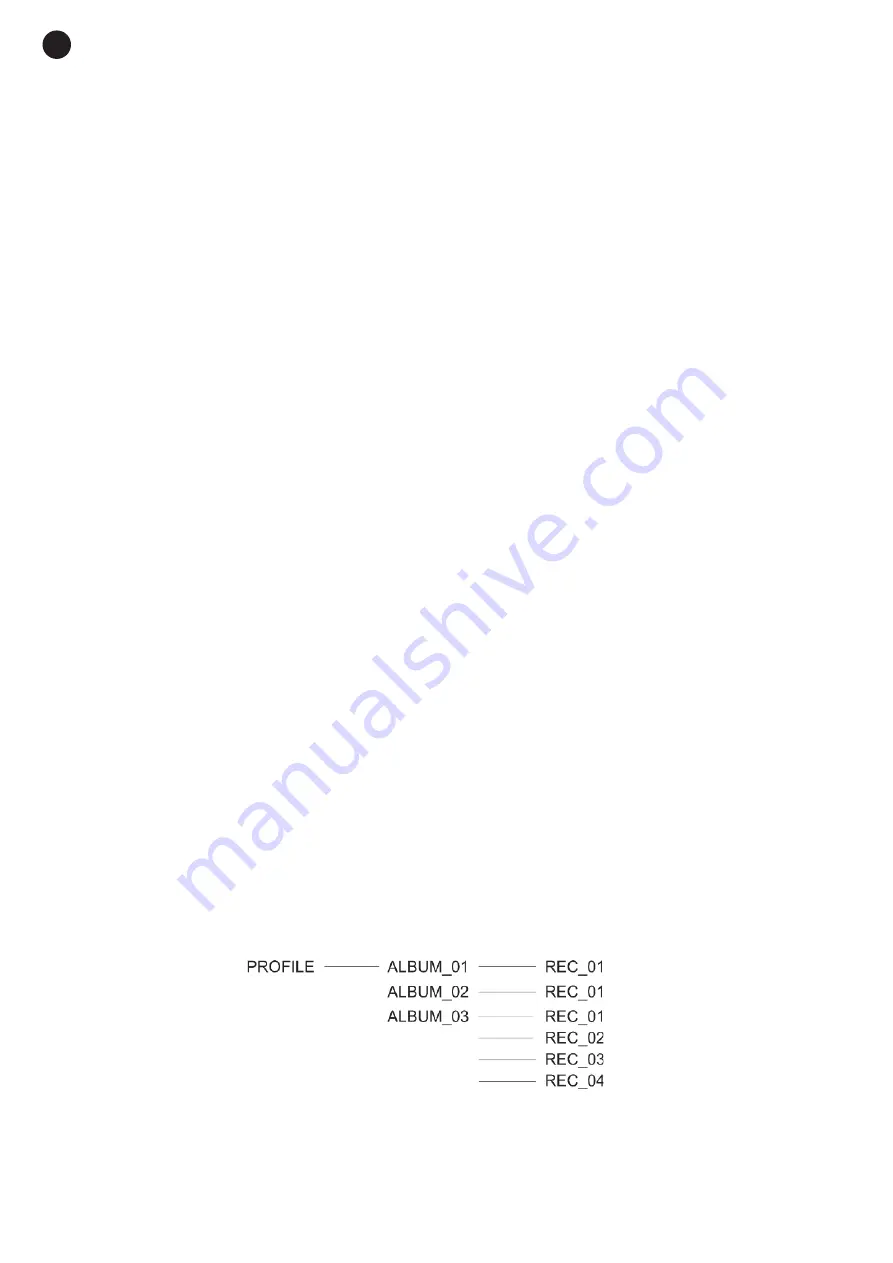
: the recordings will be stored in the memory device in a file with the name PROFILE, which is created
if it does not already exist. Others called ALBUM will be created within this folder, which will store the
recordings individually and consecutively. If the recordings are made without using the SPLIT button
(without dividing the recording), there will be just one file with the name REC_001 in the corresponding
folder. On the otherhand, if you have used the SPLIT button to divide the recording in several parts,
these will be stored in the same ALBUM folder with consecutive numbering (REC_001, REC_002,
REC_003, etc.).


