


For details on changing the sample rate of the Liquid 4PRE™ see page 21.
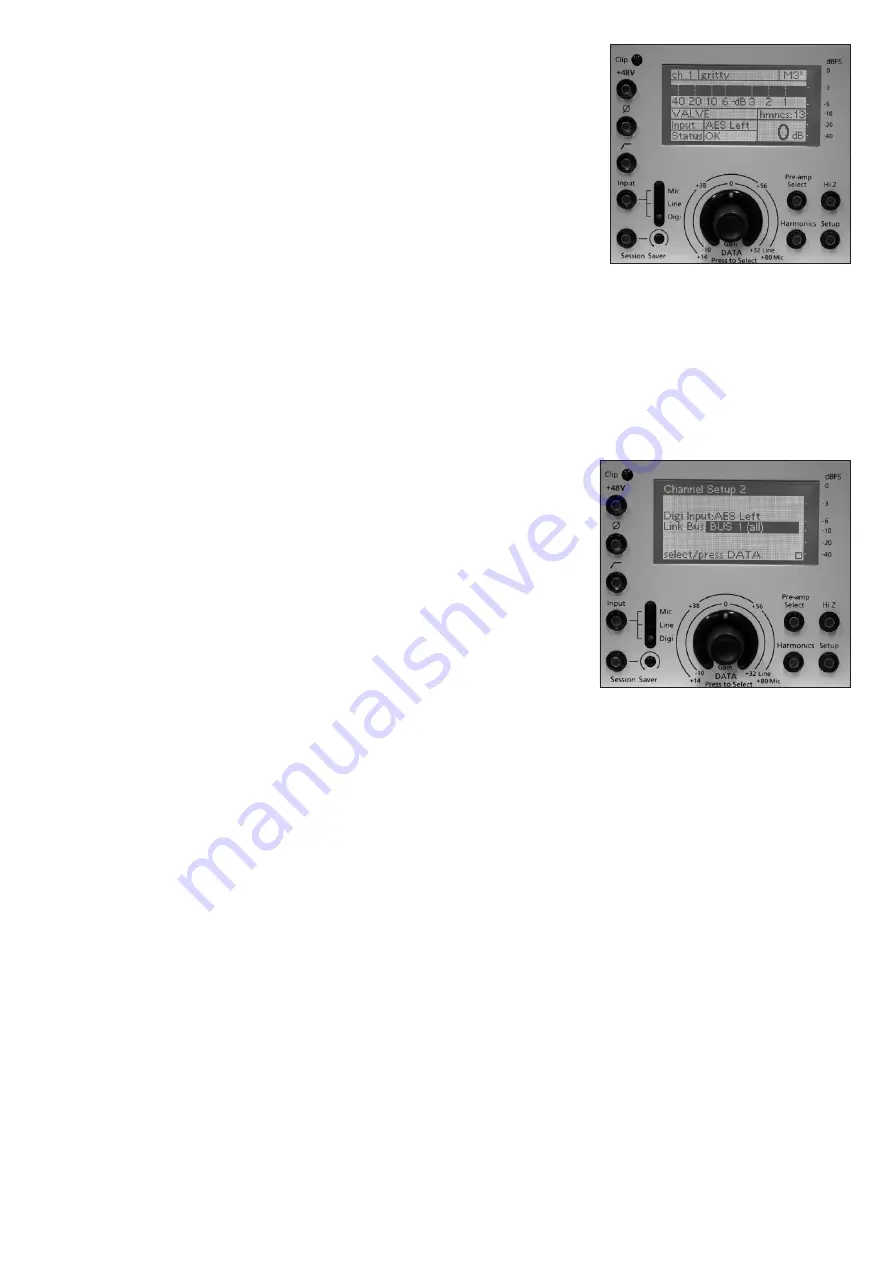
The pre-selected digital source is shown in the INPUT area of the channel
LCD – in our example,
AES Left
:
Link Bus (Page 2)
You may link channel controls within each Liquid 4PRE™ using the Link Bus option. Any number of channels, within each
unit, may be added to link bus 1, 2, 3 or 4, where link bus 1 and 2 are used for absolute gain, and 3 and 4 for relative gain
tracking. Channels assigned to the same link bus track each other’s controls and have identical settings (in the case of
link bus 3 and 4, any input gain offsets are retained). The only elements not linked are the digital input pre-select,
channel name, channel memory status and phantom power.
So, for example, to link channels 3 and 4 for stereo operation:
1. On channel 3, press the
Setup
button to open the Channel
Setup pages.
2. Navigate to the
Link Bus
option (on page 2).
3. Select
BUS 1 (all)
to add channel 3 to the link bus.
4. Deselect the
Setup
button to exit the Channel Setup pages.
The linking status is shown within the Status area of the Channel LCD – in our
example,
OK Link 1
indicates that the channel has been added to link bus 1.
5. Now repeat steps 1 to 4 on channel 4.
The channels are now linked; if you change a setting on one, the other will follow.
Note that if you save a channel memory, the memory will take the name of the channel where you perform the save.
TIP
: To keep an offset between the input gain on linked channels, use link bus 3 or 4.
22
Содержание Liquid 4PRE
Страница 1: ...Liquid 4PRE User Guide Mode d emploi Bedienungsanleitung FA0186 01 ...
Страница 2: ...2 ...