


Table 4.3: Device Settings
Function
Description
Factory Settings
Reset all parameters to the default factory values. This will not
change the layout to the factory default layout. Care should be
taken because all changes made by the user are lost.
Reset now
Makes a hardware reset to the instrument. The result is the same
as the one presented in Section
1.5
.
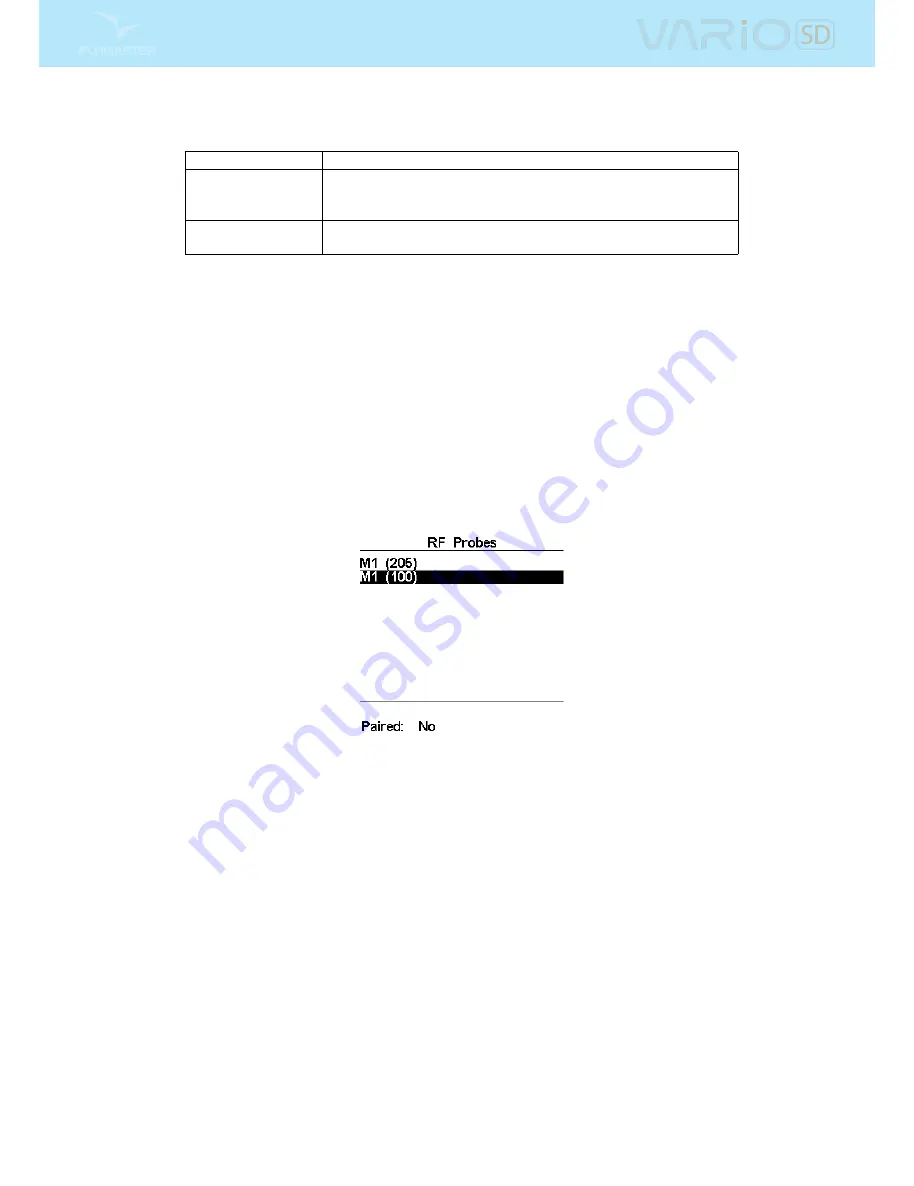
4.9 RF Probes
The RF Probes menu option allows the user to pair up any of the Flymaster wireless devices including
the M1 and Heart-G to the VARIO SD . Pairing is performed automatically. When ENTER is pressed
the VARIO SD will look to see what wireless devices are around and it will shows these on the screen
(see Figure
4.12
). Devices are identied by their name (e.g. M1, TAS) and serial number. Devices can
be selected using the UP, or DOWN keys. For the selected (highlighted) device the pairing state is shown
on the bottom of the screen. To pair a device the state should be changed from No to Yes. Once paired
the VARIO SD will always automatically connect with the wireless device. The VARIO SD can be paired
with several devices.
Figure 4.12: RF probes
In the example shown in Figure
4.12
, two M1 devices are visible. These are distinguished on the screen by
showing their serial number. (The serial number for the device can be found on the back of the wireless
device). By selecting one of the M1 devices and selecting ENTER, the option to pair that device becomes
available.
21
All manuals and user guides at all-guides.com


