DNR200 Series Quick Connection Guide - English - R1
1-14032013
1. Left-Button:
• Click to open the Navigation Bar.
•
During split-screen display mode:
Double-click an
individual channel to view it in full-screen. Double-click
again to return to the split-screen display mode.
•
While navigating menus:
Click to open a menu option.
2. Right-Button:
•
During Live View:
Right-click anywhere on the screen to
open the Quick Menu.
•
Within system menus:
Right-click to exit menus.
3. Scroll-Wheel:
• Use to change menu options.
Using the Mouse
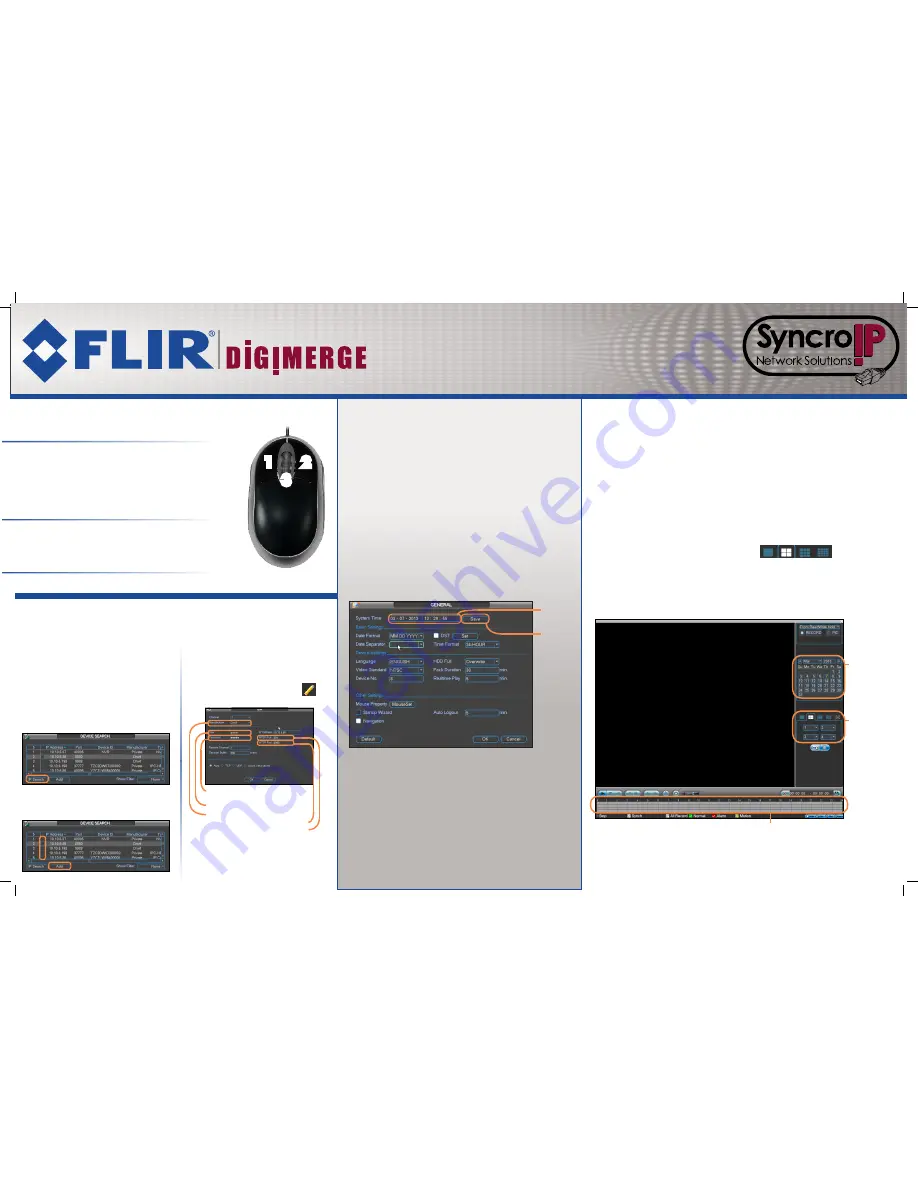
Setting the Date & Time
Searching & Playing Back Video
1
2
3
Network Video Surveillance Recorder
DNR200 Series
Quick Connection Guide
Adding Cameras from the LAN
1.
Connect the camera to a router or switch on
the same network as the NVR.
2.
Right-click and select
Device Search
. Log
in using the admin account (Default User Name:
admin
; Default Password:
000000
).
3.
Click
IP Search
.
1.
In the main viewing mode, right-click and click
Main Menu
. If needed, log into the system using the
admin account (Default User Name:
admin
; Default
Password:
000000
).
2.
Click
Setting>General
.
3.
Enter the current date (MM DD YYYY) and time
(HH MM SS) under System Time. Set the date and
time. Click
Save
.
4.
Click
Save
.
Set the date
and time
Click
Save
1.
From live view, right-click and then click
Search
. If needed, log
in using the admin account (Default User Name:
admin
; Default
Password:
000000
).
2.
Use the calendar on the right to select the day to playback.
3.
Use the drop-down menus to select the channels you would like
to playback. Click the display options (
) to
playback multiple channels simultaneously.
4.
Click inside the video bar to select the playback time.
Select the day
to playback
Select channels
to playback
Click inside the bar to
select a playback time
4.
Check the camera(s) you would like to add
and click
Add
.
5.
If the Status indicator is green, the camera
is connected and no further configuration is
required. Click
OK
to save changes.
6.
If the Status indicator is red, click
.
Update the following information, as needed.
Manufacturer:
Select the manufacturer of
your IP camera.
User:
Enter the camera’s user name.
Password:
Enter the camera’s password.
HTTP Port:
Enter the camera’s HTTP Port.
RTSP Port:
Enter the camera’s RTSP Port.
7.
Click
OK
. Click
OK
again to save changes.
NOTE:
See the included manual on CD for details on
configuring Daylight Savings Time and Network Time Protocol.
NOTE:
See the manual for your IP camera for details on
the default username, password, or ports used.
NOTE:
Please visit
www.digimerge.com
for a list of compatible IP cameras.


