16
Working with measurement tools
16.1
Creating & setting up a spotmeter
General
To measure the temperature of a single pixel, you use the spotmeter measurement
function. The area inside the spotmeter must be covered by the object of interest to
display a correct temperature.
Procedure
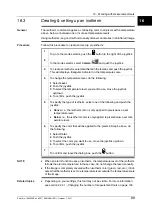
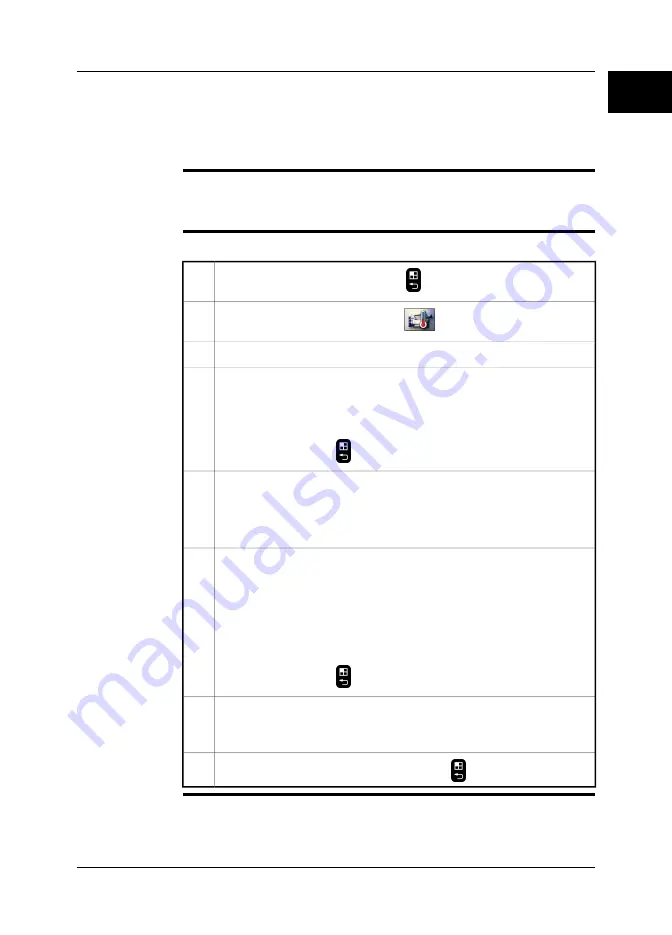
Follow this procedure to create and set up a spotmeter:
To go to the mode selector, push the
button to the right of the joystick.
1
In the mode selector, select
Camera
and push the joystick.
2
To create a spotmeter, select
Spot
in the toolbox and push the joystick.
3
To move the spotmeter, do the following:
1 Select
Move
.
2 Push the joystick.
3 To move the spotmeter, move the joystick left/right or up/down.
4 To confirm, push the
button.
4
To use the current spotmeter temperature as a reference temperature, select
Set as reference temperature
and push the joystick to confirm.
Note: For a box, circle, or line, you can only use this command if
Max.
,
Min.
, or
Avg.
is active.
5
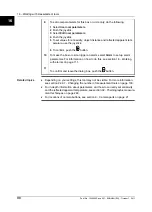
To set local parameters for this spotmeter only, do the following:
1 Select
Use local parameters
.
2 Push the joystick.
3 Select
Edit local parameters
.
4 Push the joystick
5 To set values for emissivity, object distance and reflected apparent tem-
perature, use the joystick.
6 To confirm, push the
button.
6
To make the spotmeter trigger an alarm, select
Alarm
to set up alarm pa-
rameters. For information on how to do this, see section 18 – Working with
alarms on page 111.
7
To confirm and leave the dialog box, push the
button.
8
Related topics
Depending on your settings, this tool may not be visible. For more information,
see section 22.2.1 – Changing the number of measurement tools on page 133.
■
16
Publ. No. 1558550 Rev. a557 – ENGLISH (EN) – October 7, 2011
95
Содержание B6 series
Страница 2: ......
Страница 4: ......
Страница 6: ......
Страница 8: ......
Страница 9: ...User s manual Publ No 1558550 Rev a557 ENGLISH EN October 7 2011...
Страница 12: ...INTENTIONALLY LEFT BLANK xii Publ No 1558550 Rev a557 ENGLISH EN October 7 2011...
Страница 22: ...INTENTIONALLY LEFT BLANK 1 4 Publ No 1558550 Rev a557 ENGLISH EN October 7 2011 1 Warnings Cautions...
Страница 24: ...INTENTIONALLY LEFT BLANK 2 6 Publ No 1558550 Rev a557 ENGLISH EN October 7 2011 2 Notice to user...
Страница 26: ...INTENTIONALLY LEFT BLANK 3 8 Publ No 1558550 Rev a557 ENGLISH EN October 7 2011 3 Customer help...
Страница 28: ...INTENTIONALLY LEFT BLANK 4 10 Publ No 1558550 Rev a557 ENGLISH EN October 7 2011 4 Documentation updates...
Страница 36: ...INTENTIONALLY LEFT BLANK 7 18 Publ No 1558550 Rev a557 ENGLISH EN October 7 2011 7 Quick Start Guide...
Страница 60: ...INTENTIONALLY LEFT BLANK 12 42 Publ No 1558550 Rev a557 ENGLISH EN October 7 2011 12 Pairing Bluetooth devices...
Страница 86: ...INTENTIONALLY LEFT BLANK 13 68 Publ No 1558550 Rev a557 ENGLISH EN October 7 2011 13 Handling the camera...
Страница 112: ...INTENTIONALLY LEFT BLANK 15 94 Publ No 1558550 Rev a557 ENGLISH EN October 7 2011 15 Working with fusion...
Страница 124: ...INTENTIONALLY LEFT BLANK 16 106 Publ No 1558550 Rev a557 ENGLISH EN October 7 2011 16 Working with measurement tools...
Страница 142: ...INTENTIONALLY LEFT BLANK 19 124 Publ No 1558550 Rev a557 ENGLISH EN October 7 2011 19 Annotating images...
Страница 144: ...INTENTIONALLY LEFT BLANK 20 126 Publ No 1558550 Rev a557 ENGLISH EN October 7 2011 20 Programming the camera...
Страница 172: ...INTENTIONALLY LEFT BLANK 23 154 Publ No 1558550 Rev a557 ENGLISH EN October 7 2011 23 Cleaning the camera...
Страница 192: ...it 26 174 Publ No 1558550 Rev a557 ENGLISH EN October 7 2011 26 Dimensional drawings...
Страница 198: ...INTENTIONALLY LEFT BLANK 26 180 Publ No 1558550 Rev a557 ENGLISH EN October 7 2011 26 Dimensional drawings...
Страница 204: ...INTENTIONALLY LEFT BLANK 27 186 Publ No 1558550 Rev a557 ENGLISH EN October 7 2011 27 Application examples...
Страница 323: ...INTENTIONALLY LEFT BLANK 36 Publ No 1558550 Rev a557 ENGLISH EN October 7 2011 305 36 Emissivity tables...
Страница 325: ......


