

C. Insert and Configure microSDXC Card
The camera is shipped without a microSDXC card. The card must be inserted in the
camera in order to locally store a snapshot or recording triggered by an event.
To install a microSDXC card:
1. Lift the rubber tab on each side of the dome cover and, using a Torx screwdriver, remove the
dome cover from the camera body.
2. Insert a microSDXC card (up to 128GB, Class 10) in the card drive on the camera’s printed
circuit board.
3. Replace the dome cover.
4. Verify that the card status is displayed as mounted in the
System > Events Handler >
SD Card
screen.
5. Format the card.
6. Configure the camera to store snapshots and recordings from the
System > Events Source
screens.
D. Mount and Position the Camera
1. Verify that the operating temperature range is between -40°C ~ 50°C (-40° ~ 122°F),
0-90% relative humidity (non-condensing).
2. Mount the camera at the site according to your surveillance requirements. Be sure to have
the required accessories and tools available.
3. Refer to the User and Installation Guide and mounting accessory documentation for
instructions how to install the camera and attach it to the site surface.
4. Set the camera angle and height based on the required Field of View depth and topology.
5. On CM-3304-21-I, click the
Lens Control
button on the
Live
screen.
6. Set the zoom and focus on the
Lens Control
screen.
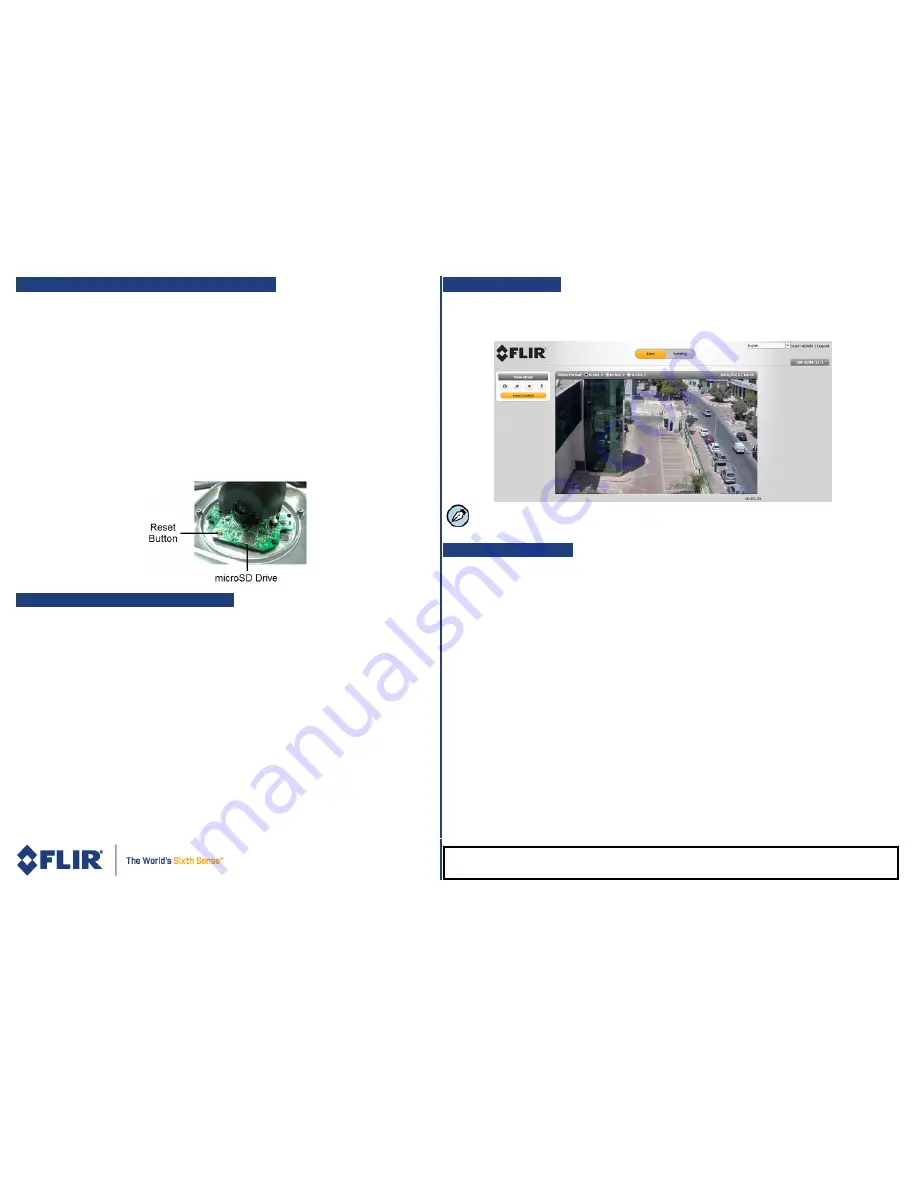
E. Open Live View
1. Select the
Live
tab.
2. Set the camera view.
3. Click the red recording icon on the
Live
screen to start recording.
This step can be set automatically by FLIR’s Latitude, Horizon or Meridian VMS.
F. Attach to Latitude
1. In Latitude, click
Physical View
on the sidebar.
2. On the Navigation Tree, click the system name.
3. From the
Discovery
tab, do the following:
a. Under
Cameras and Encoders
, select
FLIR
(Latitude 7 and 8).
b. Click
Start
. The camera details are displayed in the Discovery table.
c. If the camera was not discovered, click
Discover Unit Manually
.
d. Enter the camera’s IP address, select
FLIR
(Latitude 7) or
FLIR
and
Auto Detect
(Latitude 8).
e. Click
OK
.
4. In the Discovery table, right-click the camera
5. Select
Attach
.
6. Click the Archiver name to attach.
7. Click
Save
.
CM-330x_QIG_30Jul17_v1
FLIR Systems, Inc. 6769 Hollister Ave. Goleta, CA 93117
Tel: +1 888.388-3577 [email protected] www.flir.com/security


