LOCATION
The HEPA Air Cleaner should be located as close to the
return air duct as possible. This allows for shorter lengths
of ducting which helps keep the static pressure lower.
The unit can be adapted to mount on a wall or be
suspended from the ceiling. Care should be taken to
keep the unit away from an area where there is a
possibility of moisture leaking on to it. Ensure there is 24-
36 inches (61 - 91.4 cm) above the unit to remove the
filters for cleaning or replacing.
It is important to maintain some distance between the
intake and the exhaust openings in the return air duct.
Failure to do this may result in short cycling between the
intake and the clean air discharge. It is recommended
you leave 10 feet (3 m) between the intake and the
exhaust; however, as little as 6 feet (1.8 m) will work
effectively. If the distance is smaller than 6 feet, it is
important that an air deflector is installed in the duct.
If outside air is introduced into the return air duct, either
direct or through a HRV (Heat Recovery Ventilator), it
should be added to the system before the intake inlet to
the Air Cleaner.
GENERAL INSTALLATION STEPS
1. Remove any packaging or plastic from filters before
installing. See Maintenance for instructions to
remove the filters.
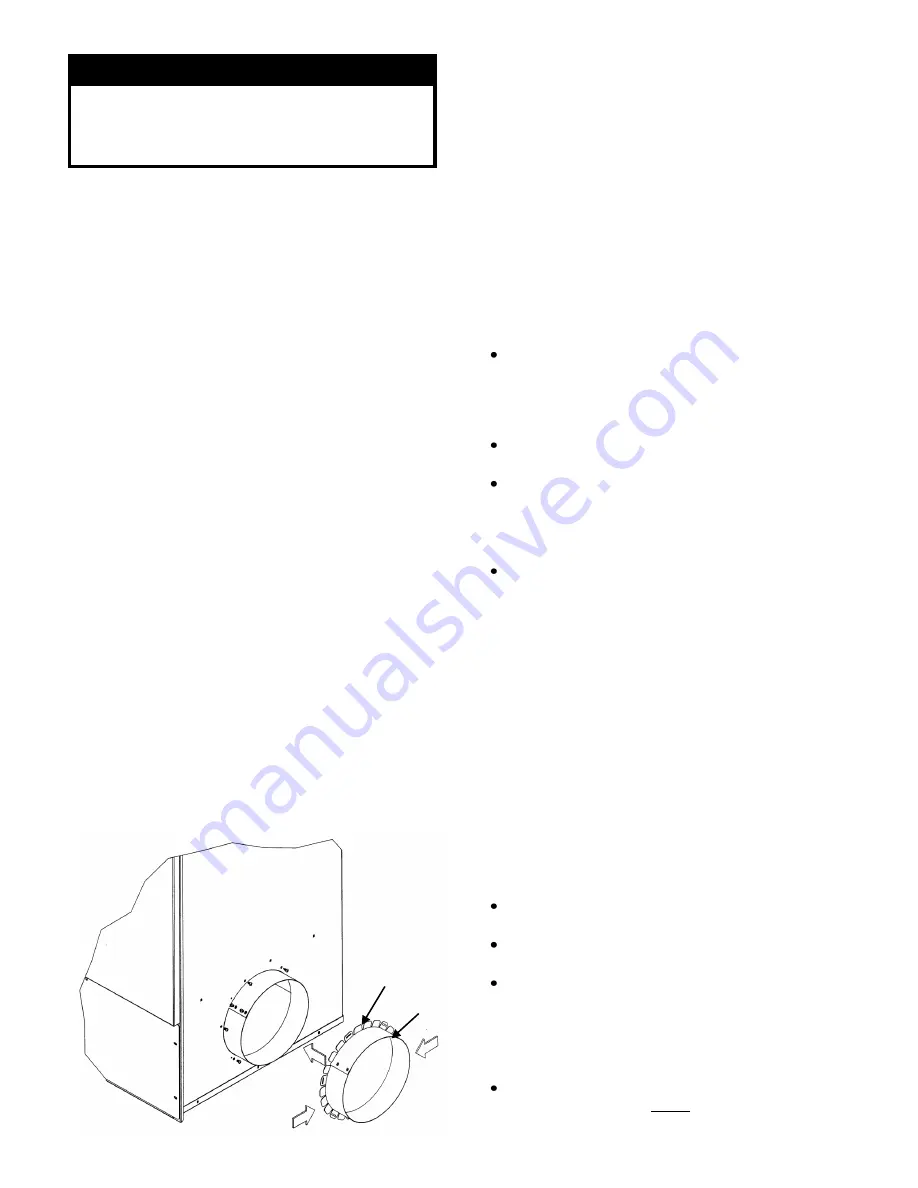
2. When the unit is shipped, the 8 inch intake and
exhaust collars are not installed on the unit. The
collars must be attached with the collar ring facing
out. Remove the 8 inch collars from the unit by
cutting the ties which hold them to the enclosure.
Remove the collars from the enclosure by
compressing the ring and pulling out of the
enclosure. To install the collars, invert the collar so
the large ring is to the outside. Compress the collar
ring until you can insert the smaller flange into the
opening in the enclosure. Enlarge the ring to its
maximum and turn the collar in the hole until the
holes in the enclosure line up with the slotted holes
in the smaller collar flange. Secure the collar to the
enclosure with one screw. Install two screws into the
ring to hold it to the proper diameter. Secure both
collars to the enclosure with the screws provided.
3. A duct take-off adapter and a 10 foot length of 8 inch
flex duct is required to attach between the 8 inch
intake collar on the unit and the existing cold air
return duct.
Pick the place on the return duct or trunk where
you wish to install the duct take-off adaptor for the
intake. The place should be somewhere on the
duct after the last branch coming back to the
furnace, where all of the return air will pass.
Hold the duct take-off on the return duct and mark
the duct on the inside of the ring.
Cut a hole in the duct just outside of the mark you
made on the duct. Remove the backing from the
adhesive and place the take-off adaptor over the
hole you cut. Secure the take-off to the duct with
four #8 x 1/2” sheet metal screws.
Extend the flex duct to the length you require. Fold
any loose edges of the flex duct to the outside of
the duct or use a crimping tool to slightly expand
the duct. Place the flex duct over the take-off ring
on the duct and secure the flex duct to the take-off
ring with four screws. Run the flex duct to the
intake collar (top collar) on the back of the unit.
When running the duct, make sure that there are
no kinks or sharp bends that will impede the air
flow to the unit. Secure the flex duct to the intake
collar with four screws. Seal the flex duct to both
rings with aluminum tape.
4. A duct take-off adaptor and a 10 foot length of 8 inch
flex duct duct is required to attach between the
exhaust collar on the unit and the existing cold air
return. The exhaust flex duct should be attached to
the return air duct, close to the furnace. The ideal
location is low on the return air boot near the
furnace.
Pick the spot on the return air boot where you wish
to install the take-off ring for the exhaust.
Hold the duct take-off adaptor on the return duct
and mark the duct on the inside of the ring.
Cut a hole in the duct just outside of the mark you
made on the duct. Remove the backing from the
adhesive and place the take-off ring over the hole
with one of the mounting holes centered above
the hole in the duct.
Secure the take-off to the
duct with the screws provided.
To prevent air shear inside the duct, you must
install the deflector inside the boot or duct, so the
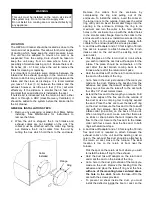
WARNING
This unit must be installed on the return air side of
the system only. Do not connect to supply side.
Do not install in a cooking area or connect directly to
any appliance.
Flange
Collar
Installed
Ring

