26
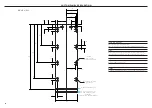
DOOR PANEL PREP
8
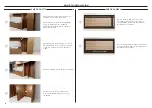
STAINLESS STEEL PANEL
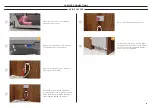
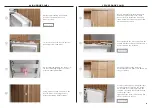
Plug the unused holes in the panel using
the remaining screws from the panel kit.
Remove the top cover using a powered
driver. Set aside.
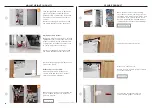
Determine the panel orientation
based on the hinge and handle
positions. Red labels indicate left hinge
installations, blue labels indicate right
hinge installations.
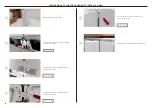
Remove both washers and nuts and set
aside. Lift the panel brackets outwards
to remove.
1
2
3
4
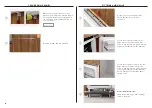
Determine the panel orientation
based on the hinge and handle
positions. Red labels indicate left hinge
installations, blue labels indicate right
hinge installations.
Remove all blue tape from the panel.
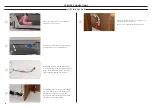
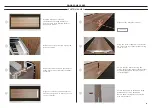
Align side brackets to the pre-drilled
holes based on your hinge orientation.
Red labels indicate left hinge
installations, blue labels indicate right
hinge installations.
Using the screws supplied in the panel
kit, secure the door panel bracket using
seven screws.
5
6
7
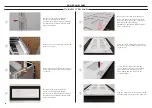
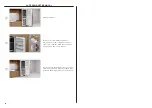
Secure the side brackets using two
screws per bracket from the supplied
panel kit. Ensure side brackets are
fitted tightly and the fasteners are
secured straight.
Содержание RS6019F2L
Страница 2: ......


