Operation
31
© Travis Industries
4/23/2021 - 1553
564 25k/35k GSR2 Owner’s
Installation
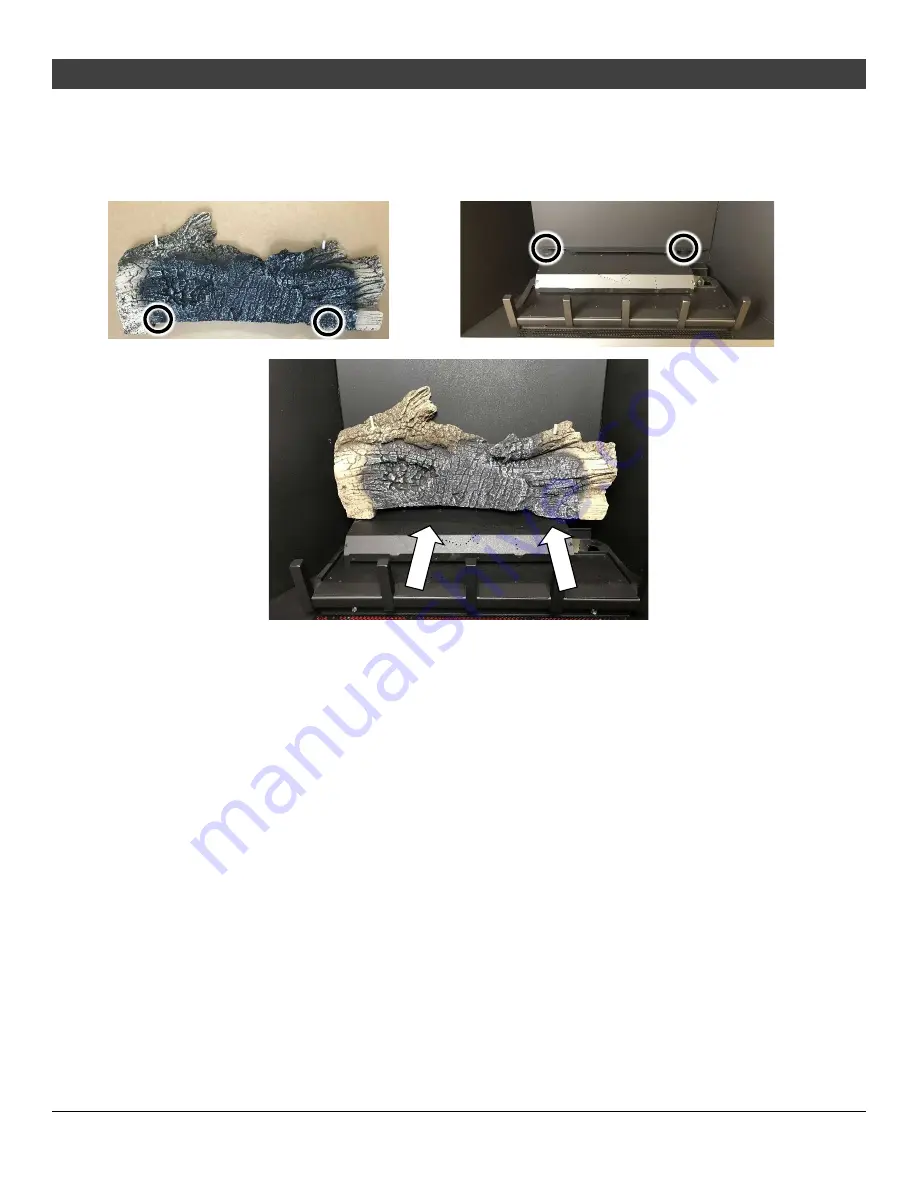
Rear Log
The rear log has two pockets that insert over two tabs on the back burner (see photos below). Place the
log in place and push it back. The log straddles the burner and does not cover any burner holes.


