background image

English

   - 25 -

Note

: Lip Sync delay may occur during the timeshifting. 

Radio record is supported. The TV can record 

programmes up to ten hours.
Recorded programmes are split into 4GB partitions. 
If the writing speed of the connected USB disk is not 

sufficient,  the  recording  may  fail  and  the  timeshifting 

feature may not be available.
It is recommended to use USB hard disk drives for 

recording HD programmes.
Do not plug out the USB/HDD during a recording. This 

may harm the connected USB/HDD.
Multipartition support is available. The maximum of two 

different partitions are supported. The first partition of the 

USB disk is used for PVR ready features. It also must 

be formatted as the primary partition to be used for the 

PVR ready features.
Some stream packets may not be recorded because 

of signal problems, so sometimes video may freezes 

during playback. 
Record, Play, Pause, Display (for PlayListDialog) keys 

can not be used when teletext is ON. If a recording starts 

from timer when teletext is ON, teletext is automatically 

turned off. Also teletext usage is disabled when there is 

an ongoing recording or playback. 

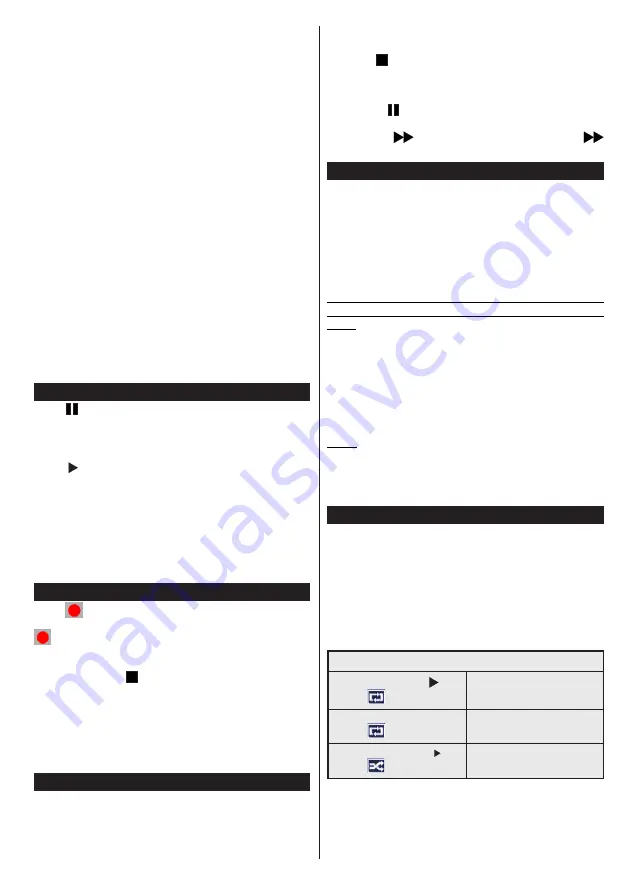
Timeshift Recording 

Press 


(PAUSE) button while watching a broadcast to 

activate timeshifting mode. In timeshifting mode, the 

programme is paused and simultaneously recorded to 

the connected USB disk.
Press   (PLAY) button again to resume the paused 

programme from where you stopped. Press the STOP 

button to stop timeshift recording and return to the live 

broadcast.

Note

: Timeshift cannot be used while in radio mode.

Note

 : You cannot use the timeshift fast reverse feature 

before advancing the playback with the fast forward 

option.

Instant Recording

Press 

 (RECORD) button to start recording an event 

instantly while watching a programme. You can press 

 (RECORD) button on the remote control again to 

record the next event on the EPG. In this case, an OSD 

will be displayed, indicating the programmed events for 

recording. Press   (STOP) button to cancel instant 

recording. 

Note

: You can not switch broadcasts or view the Media 

Browser during the recording mode. While recording a 

programme or during the timeshifting, a warning message 

appears on the screen if your USB device speed is not 

sufficient.

Watching Recorded Programmes 

Select the 

Recordings Library

 from the 

Media Browse

menu. Select a recorded item from the list (if previously 

recorded). Press the 

OK

 button to view the  

Play 

Options

. Select an option then press 

OK

 button.

Note: Viewing main menu and menu items will not be 

available during the playback.

Press the   (STOP) button to stop a playback and return 

to the Recordings Library.

Slow Forward

If you press   (PAUSE) button while watching recorded 

programmes, the slow forward feature will be available. 

You can use 

 button to slow forward. Pressing 


button consecutively will change slow forwarding speed.

Recording Configuration

Select the Recording Configuration item in the Settings 

menu to configure the recording settings. 

Format Disk

: You can use Format Disk feature for 

formatting the connected USB disk. Your pin is required 

to use the Format Disk feature (default pin is 0000).

Default PIN code can change depending on the 

selected country.

If you are asked to enter a PIN code for viewing a menu 

option, use one of the following codes: 

4725

0000

 or 

1234

.

IMPORTANT

: Note that ALL the data stored on the USB 

disk will be lost and the disk format will be converted 

to FAT32 if you activate this feature. If your USB disk 

malfunctions, you can try formatting the USB disk. In 

most cases formatting the USB disk will restore normal 

operation; however, ALL the data stored on the USB disk 

will be lost in such a case. 

Note:


If “USB is too slow” message is displayed on 

the screen while starting a recording, try restarting the 

recording. If you still get the same error, it is possible that 

your USB disk does not meet the speed requireme

nts. 

Try connecting another USB disk.

Media Browser Menu

You can play photo, music, and movie files stored on a 

USB disk by connecting it to your TV. Connect a USB 

disk to one of the USB inputs located on the side of 

the TV. Pressing the 

MENU

 button while in the Media 

Browser mode will access the Picture, Sound and 

Settings menu options. Pressing the 

MENU

 button 

again will exit from this screen.


You can set your Media 

Browser preferences by using the Settings Menu.

Loop/Shuffle Mode Operation

Start playback with   and 
activate 

TV plays next file and loop 

the list.

Start playback with OK and 
activate 

the same file will be played in a 

loop (repeat).

Start playback with OK/  and 
activate 

the file will be played in a shuffle.

Содержание FL4310CB

Страница 1: ...FINLUX Hi Jffll Colour television Owner s manual ...

Страница 2: ...ound the set Do not block ventilation holes Do not place the TV on sloping or unstable surfaces the TV may tip over Use this device in moderate climates The power cord plug should be easily accessible Do not place the TV furniture etc on the power cord A damaged power cord plug can cause fire or give you an electric shock Handle the power cord by the plug do not unplug the TV by pulling the power ...

Страница 3: ...e is designed in such a way that it does not require a safety connection to electrical earth the earth connection is used for functional purposes Protective Earth Connection The marked terminal is intended for connection of the protective earthing conductor associated with the supply wiring Hazardous Live Terminal The marked terminal s is are hazardous live under normal operating conditions Cautio...

Страница 4: ... without anchoring both the furniture and the television set to a suitable support Not standing the television set on cloth or other materials placed between the television and supporting furniture Educating children about the dangers of climbing on furniture to reach the television set or its controls If your existing television set is being retained and relocated the same considerations as above...

Страница 5: ...d colour TV Fully integrated digital cable TV DVB T C HDMI inputs are for connecting a device that has a HDMI socket USB input OSD menu system Scart socket for external devices such as DVD Players PVR video games etc Stereo sound system Teletext Headphone connection Automatic programming system Manual tuning Automatic power down after up to six hours Sleep timer Child lock Automatic sound mute whe...

Страница 6: ...ral household waste If you want to dispose of the product or battery please consider the collection systems or facilities for appropriate recycling Notice The sign Pb below the symbol for batteries indicates that this battery contains lead Products Battery Specification TV Broadcasting PAL B G D K K Receiving Channels VHF BAND I III UHF BAND U HYPERBAND Number of Preset Channels 1000 Channel Indic...

Страница 7: ... programmes 18 Play Starts to play selected media 19 Stop Stops the media being played 20 Rapid advance Moves frames forward in media such as movies 21 Pause Pauses the media being played starts timeshift recording 22 Screen Changes the aspect ratio of the screen 23 Text Displays teletext where available press again to superimpose the teletext over a normal broadcast picture mix 24 My button 2 25 ...

Страница 8: ...utput will not be available via the scart socket When using the wall mounting kit optional we recommend that you plug all your cables into the back of the TV before mounting on the wall Insert or remove the CI module only when the TV is SWITCHED OFF You should refer to the module instruction manual for details of the settings Connector Type Cables Device Scart Connection back VGA Connection back S...

Страница 9: ...ilable broadcasts in accordance with a recognizable channel sequence if available Cable Installation If you select CABLE option and press OK button on the remote control To continue please select YES and press OK To cancel operation select NO and press OK You can select frequency ranges from this screen Enter the frequency range manually by using the numeric button Note Searching duration will cha...

Страница 10: ... is not sufficient Watching Recorded Programmes Select the Recordings Library from the Media Browser menu Select a recorded item from the list if previously recorded Press the OK button to view the Play Options Select an option then press OK button Note Viewing main menu and menu items will not be available during the playback Press the STOP button to stop a playback and return to the Recordings L...

Страница 11: ...Auto Only available in Scart mode with SCART PIN8 high voltage low voltage switching Film Mode Films are recorded at a different number of frames per second to normal television programmes Turn this feature on when you are watching films to see the fast motion scenes clearly Skin Tone Skin tone can be changed between 5 and 5 Colour Shift Adjust the desired colour tone RGB Gain You can configure th...

Страница 12: ...disables selected source options Other Settings Displays other setting options of the TV set Menu Timeout Changes timeout duration for menu screens Scan Encrypted Channels When this setting is on the search process will locate the encrypted channels as well Blue Background Activates or deactivates the blue background system when the signal is weak or absent Software Upgrade To ensure that your TV ...

Страница 13: ... of certain programmes channels and menus can be locked by using the parental control system To display parental lock menu options the PIN number should be entered The factory default PIN number is 0000 After coding the correct PIN number parental settings menu will be displayed Menu Lock Menu lock setting enables or disables the menu access Maturity Lock When set this option gets the maturity inf...

Страница 14: ...s up at 03 00 and searches broadcast channels for new software upgrades If new software is found and downloaded successfully the next time the TV powers up it will have the new software version Note If the TV fails to come on after the upgrade unplug the TV for 2 minutes and plug in again Troubleshooting Tips Tv will not turn on Make sure the power cord is plugged in securely to wall outlet The ba...

Страница 15: ...ur TV may not support all resolutions Your TV supports up to 1920x1080 Index Resolution Frequency 1 640x480 60 Hz 2 800x600 56 Hz 3 800x600 60 Hz 4 1024x768 60 Hz 5 1024x768 66 Hz 6 1280x768 60 Hz 7 1280x960 60 Hz 8 1280x1024 60 Hz 9 1360x768 60 Hz 10 1400x1050 60 Hz 11 1600x1200 60 Hz 12 1920x1080 60 Hz Supported File Formats for USB Mode Media File Extension Format Remarks Video Audio Maximum re...

Страница 16: ......

Отзывы: