background image

1

•  

http:// info.fingertec.com/faceid2-4E800 

2

3

Score: 102

User ID: 1

Name:

Verity: 1:N Face

[12:20] Verified

SUCCESSFUL VERIFICATION MODE

The system will display your photo, user ID 

and name after verifying your identity. 

Quick Start Guide

The Quick Start Guide is intended to 
provide the user with simple instruc-
tions  on  how  to  setup  the  terminal 
date/time  and  communication  as 
well  as  to  perform  face  enrollment 
and  verification.  For  more  details  on 
other  topics  of  terminal  manage-
ment, refer to the terminal’s hardware 
user manual available in the package 
or online at


Setting the Date and Time

1.  Press 

Menu

  > 

System 

Date/Time

  and  set 

the value.

2.  You  have  two  options  for  time  format,    12-

hour format or 24-hour format.

Enrolling Face

Refer to hardware user manual.

1.  Press 

Menu

 > 

User 

Add

.

2.  Enter your 

User ID

 and select 

Face

.

3.  Follow the instructions  on the screen to en-

roll your face.

4.  Once the enrollment process is done, select 

the suitable 

Privilege

 level, and  press 

Save

.

Communication Settings

To input the IP address: 

 Press Menu > Connec-

tion > TCP/IP > Key in IP address.

To input Subnet mask: 

 Press Menu > Connec-

tion > Sub NetMask > Insert the numbers.

To input Gateway: 

Press Menu > Connection > 

Gate

way > Insert the numbers.

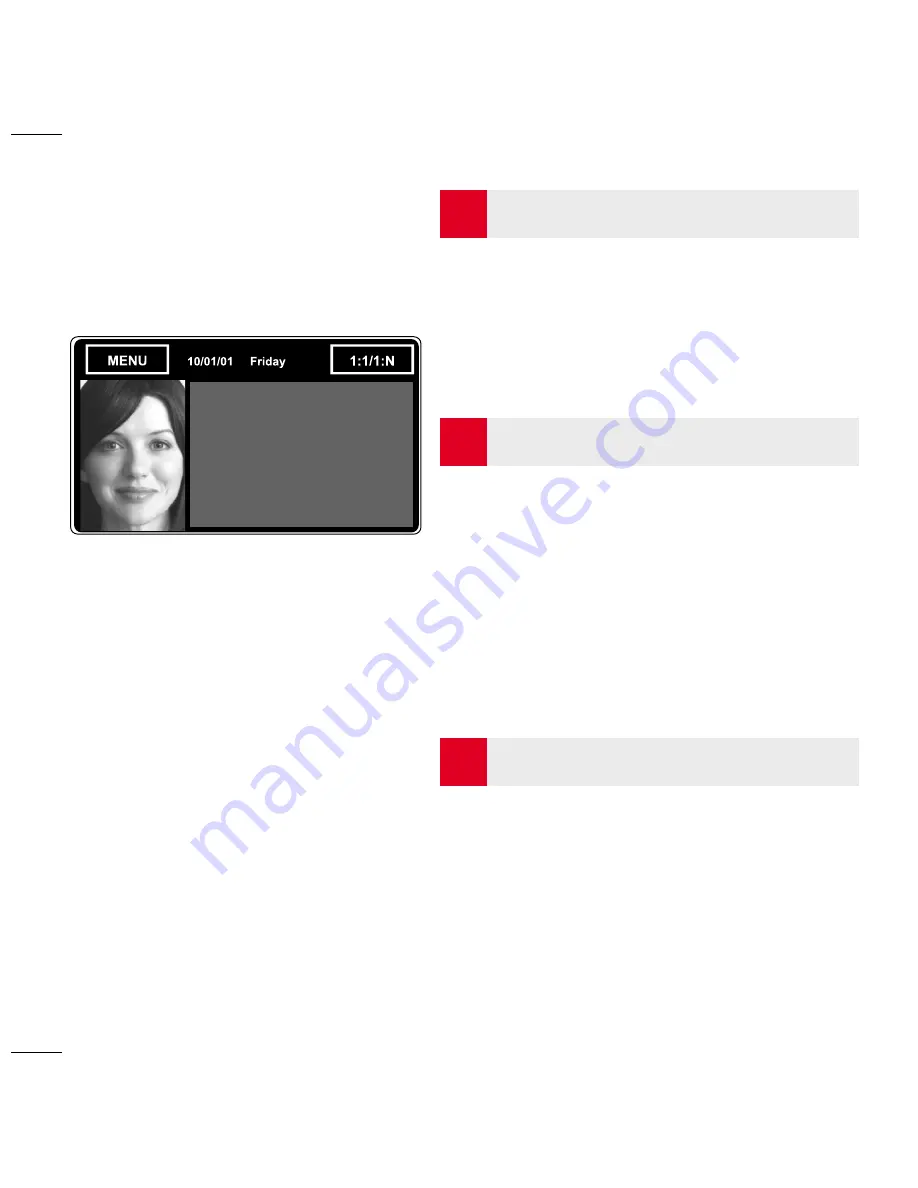
2.  Displays the image of user captured 

during verification. Adjust your posi-

tion so your face appears in the box.

Содержание FACE ID 2

Страница 1: ...Face ID2 Quick Start Guide ...

Страница 2: ...lment Position your eyes in the box 3 Progress bar to indicate the progress of face enrollment Fingerprint Sensor Card Induction Area L E D Display Twin Face Camera Infrared Lights Shortcut Keys 1 Menu button to access into the system 2 Tap to view the keypad 3 Terminal is in standby mode ready for scanning VERIFICATION MODE 1 Status bar to indicate the quality of the captured image the higher the...

Страница 3: ...line at Setting the Date andTime 1 Press Menu System Date Time and set the value 2 You have two options for time format 12 hour format or 24 hour format Enrolling Face Refer to hardware user manual 1 Press Menu User Add 2 Enter your User ID and select Face 3 Follow the instructions on the screen to en roll your face 4 Once the enrollment process is done select the suitable Privilege level and pres...

Страница 4: ...in the terminals into the server In Out movement records are only available for FingerTec access control models Access Control Setup Set up access restrictions and door lock settings for each group and user Attendance Calculation Setup Optional Attendance rules and calculation formulas must be determined out to generate correct attendance reports Viewing In Out records Review access records and mo...

Страница 5: ...All complete hardware and software user guides are available in the FingerTec DVD and downloadable online at http user fingertec com 2016 Timetec Computing Sdn Bhd All rights reserved 072016 ...

Отзывы: