background image

FFim200 User Manual 

FFim100 User Manual 


15 


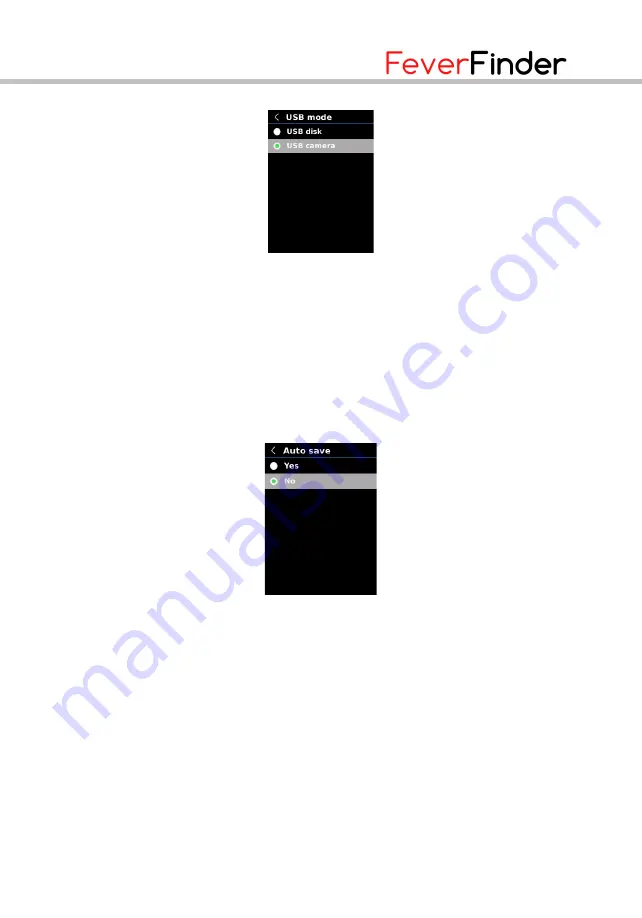
5.5.8  USB Mode 


To set USB mode: 

1.


Press the up/down button to select the USB Mode option in the Settings 

menu. 

2.


Press the SET button to enter the USB Mode submenu. 

3.


Press the up/down button to select USB Disk or USB Camera. 

4.


Press the SET button to confirm. 

5.


Press the back button to exit. 


Note: USB disk mode allows users to browse pictures and analyze data on a 

PC, while USB camera mode allows users to realize real-time image 

projection after connecting to a PC. 

5.5.9  Auto Save 


To set auto save: 

1.


Press the up/down button to select the Auto Save option in the Settings 

menu. 

2.


Press the SET button to enter the Auto Save submenu. 

3.


Press the up/down button to select Yes or No. 

4.


Press the SET button to confirm. 

5.


Press the back button to exit. 

Note: Do not remove or insert the SD card in saving pictures. It is 

recommended to save no more than 1000 pictures, so as not to affect the 

response speed of the product. When the number of pictures exceeds 1000, 

please clean up the SD card in time. 


Содержание FFim200

Страница 1: ...FFim200 User Manual Professional thermal imager...

Страница 2: ...REFACE 3 LIMITED WARRANTY AND LIABILITY 3 1 SAFETY INSTRUCTIONS 4 2 STRUCTURE 5 3 DISPLAY 6 4 POWER ON OFF 7 5 MENU INTRODUCTION 7 6 OPERATING INSTRUCTIONS 18 7 SPECIFICATIONS 21 8 MAINTENANCE 23 9 CO...

Страница 3: ...ed to give any other warranty on behalf of FeverFinder If you need warranty service within the warranty period please contact your seller directly This product is intended to be used as a screening to...

Страница 4: ...ace temperature of the object If temperature compensation is needed adjust in the Settings menu The product has a self calibration function If the reading jumps quickly please read the temperature aft...

Страница 5: ...ace 10 Flashlight button 2 SD card slot 11 Left button 3 Interface cover 12 Down button 4 LED light 13 Up button 5 Infrared camera lens 14 Replay button 6 Visual light camera lens 15 Right button 7 Tr...

Страница 6: ...0 vertical x 240 horizontal pixels Item Description Item Description 1 Center point temperature 6 High temperature 2 Maximum temperature 7 Maximum temperature 3 Self calibration 8 Temperature bar 4 Mi...

Страница 7: ...ontinuously to avoid damage 5 Menu Introduction 5 1 Measurement 1 Press the SET button to open the main menu 2 Press the left right button to select the option 3 Press the SET button to enter the Meas...

Страница 8: ...to open the main menu 2 Press the left right button to select the option 3 Press the SET button to enter the Palette menu 4 Press the up down button to select the desired palette 5 Press the SET butt...

Страница 9: ...r the Point Temperature menu 4 Press the up down button to select the desired point A Press the SET button to turn on the point and enter the thermal imaging page Press the left right up down button t...

Страница 10: ...down button to select the desired mode from Thermal infrared image Digital visual light image and Fusion image blending 5 Press the SET button to apply the current mode 6 Press the back button to exit...

Страница 11: ...the option 3 Press the SET button to enter the Settings menu 5 5 1 Language To set language 1 Press the up down button to select the Language option in the Settings menu 2 Press the SET button to ente...

Страница 12: ...the parameter adjustment state 5 Press the up down button to increase or decrease the value 6 Press the SET button to save the settings and return to set other parameters 7 Press the back button to ex...

Страница 13: ...button to exit 5 5 5 Measurements To set measurement parameters 1 Press the up down button to select the Measurements option in the Settings menu 2 Press the SET button to enter the Measurements subm...

Страница 14: ...sired brightness level from Low Medium and High 4 Press the SET button to confirm 5 Press the back button to exit 6 5 5 7 Auto Power Off To set auto power off 1 Press the up down button to select the...

Страница 15: ...mode allows users to realize real time image projection after connecting to a PC 5 5 9 Auto Save To set auto save 1 Press the up down button to select the Auto Save option in the Settings menu 2 Press...

Страница 16: ...s the SET button to enter the System Settings submenu 5 5 11 Device Information To view the device information 1 Press the up down button to select the Device Information option in the System Settings...

Страница 17: ...Reset option in the System Settings submenu 2 Press the SET button to enter 3 Press the up down button to select Yes 4 Press the SET button to confirm 5 Press the back button to exit Note During the f...

Страница 18: ...hen formatting the SD card please do not remove it or perform other operation to avoid program errors 6 Operating Instructions 6 1 Image Capture 1 Pull and release the trigger to capture an image 2 In...

Страница 19: ...ert the SD card in viewing images 6 3 Temperature Compensation To adapt to different environments and places manual temperature compensation is available For the specific setting method please refer t...

Страница 20: ...ing image projection after use please close the PC software before unplugging the USB cable 6 6 SD Card This device supports Micro SD card TF card to store images To avoid affecting the operating spee...

Страница 21: ...lor palette Iron Rainbow white Hot Red Hot Black Hot Lava Rainbow HC Infrared spectral band 8pm 14pm Field of view FOV 56 H 42 V Spatial resolution IFOV 6mrad Thermal sensitivity NETD 50mK Frame rate...

Страница 22: ...236mm x 75 5mm x 86mm Display type 2 8 TFT LCD Display resolution 320 240 pixels Battery 3 7V 5000mAh rechargeable Li ion battery Auto power off 5 minutes 10 minutes 30 minutes off default 30 minutes...

Страница 23: ...ivity Material Emissivity Wood 0 8s Black paper 0 86 Water 0 96 Polycarbonate 0 8 Brick 0 75 Concrete 0 97 Stainless steel 0 14 Copper oxide 0 78 Tape 0 96 Cast iron 0 81 Aluminum plate 0 09 Rust 0 8...

Страница 24: ...EAN 08719326877310...

Отзывы: