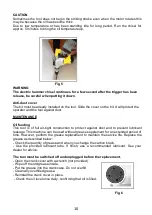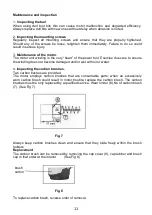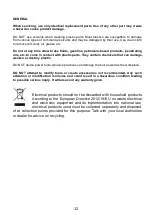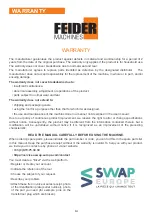
Function selection
Choose the function according the operation to do by using the function buttons (part 1 and 6
on the drawing of description).
For the function button localized on the top of the tool, push the lock button and then turn the
knob to the desired position
For the function button which is on the rear of the tool, turn the scroll wheel on the left or on
the right to select the function.
Depth stop installing
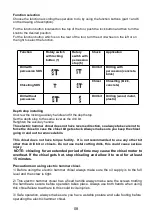
Unscrew the locking auxiliary handle and fit the depth stop.
Set the depth stop to the same level as the drill bit.
Retighten the auxiliary handle.
This electric hammer chisel does not have reverse direction, so always take care not to
force the chisel in case the chisel bit gets stuck. Always make sure you keep the chisel
going in and out to remove debris.
This chisel does not have torque facility. It is not recommended to use any other bit
other than drill bit or chisels. Do not use metal cutting drills, this could cause serious
injury
NOTE: chiseling for an extended period of time may cause the chisel motor to
overheat. If the chisel gets hot, stop chiseling and allow it to cool for at least
15 minutes.
Precautions on using
electric hammer chisel
.
1/ Before using the electric hammer chisel always make sure the oil supply is to the full
level and the screw is tight.
2/ This electric hammer chisel has a fixed handle always make sure the screws holding
the handle are secure before operation takes place. Always use both hands when using
this chisel failure to adhere to this could invite injuries.
3/ Safe operation, always make sure you have a stable posture and safe footing before
operating the electric hammer chisel.
Function
Rotary switch
with locking
button (1)
Rotary
switch with
percussion
stop (6)
Chuck
Application
Drill with
percussion SDS
Drill bit
Drilling with
percussion (concrete,
brick)
Chiselling SDS
Chisel
Chiselling (brick,
concrete)
Drill without
percussion
Drill bit
Drilling (wood, metal,
plastic)
08


