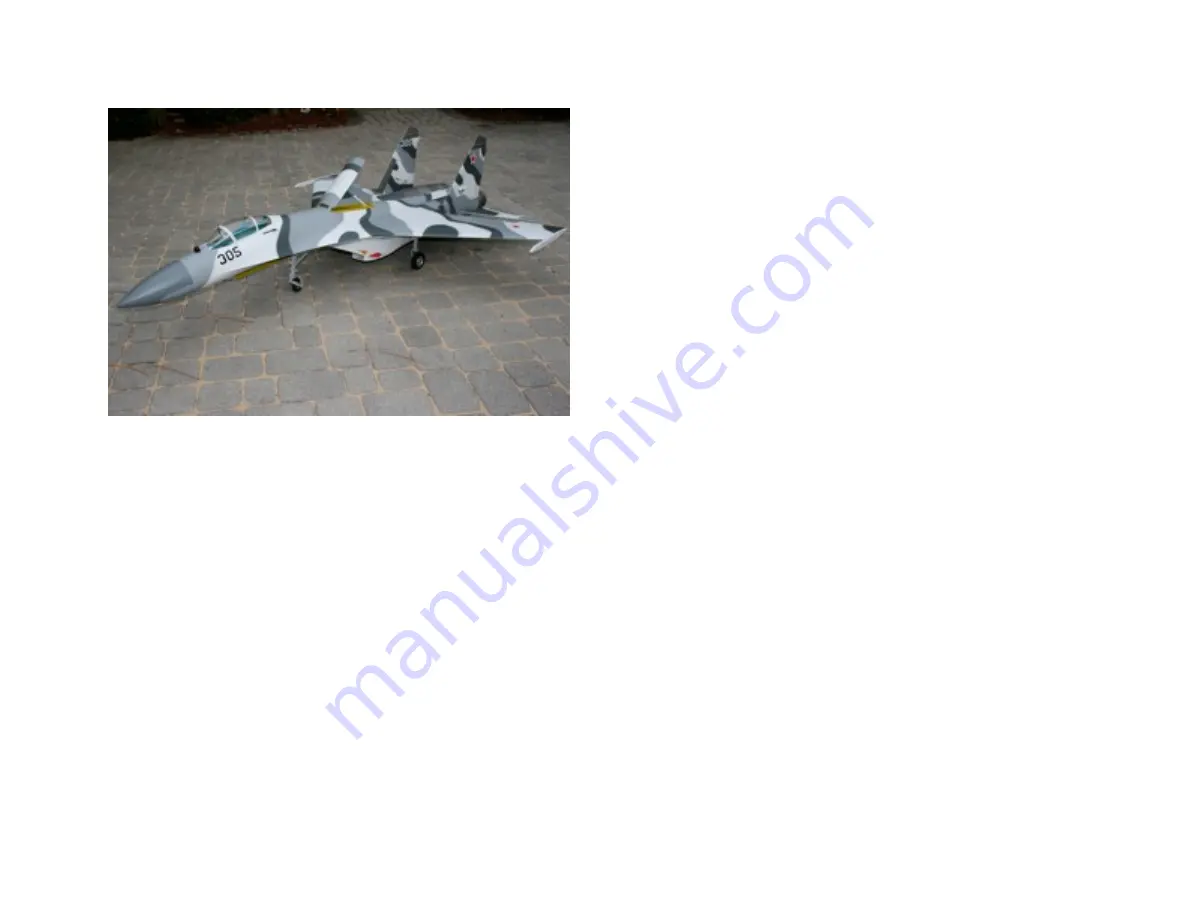
Fei Bao SU-27 Скачать руководство пользователя страница 1

DISCLAIMER:

T

HIS IS NOT A TOY

.  This is a high-performance 

miniature aircraft, capable of high speeds and damage to 
life, limb, and property.  The manufacturer and its 
distributors cannot control how you assemble this model, 
what equipment you use to fit it out, or how you fly it, and 
can assume no liability whatsoever for any damages that 
may occur when you fly your aircraft.  By assembling this 
model, you are agreeing to indemnify and hold blameless 
the manufacturer and/or his agents from any and all torts 
and liability associated with the use of this product.  
Please inspect all parts before beginning assembly.  If 
any parts appear to be suspect, contact your dealer or the 
manufacturer for repair or replacement BEFORE you 
begin.  Once you have assembled the aircraft, you are 
the pilot in command and assume any and all 

responsibility for the use of the model and any damages 
that might occur by flying or attempting to fly this aircraft.
R/C model jets require a high level of skill in both their 
assembly and their flying.  If you do not feel confident in 
either your building or flying skills, PLEASE seek 
assistance from more experienced modelers.  It is a wise 
idea, no matter what level of skills you possess, to have a 
second experienced modeler go over your installation 
after assembly. A second set of eyes may spot a problem 
you have missed.  If you have not flown a model like this 
before, it is HIGHLY recommended that you get an 
experienced turbine pilot to do your maiden flight.  Very 
often, the first few seconds of a maiden flight are critical 
until the aircraft is trimmed out, and having an 
experienced pilot at the controls can make the difference 
between a wrecked aircraft and once that enjoys many 
hundreds of flights.  Be sure to select a suitable field for 
flying...take the time to find a large paved runway if at all 
possible, especially for test flights, until you feel 
comfortable getting the aircraft in and out of smaller grass 
fields.

BEFORE YOU BEGIN:

Keep this in mind as you proceed:
Look at EVERY assembly step you finish, and ask 
yourself:

"Is this going to crash my airplane?"

A chain is only as strong as its weakest link, and this is a 
high-performance aircraft that will be very intolerant of 
sloppy assembly techniques.  Even the smallest 
component is important and can cause the loss of your 

FB Su-27

Page 1

Содержание SU-27

Страница 1: ...our building or flying skills PLEASE seek assistance from more experienced modelers It is a wise idea no matter what level of skills you possess to have a second experienced modeler go over your insta...

Страница 2: ...work you just did evaluate it critically and ask yourself is this going to potentially crash my airplane If there is any doubt about the work you have done back up and re do it properly B Adhesives T...

Страница 3: ...rlines are pushed ALL THE WAY onto their nipples They should not need to be secured otherwise but you can add fine wire safety wraps if you like Make sure all left and right matching airlines are the...

Страница 4: ...hem for side and orientation as you do so Using a hand pump and a short piece of tubing check each of the gear door air cylinders for leaks If they hold air under pressure secure the nuts and bolts at...

Страница 5: ...ing plates by wood screws you may opt to reattach them with cap head bolts and blind nuts If so remove the mains drill and install blind nuts for all three landing gear and reinstall Once the nose gea...

Страница 6: ...rom the valve do not T from a single supply Make sure to pull up the landing gear before the aircraft picks up speed after liftoff As you position these components make sure to leave room for the cock...

Страница 7: ...small amount of CA for extra security See photo Install servo into its mount securing with four screws Do not use rubber mounts and brass eyelets To keep the heat away from the servo during engine ope...

Страница 8: ...es on to the servo arms and bearing box control arms Check to make sure horizontal stabs have full movement on both top and bottom Adjust and trim material around the stab control arm as needed to ach...

Страница 9: ...d such that it contacts the hinge cover equally along its length This will set the appropriate depth of the hinges Visually check for even spacing along the length of the hinge line Repeat for the oth...

Страница 10: ...e horn and then remove tape Allow to dry thoroughly Repeat for other vertical stab and rudder Prepare and install linkages Trim hatch cover to clear linkage and arm then reinstall Reinstall vertical s...

Страница 11: ...nstall servos in wing using screws Do not use rubber mounts or brass eyelets Carefully measure the distance to the servo arm and mark position on the bottom of the wing Double check your calculations...

Страница 12: ...h low grip masking tape and fill the slot with Aeropoxy Rough up the gluing surface of the control horn and insert into the slot Make a nice fillet around the horn and then remove tape Allow to dry th...

Страница 13: ...t end with the rear of the exhaust cone position bypass on rails and secure pipe to bypass with bolts Skip the remaining steps on this page Insert the pipe into aft former Align aft end with the rear...

Страница 14: ...nently attach the tabs to the triangular plates Repeats steps for other engine On the prototype the engine valves and fuel pump are located on either side of the fuel tank compartment in the center se...

Страница 15: ...earance of the various lines Don t forget the manual shut off valve Fuel System In the prototype two additional tanks were positioned in the area behind the main tanks to increase overall fuel capacit...

Страница 16: ...tanks plumb leak check and reinstall Drill fuse for vents and plumb See photo At this time permanently reinstall the intakes making sure no lines or wires are pinched or kinked securing with two forwa...

Страница 17: ...dustrial velcro Disassemble the main tank stoppers and check for kinks obstructions and secure connections Option for added security drill and tap aluminum fittings for 6 32 cap head bolts It will be...

Страница 18: ...plumb main tanks running pickup from aux tanks to the vents of the mains and the pickups from the mains to the UATs The UATs will then connect to the pumps Keep all fuel lines for both sides of equal...

Страница 19: ...ightedge as shown to check for equal spacing on both sides Install the aft fuse strake attaching with two bolts from underneath the fuse Glue the pitot tubes to the forward fuse on either side of the...

Страница 20: ...s much rudder travel as you can without binding It is important that you set three rates for elevator and aileron using the recommended throws as the mid position with settings higher and lower In thi...

Страница 21: ...the gear and find settings for normal flight Watch residual fuel after landing and find a timer setting that provides a comfortable reserve Do not stress the airframe with high G maneuvers until you b...

Отзывы: